
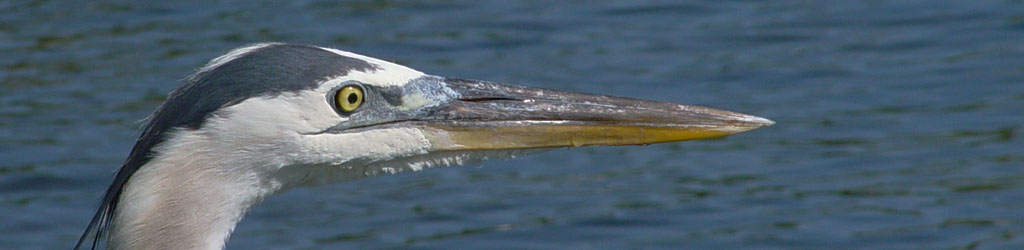
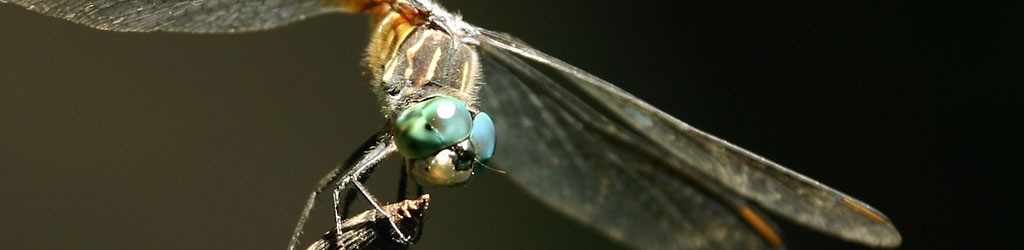
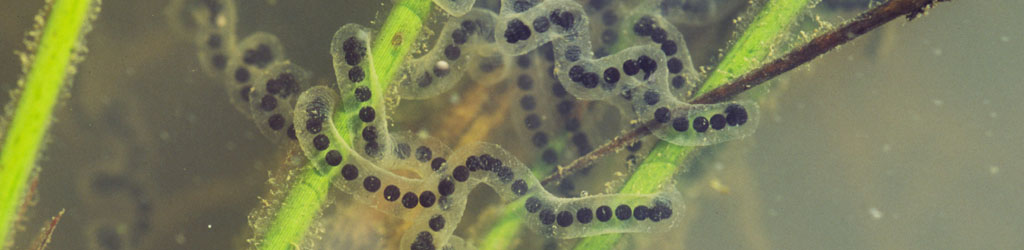
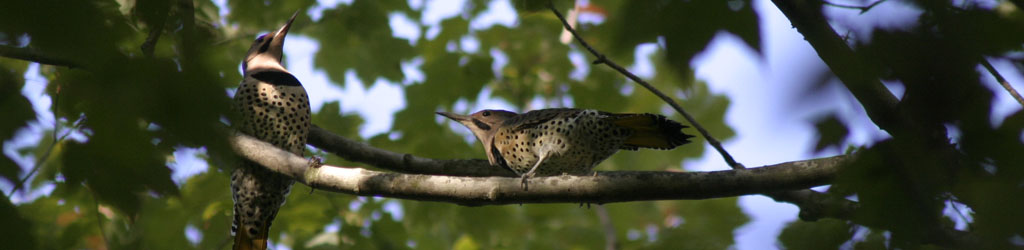
If you’re into macro photography, sooner or later you’ll run into a subject that will benefit from a little more control in the setting, angles, and lighting than you can accomplish ‘in the field,’ and you’ll want to do some studio work. The good news is, setting up a macro studio can often be done in minutes with simple materials. The bad news is, many subjects won’t cooperate, and/or will show you the flaws in your setup.
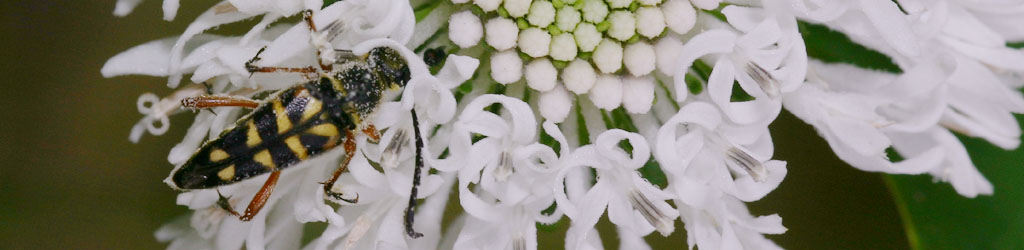
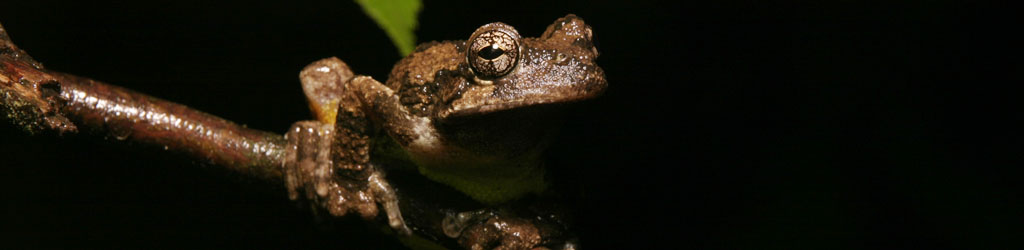
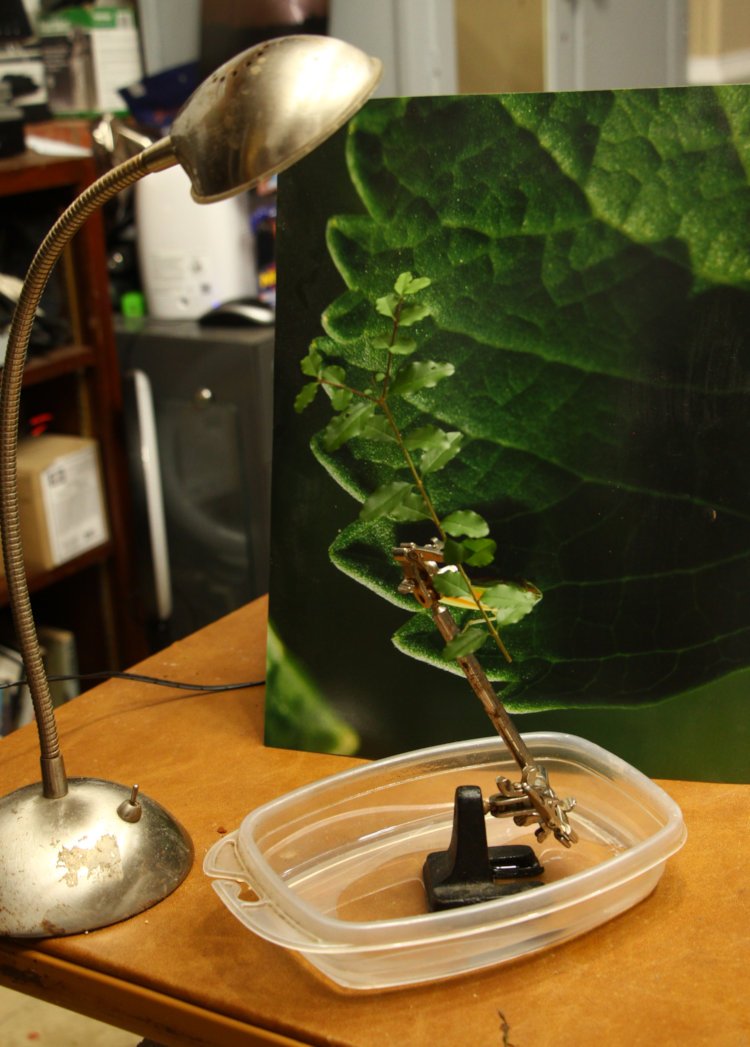
Let’s start with, quite a few insects, and a few reptile and amphibian species, can easily be perched on a sprig of some plant as the setting and look perfectly natural. It’s easy enough to cut some branch or weed that seems useful and put it into a simple clamp – I’ve found that the soldering rigs, with a couple of alligator clamps on either end of a short arm, work well for this purpose, allowing a fair amount of flexibility and a weighted base to keep things steady. They’re also small enough that they can be easily turned when your subject wanders around to the back side of the plant you’re using.
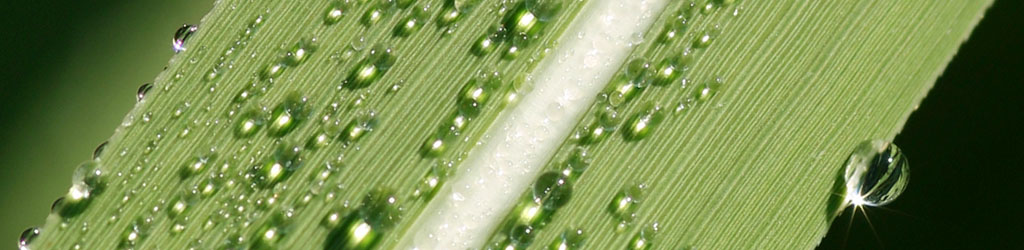
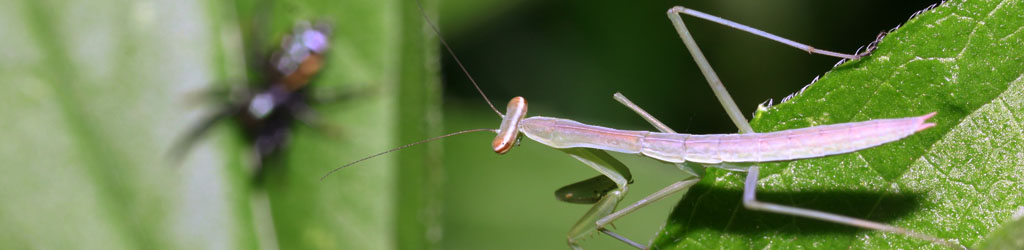
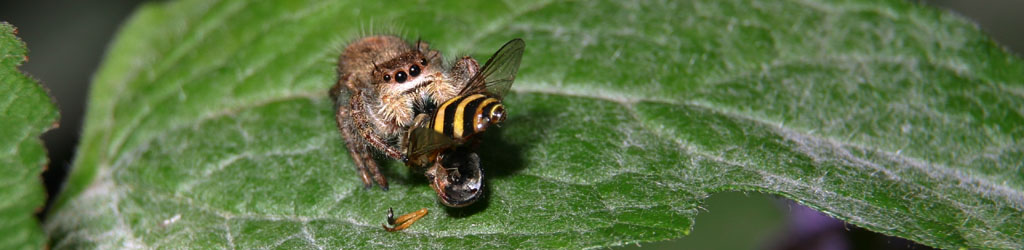
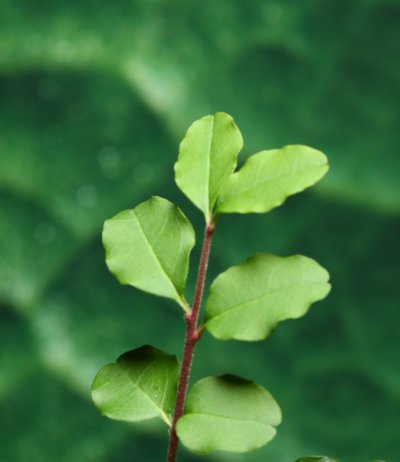 Behind this, all you need is an appropriate print to form the rest of the setting. I’ve tried several different things, and a print tends to work best. Fabric almost always shows the weave pattern, regardless of depth-of-field, and no matter the color, looks artificial – even a camo t-shirt. The primary thing is to not be too distracting or have higher contrast elements that may form ugly blotches in your background. In the illustration here, shot at relatively low magnification, the depth-of-field was high enough for the leaf pattern to come through, becoming a little distracting and even confusing. At higher magnifications though, this tends to disappear because the depth-of-field drops much shorter. You can also shoot several frames ahead of time with exactly this use in mind, purposefully out of focus, and have green, earth tones, water, sky, and so on as your backdrop prints. Be aware that, in some cases, you’ll want your lighting to match; if your backdrop shows bright water, for instance, you’ll want higher contrast light from a higher angle to look more like natural conditions.
Seen in the opening illustration, the clamp holding the sprig is sitting in a shallow dish of water – this is useful for insect species that like wandering away, especially spiders, and helps reduce the amount of time spent corralling them and trying to get them back into position.
And yes, you will be doing this, sometimes far more than the time spent actually photographing them. To that end, having a small bait net, a little container of some kind, a probe (small stick, bamboo skewer, pine needles,) and even index cards handy will save you a bit of running around. For many smaller insects, sliding the card underneath is the most effective way of capturing them when they scuttle off across a table or floor. Along those same lines, reduce the amount of clutter in the immediate area to take away hiding places, and things that have to be moved to retrieve your subject.
For flying insects, or subjects like frogs, I usually set up in the bathroom – the bare walls and floor and sparse places to hide helps in retrieving your subject in the eventuality that they try to escape. Close the toilet lid and the sink trap, open the blinds, and keep corners and nooks clear. Flying insects will often gravitate to the window, but even if they don’t, capturing them on the shower curtain is much easier than trying to get behind the bookcase.
Many subjects will have active and inactive times of the day; knowing these means you can schedule for when they’re more lethargic of disinclined to move a lot. If you’ve spent a lot of time recapturing your subject, it’s often best to put it away in an aquarium or something similar and let activity die down, since repeated captures can raise the anxiety levels and cause more frequent attempts to escape.
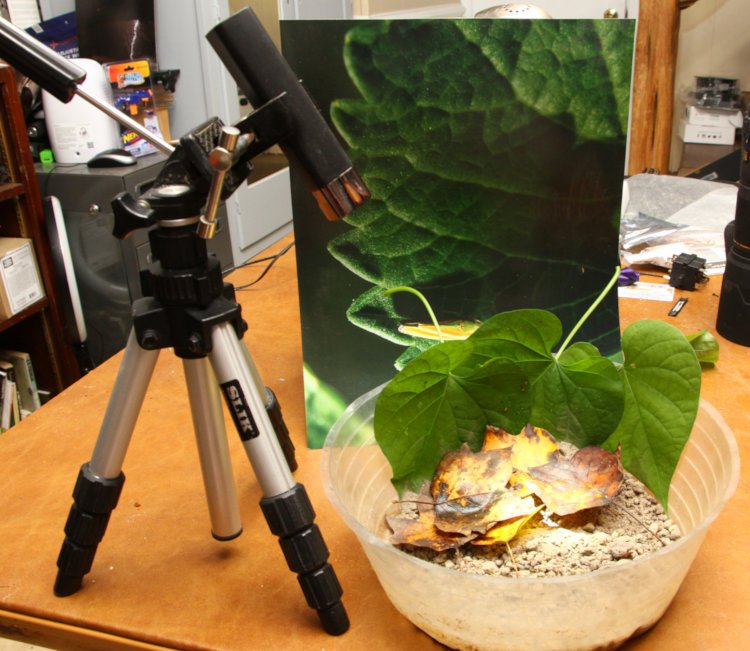
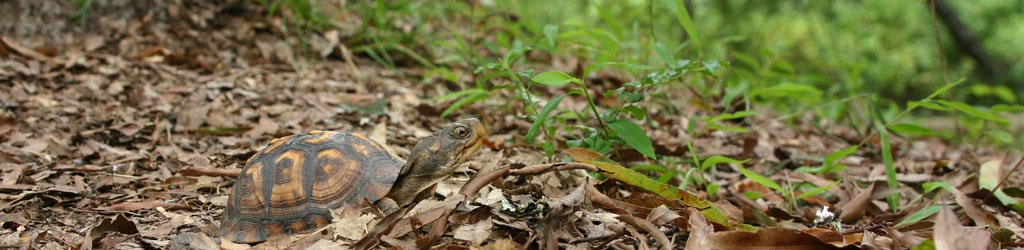
For subjects that usually are found on the ground, a moderately-deep dish with loose soil or sand can serve as the setting, fleshed out with leaves or stones as appropriate. The goal is to have something deep enough that they can’t climb or jump out, but low enough to allow the camera to shoot over for a lower-angle perspective – this balance point can be tricky to achieve sometimes. Worse, however, is that many subjects will simply try to hide within your substrate, immediately burrowing under or behind leaves or even digging into the soil – having a very thin layer of soil/sand can help, but this also means that the bottom of your container can be revealed by their attempts. The most common trait, however, is to not sit nicely in the middle where you can frame surround by your setting, but to go right to the edges and usually run along them or try climbing up, meaning your unnatural-looking container is now a major factor in the frame. Seen above, I’ve lined the edges with leaves, which sometimes works, but can also give subjects something to hide behind, and can still look peculiar. You may have to get creative, or be patient (or alternately extremely quick on the shutter) to capture those moments when the subject is framed nicely.
In most cases, some kind of lamp shining directly onto your subject can help with focusing, since you’re working indoors under reduced light. You can see here two of my choices: a gooseneck LED desk lamp, and a small flashlight on a mini-tripod. Be aware that either of these may reflect from shinier portions of your subjects, such as the eyes, and also produce a color cast is they’re significantly different from your main lighting (which is usually going to be a flash unit.) The desk lamp seen here has 21 small LEDs and so produces a cluster of tiny reflections, and for this reason is only used occasionally.
Lighting. Here’s the great thing about studio macro: you have as much control over the lighting as you want. Diffusers, bounce flashes, multiple lights, fill lights, umbrellas – you name it. It all depends on what you have available, what you need to reach your illustration goal, and what you’re willing to set up and tear down, sometimes pointlessly if your subject is being too difficult (and expect this to happen sometimes.) Especially handy are slave triggers or strobes with built-in slaves, which means they trigger when they detect another flash of light, usually from your on-camera flash unit. This makes balanced lighting much easier without having to run a lot of sync cords, and some simple slaves can be obtained quite inexpensively – it’s macro work, so the light typically travels less than a meter, it doesn’t have to be powerful. However, having the space to utilize these helps a lot, so empty the tabletop and have some floor space around it (which also helps with escapees.)
Where to do this? While the setting itself won’t typically take up a lot of room, you will want space for photographic lighting, your focusing light, backdrop, and recapture accoutrements at a minimum, so completely clearing a medium-small table (like a card table) is recommended. You may also want a tripod and/or a chair to work from – much easier on the back. And from long experience, I can tell you, raise your setting up to just a little below eye-level, especially if you’re trying for more of a portrait angle – top-down is boring, and you’ll notice I almost never do this.
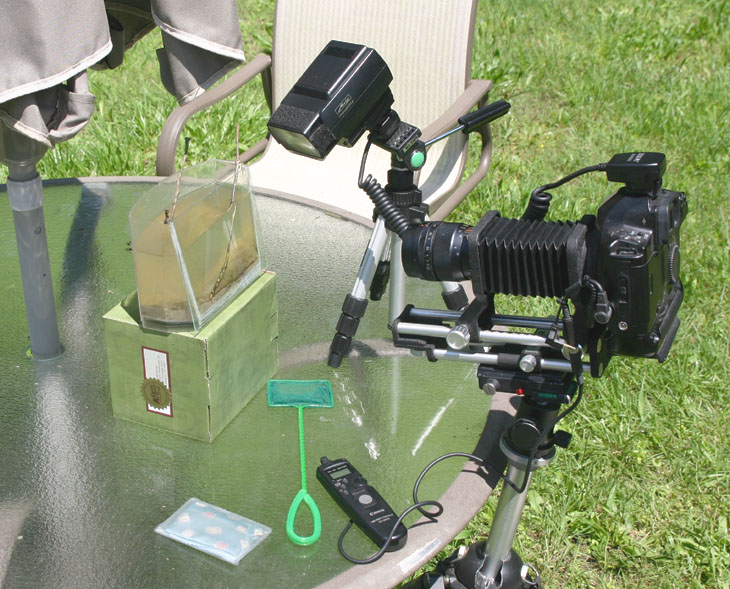
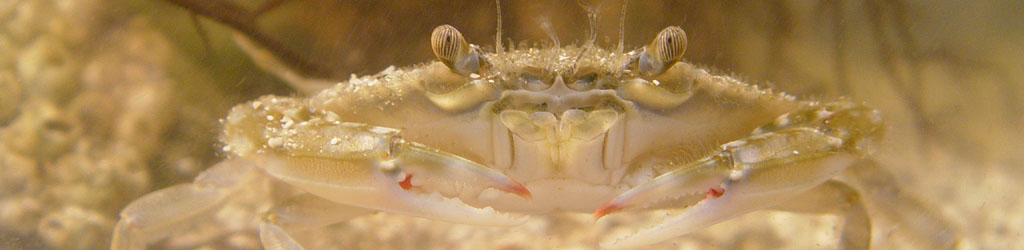
Macro aquariums. I have an entire page on creating a macro aquarium, and they’re incredibly handy for aquatic subjects, and can be used in a pinch for smaller, escape-prone subjects too. Whenever you can, avoid shooting though glass, since this introduces another level of distortion and softening, but for aquatic subjects, it’s this or diving with a waterproof camera rig – I’ll let you determine what works for you. When you have to though, endeavor to shoot straight on through the glass, perpendicular to the surface, to limit distortion as much as possible, so this often means raising the aquarium quite high – you’ll also notice I made one of these aquariums, still in use after fifteen years, with the main panel slanted backwards to make this easier. Never shoot through acrylic or plastic – the distortion simply isn’t worth it.
Lighting becomes a little trickier though. Water scatters the light more and can reduce the effectiveness of a diffusing panel, so direct lighting is often called for. Both the front and rear panels of the aquarium can reflect light back into the lens, so angle is very important – even if there are no direct reflections, it’s possible to bounce light onto the lens surface and greatly reduce contrast. The rear panel can also diffuse light before any backdrop outside of the aquarium, reducing the effectiveness of such, so immersing a leaf or branch can be better – if it doesn’t crowd the tank, give your subject more to hide behind, or simply float to the surface.
Substrate, for me anyway, is almost always simply sand – natural looking, low distraction, no hiding places. I actually maintain cleaned natural sand that remains free from debris that can cloud the water or stick to the sides, and occasionally I pile it higher against the back of the aquarium to encourage the subjects to come closer to the front. I also limit the amount of rubbing and contact it has with the front glass since it can scratch this easily, and replacing that panel is a bear.
By the way, you will drip water, either while wrangling subjects or arranging the tank, so ensure your work area can handle it, and have a towel handy.
That’s what I can think of right now – hopefully this can save you some of the experimental trials I went through to discover and refine many of these. Good luck!