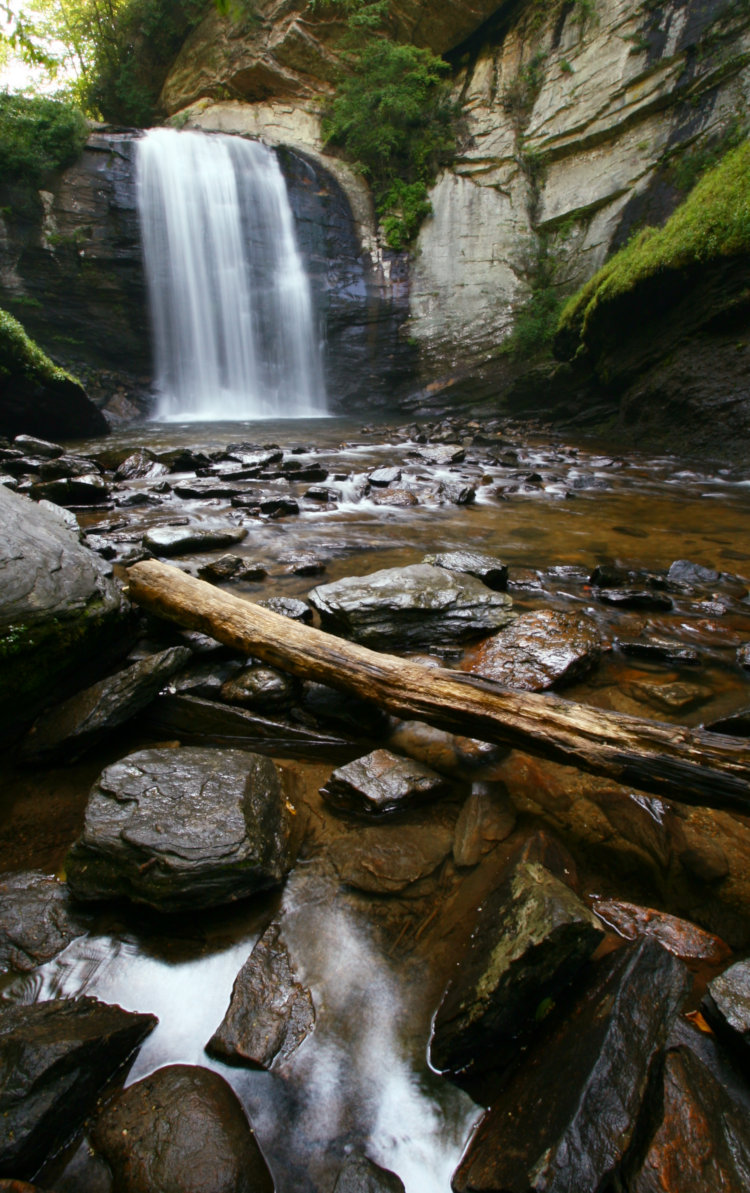
While some consider it trite, there’s still a fascination and popularity with the effect of moving water in images, and so, here are some pointers for tackling this on your own.
The primary bit, of course, is a slow enough shutter speed to have noticeable water motion to blur it out, but of course, everything else being sharp. This generally means shooting from a firm tripod, though I have admittedly gotten away with some frames handheld, with a relatively short shutter speed (like 1/10 second) and, the key bit, an image stabilized lens at short/wide focal lengths. I can’t recommend this, since you’ll likely produce a lot of discards, but there are narrow circumstances when you can get away with it.
Still, to do it dependably, you should have a tripod, and this is one of the reasons I schlep one along for stream and mountain excursions. Also helpful is a remote release, with the addition of a circular polarizer or neutral density filters to reduce the light and thus the shutter speed.
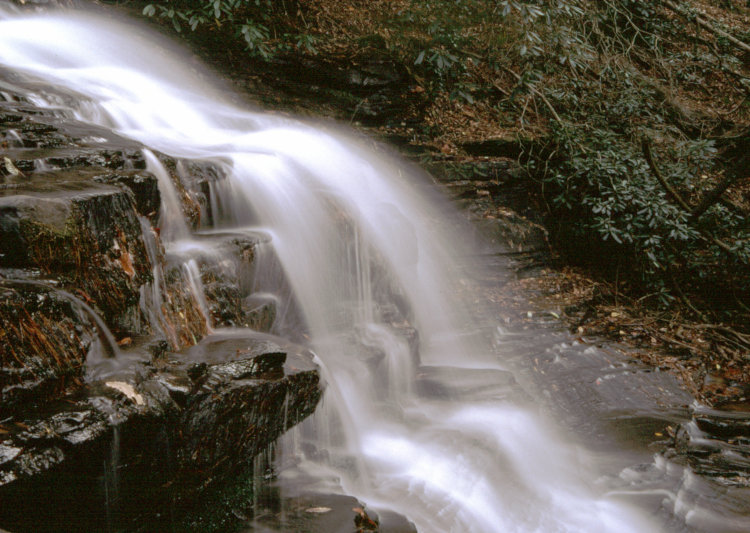
Shutter speed. No firm guidelines here, since it depends on how far the water moves across the frame, as well as how cottony you want it. Shortest would probably be 1/10 second or thereabouts, but longer is better in most cases.
Aperture. Generally, the smaller the better, to reduce light and help lengthen the shutter speeds, but this also helps in keeping foreground and background elements in focus with the increased depth-of-field, and that contrast between sharp features and cottony water is what’s usually so appealing about such shots.
ISO. The lower the better, again to lengthen the shutter speeds, though it also helps in creating images that are detailed and clear enough to enlarge well.
Location/conditions. Here’s something that matters a lot. Open or deep shade is preferable by a wide margin, because splashing water in bright sunlight produces momentary reflections that will render as spots or streaks of pure white within the cottony moving water, usually not a good addition. Even dappled sunlight will create hotspots that reduce the effect of the blurred water. Plus the shade helps to lengthen those shutter speeds again. Note that this will make the light more blue, so you might consider going with Auto White Balance, but be warned: this can get badly skewed by the scene if there’s too much green within, for instance. I tend to stick to Sunlight white balance (neutral,) and tweak colors afterward if it seems necessary – often times the blue cast is reasonable and appropriate anyway.
The other bit that can have an affect is the wind, and/or the movements of leaves and branches. Anything that moves during the exposure will also blur of course, which you may or may not like. Too much, and the images just look overall blurred, taking away the points of sharp focus that we seek. However, a couple of leaves or branches here and there won’t always detract, and may add a little character. To this end,
Bracket exposures, widely if necessary. Without a doubt, shoot several different frames at different shutter speeds, even tweaking aperture as needed or desired. That blurring effect will increase with length of exposure, but it can also go so far as the completely eradicate any definition from the water, producing just fog, and you may or may not want that. Meanwhile, exposures too short will limit the effect, sometimes to the point of escaping notice. Experiment freely, while you’re in location and have the conditions. Unless you’re actually doing this on film, it costs nothing to toss out the ones that don’t work. And if you are doing this on film, keep notes of what exposure you used.
Filtering. Using a circular polarizer will reduce the light by, usually, about 1/4 to 1/2 stop, while neutral density filters can be obtained for much greater reductions in light. While I prefer the ones that are square and can thus be used on a variety of lenses, simply held in place, some of these are not truly neutral but have a faint color cast – easy enough to tweak out in post processing. It’s more of a danger in holding them in front of a lens, though, since you run the risk of bumping the camera and trashing the shot, or even of letting some light past the edges, so use these carefully, or with a holder. These will help with those conditions that are too bright for long enough shutter speeds, but they don’t eliminate that sparkle effect from bright sunlight on splashed water, so they’re not as useful as they might seem at first.
Also, polarizers reduce or eliminate the reflections from still water or glass, since those are polarized by nature – this is part of the value of such filters, but if those are a part of your composition, you can lose them. Such conditions are probably few and far between, however.
Moonlight photography. This is one of the better ways to tackle moving water shots, since the light is so greatly reduced in the first place, as well as moonlight being less likely to reflect from splashes too distinctly; it can still happen though. Doing this for something like ocean waves, lots of movement during very long shutter speeds, will likely produce only fog with no definition at all, so better to have something sharp to contrast with, such as rocks or bridges or a lighthouse, something of that nature. Here, also, the length of the exposure can dictate how dark and moody the frame is, from barely twilight to appearing almost indistinguishable from full sunlight.

Be aware, though, that shutter speeds longer than ten seconds may produce movement from clouds in the sky, and more than 30 seconds (depending on focal length and aiming direction) can cause stars not just to appear, but to streak across the sky as well. This can be useful too, just know that it can happen.
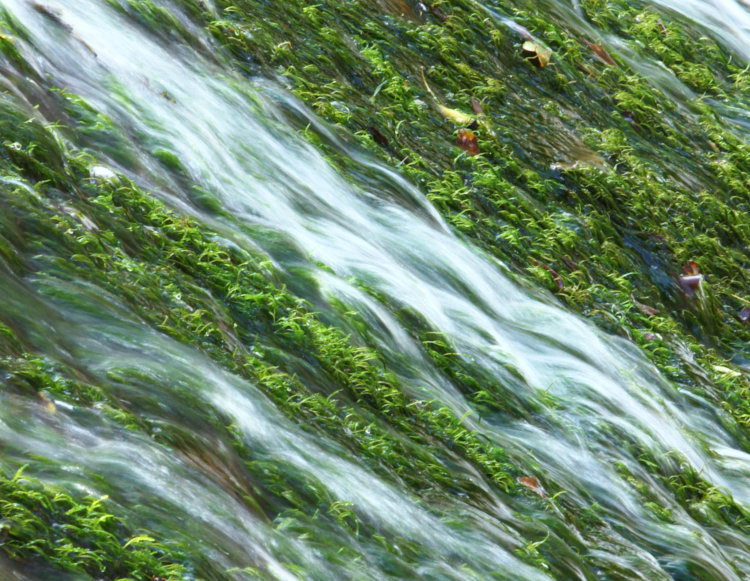
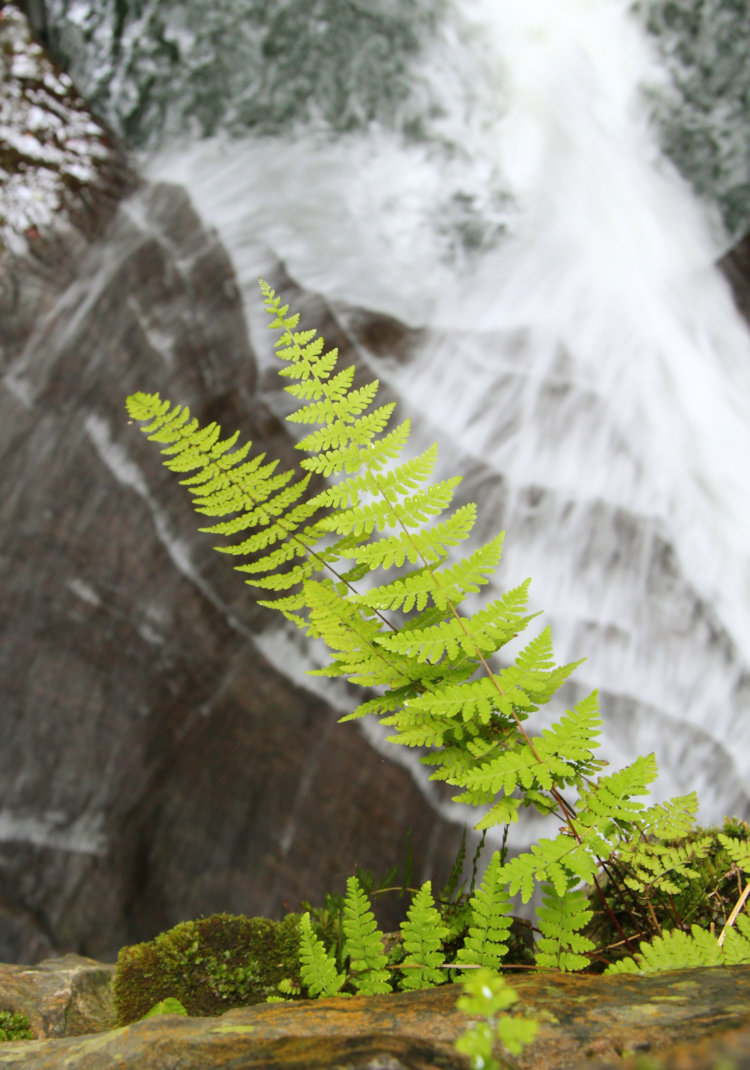
Use it as a background element. One of the creative ways to use the blur is to isolate your foreground subject against the cottony water, including using it for macro work (as long as your main subject won’t move during the exposure.) In this manner, you can use a smaller aperture to capture a deeper subject with higher depth, and still get that short depth appearance from a radically blurred background. It can also add a surreal aspect to a wider scene when used subtly.
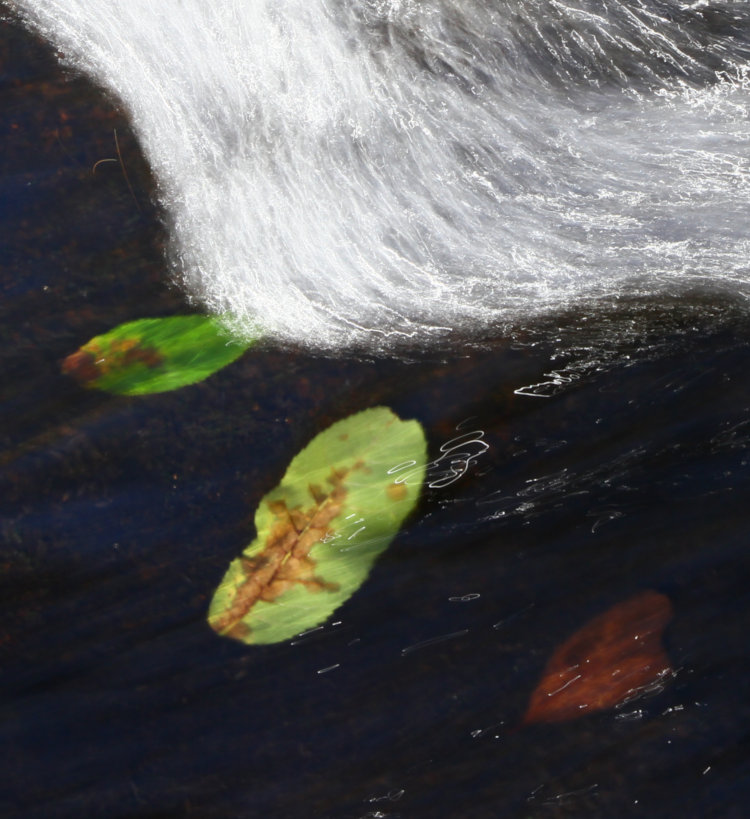
Shooting into moving water. For instance, of leaves or rocks on the bottom of a stream. This is tricky, but cool when you get just the right conditions. First off, even shooting into water with a fast shutter speed usually just freezes the distortion of the rippled water, producing a funhouse mirror effect, so slowing down the shutter speed can average out this distortion – you’ll likely still get a softer image, but better than a warped one. However, your shutter speeds should probably be much faster than when used to blur out the water overall, because otherwise your subject will become just a blotch of color. Any ripples that reflect even indirect light will produce a haze across your subject as well. That said, something that disappears into deeper water, like a spread of leaves or the pebbles going offshore, will go progressively softer and more indistinct the deeper they go. Again, bracket wildly when you find the right conditions to exploit.
Definitely a fun thing to experiment with, so when you find the conditions, take some time and see what you can produce. Good luck!