



























I have something coming up that may need the camcorder, and wanted to charge the batteries, but on getting out the charger, I could hear something rattling around inside, never a good sign. Nonetheless, I tried plugging it in and nada – no response. I don’t have a backup charger for those batteries (I know, right? Stupid,) so if I wanted those batteries charged inside of the week it would take for a new one to get here, I had to fix it instead. I’m game.
Opening up the case, the culprit became clear immediately, and it wasn’t a loose piece of plastic case either:
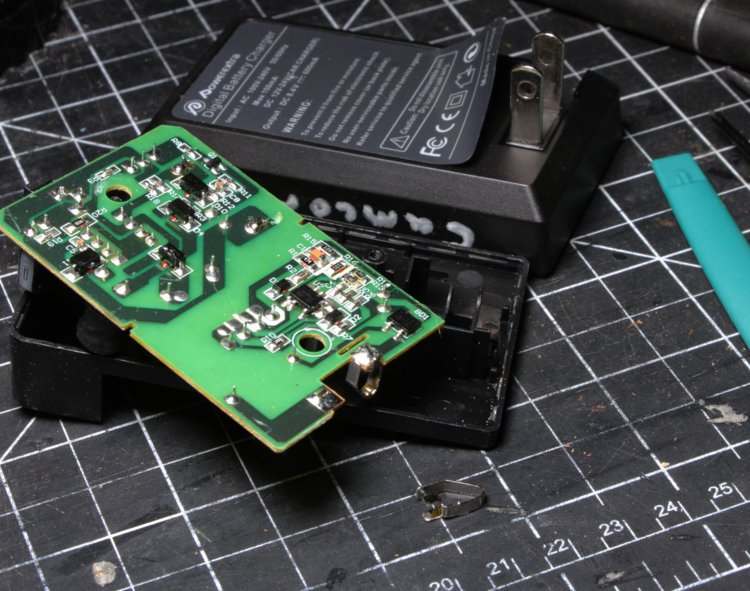
That little metal tab at the bottom fell out right away, and clearly it was a contact. You can see its counterpart right above it, one of the two that met with the outlet prongs. They’re a perfect match.
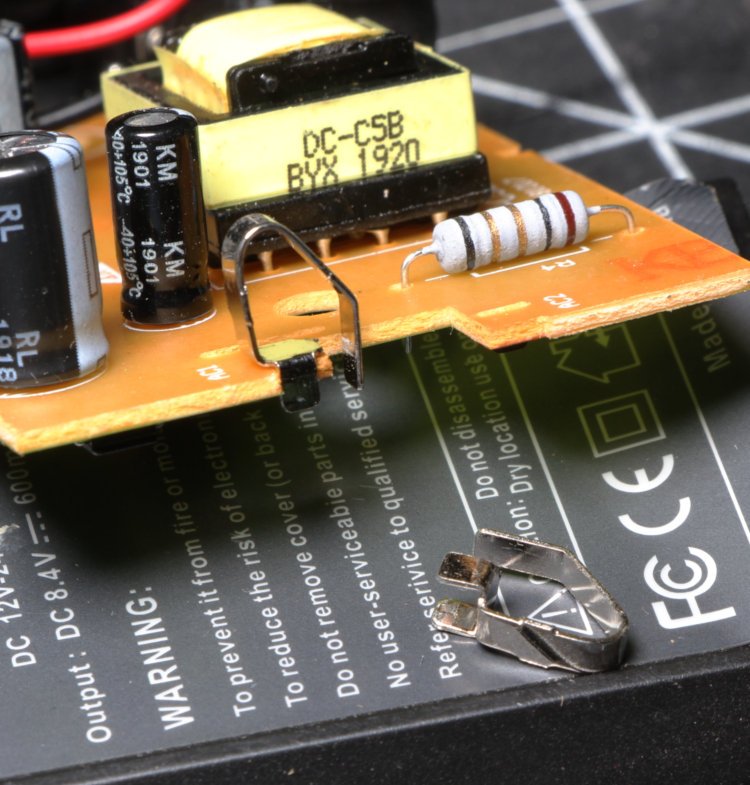
It took no time at all to realize what had happened: the solder joint that held that particular contact had come loose, or more likely, never been very good in the first place. The contact slid back into place easily, but really, never should have come loose. Probably not using any flux to ensure a good bond.
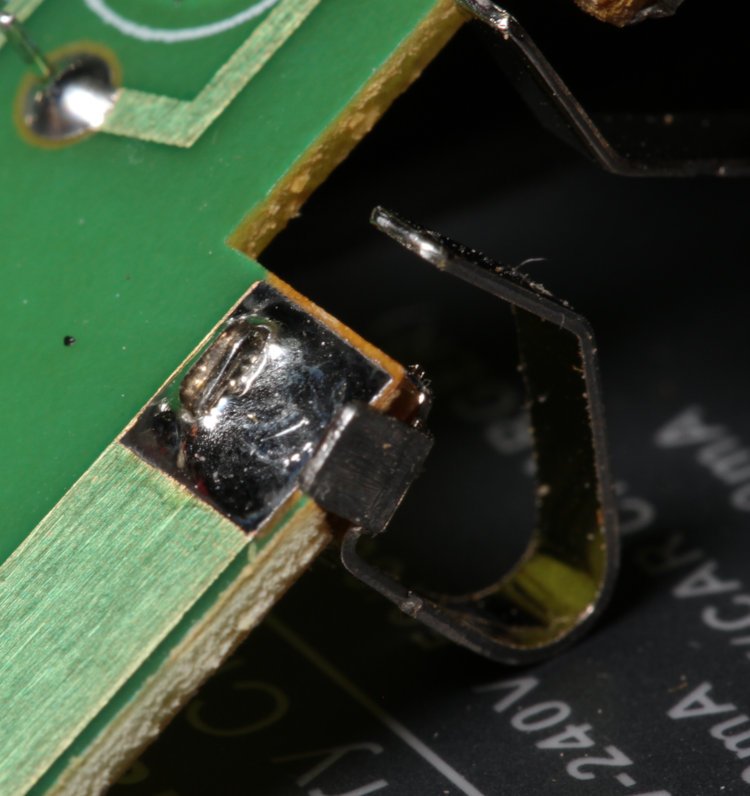
That, however, is an easy fix, as long as you have a few items handy, like a soldering iron, flux, and solder. I’ve been an electronics tinkerer for years, so this was in the case right behind me. It was a simple matter of adding a tiny bit of flux to the contact, slipping it in place, and tacking on a very small amount of hot solder, counting on what was already on there to help. In seconds, it was attached tightly.
It took two tries to get it back together, since those tabs kept wanting to go on the wrong side of the AC prong contacts, but on the second try the charger popped up the light that I needed to see.
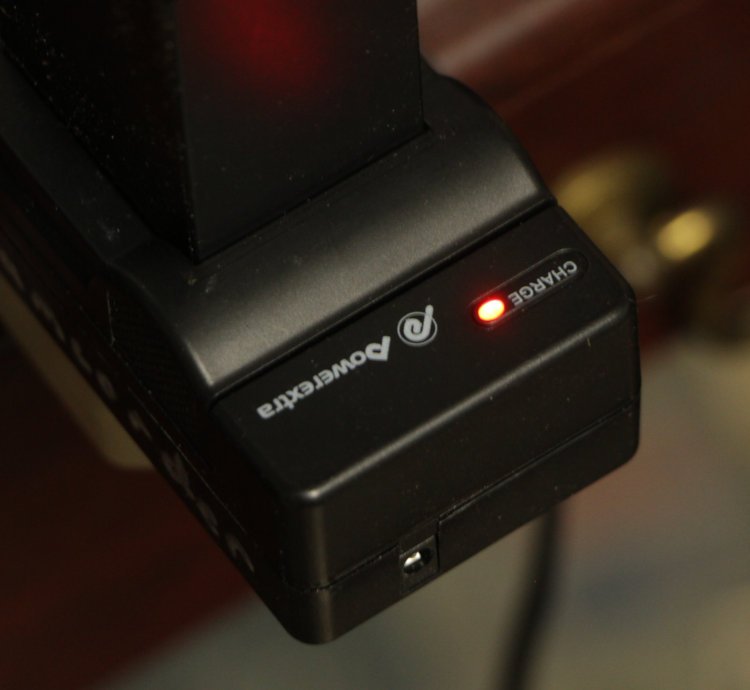
And boom! (well, no boom at all.) Fixed and operational, with only 20 or so minutes of playing around. Believe me, learning just a little about disassembly and electronics and so on can save you a ton of time and money, plus get you out of a jam. Didn’t even need a multi-tester for this.