


 Six months ago, I provided some tips for shooting in hot weather, so I think this obligates me, by the unwritten laws of blog topics, to write about cold weather tips now. Just as a matter of amusement, I’ll note that in that linked post from June 30th of this year, I remarked about writing it at the break of a hot spell – which many people know was only the beginning of one of the hottest summers on record throughout much of the US. Superstition would have me keep my mouth shut at this point…
The first tip is obvious enough: dress appropriately. But “appropriate” for photography has some additional factors. You’ll want warm gloves, but the ability to operate camera controls too, so either a pair that gives good fingertip dexterity, or a second thinner pair to wear under the first, so you can whip the heavier gloves off to operate the camera yet still not be bare-handed. Your jacket should also provide two things: adequate coverage for walking, stooping, climbing, and dodging, for getting to those good vantage points and angles that I talked about previously; and enough space inside to warm up the camera, lenses, film, and/or batteries when needed. If you’re the type to use a photography vest, you’ll want to have this on underneath your jacket, because it gives lots of pockets inside the warm and dry shell your jacket provides.
Batteries operate efficiently only in a narrow range of temperatures, and getting cold means they drop off in power delivery drastically – don’t be alarmed, since this comes back when they’re warm again. You should have extra charged batteries anyway, no matter what the shooting conditions, but for cold weather, they should be held close to your body heat. Camera bodies are also not terribly temperature stable, and only a short period out in open air will drop their overall temperature down to rob batteries of power, and make the camera uncomfortable to hold, so the ability to get it inside your jacket can help. Decently padded camera bags will retain some warmth through insulation, but don’t be fooled; this is only as long as the camera remains warm. Once it gets cold, putting it inside the bag does nothing but keep it cold, and in fact, may make the situation worse as you hide the camera away from whatever warming affect the sunlight has. The camera will not produce its own heat to bundle around it, like our bodies do.
Having padded tripod legs provides a serious benefit now, as it gives you something to grab that is not metal that’s been sitting out in cold weather (which reminds me: tempting as it may be, leaving the tripod out in the car means you’ve pre-chilled it to painful levels when you need it.) Many tripods come with padding, and you can buy them from the manufacturers as well, but I just use pipe insulation. It’s cheap and easily replaced when it gets chewed up, and better padding and insulation anyway.
A hat with a good-sized brim helps with blowing snow, dripping meltwater, and provides some protection against the low sun angles of wintertime. But it can also get in the way of operating the camera, so there’s a tradeoff. I still prefer my stiff brims as better protection, but it does mean I shove the hat up higher as I put my eye to the viewfinder. Also, cover your ears. A full-face ski-mask helps with exposed skin during wind-chill conditions, but the opening for mouth and nose can sometimes serve to hold warm, moist air against the camera as you compose your shot, fogging the viewfinder.
Get in the habit of closing your camera bag at all times, since blowing snow and dripping water will get inside easily. Also have plastic bags or camera covers handy to keep it off the camera when you’re set up on the tripod and waiting for the right conditions, and a small towel is always a good thing to carry to dry things off (plus it’s rumored that Bugblatter Beasts are more active in colder weather.)
A curious little tip: think carefully about your shots before you venture ahead, especially when looking at that pristine snowfield – once you’ve dragged your tracks through it, you’ve got a long wait before they’re invisible again. Staying to the edges of fields and treelines keeps the evidence of your presence less likely to be in the middle of your composition, as well as helping you stay hidden when the deer or fox appears in your view.
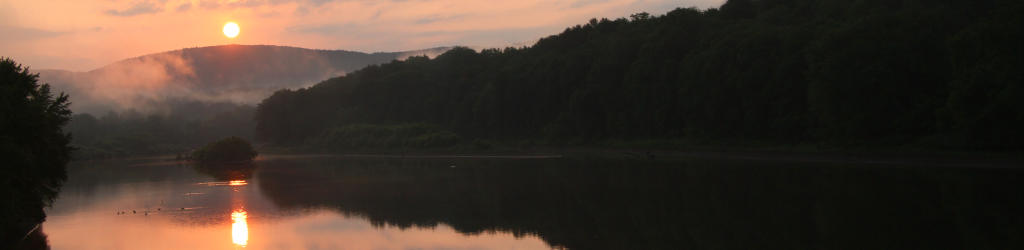
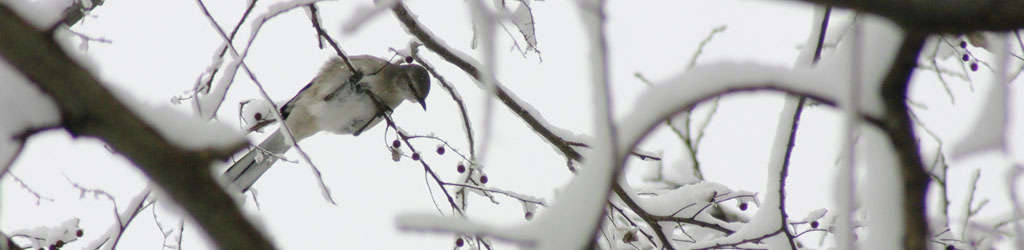
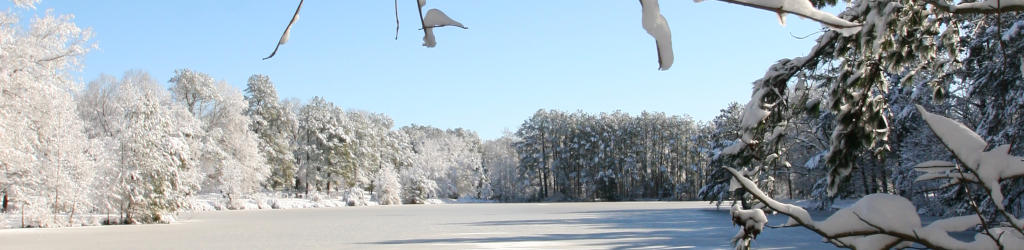
 Sunny days, of course, provide the best conditions for winter shots, giving great color and bright snow, and the lower humidity of wintertime means the skies tend to be more deeply blue. You also have the opportunity to get nice color refraction effects from ice and snow, but be warned: even seeing these in the viewfinder is no guarantee that you’ll capture them in the image, since the closing of the aperture as the shutter opens might cut off the effect. Setting for maximum aperture, as seen in this shot, can help ensure that you catch it, as well as providing nice round ghosts instead of ones shaped like your aperture, hexagonal or octagonal. If you want to know more about this, I’ve explained the effects in detail on this page.
If your car is nearby, park it facing the sun if you can – this will provide the best greenhouse heating within the vehicle and may give you a warm haven for breaks. Setting the camera or batteries on the dash can help restore heat, and you can even start the car and set your wet gloves atop the engine to dry – just remember that they’re there and don’t set them on a dirty surface. And if you have a car charger for your batteries, all the better.
If you’ve been out for any length of time, your camera and lenses will have chilled down, which means taking special care when you enter a warm building. The cold surfaces will attract condensation and fog up seriously, so keep the camera in your bag and the lens caps on until everything warms up. If you need to shoot indoors quickly, pop everything into ziplock bags so they can absorb the heat quickly while not being exposed to humidity.
To top it all off, I finished my instruction page for creating a sun and moon guide for 2011. With a little bit of effort (maybe 15 minutes,) you’ll have a chart that tells you precise rise, set, and transit times for the sun and moon in your area, all year long. This is more useful than you might think, when you’re actually planning your scenic and artistic photos (which is a good idea.) It’s one thing to catch a good sunrise; it’s another to be on location among a great setting to take full advantage of it. Yes, I know your fancy cellphone can do this for you – until you can’t get a signal, and in many of the places I shoot, that’s exactly what happens. Use whatever works for you, but planning can make a world of difference.
Enjoy the holidays!