


The pursuit of the ideal softbox for flash macro photography has been going on for a while now, with many iterations, and now we have another. The last version took advantage of being able to hash out and 3D-print a design more optimized for the purpose, because I now could, but I realized after a while that I’d made a mistake. In thinking, A parabolic reflector would maximize the light getting down to the subject, I designed a partial dome reflector – not actually a parabola because I wasn’t sure how to trick that out in Blender, and because a true parabola needs the light source at a specific center point within, a point that I’d never get a flash unit to sit at without blocking too much of the light, plus the idea that an offset design allowed the light panel to sit more over the subjects. This was the previous design:
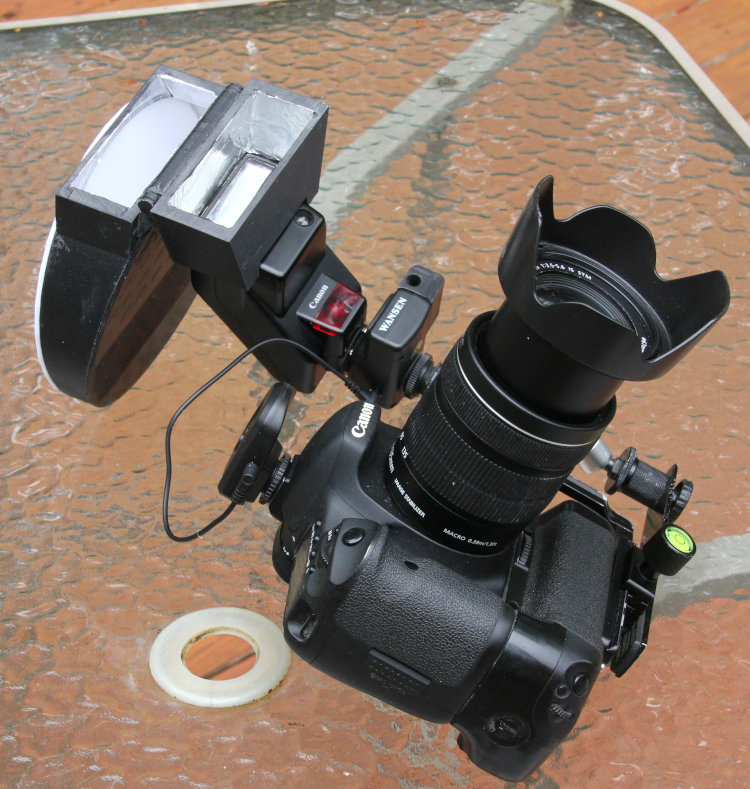
It was okay, but not optimal, because it had a hotspot coming through the white diffuser panel that could be seen with highly-reflective subjects – granted, this impact was probably trivial because very few would notice it. But the biggest mistake was, with the light source (the flash head) offset to one side and having to reflect at nearly a right-angle, the dome wasn’t actually doing anything, and might have been scattering light in the wrong direction. So I went back to the original design, which I’d had to initially trick out in cardboard, but later did at least use sheet plastic. With the 3D printer, however, I could make a circular base much easier.
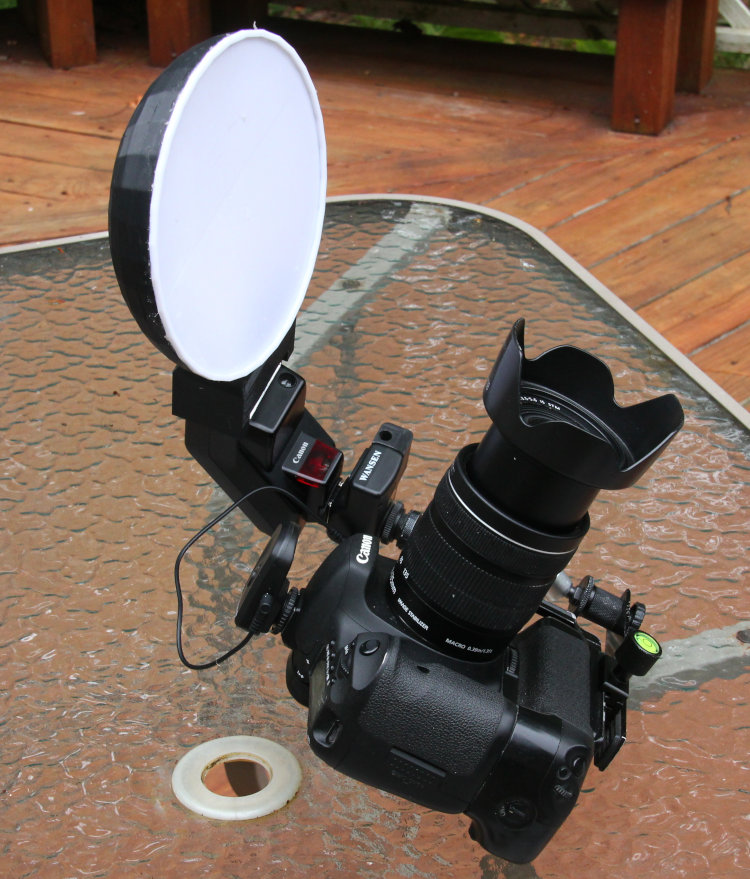
The flat reflector panel on the back (coated with aluminum foil, as is the entire interior of the softbox) bounces the light more directly downward, and the diffuser panel evens it out and softens it, to make a broader and lower contrast light, which we’ll see in a minute.
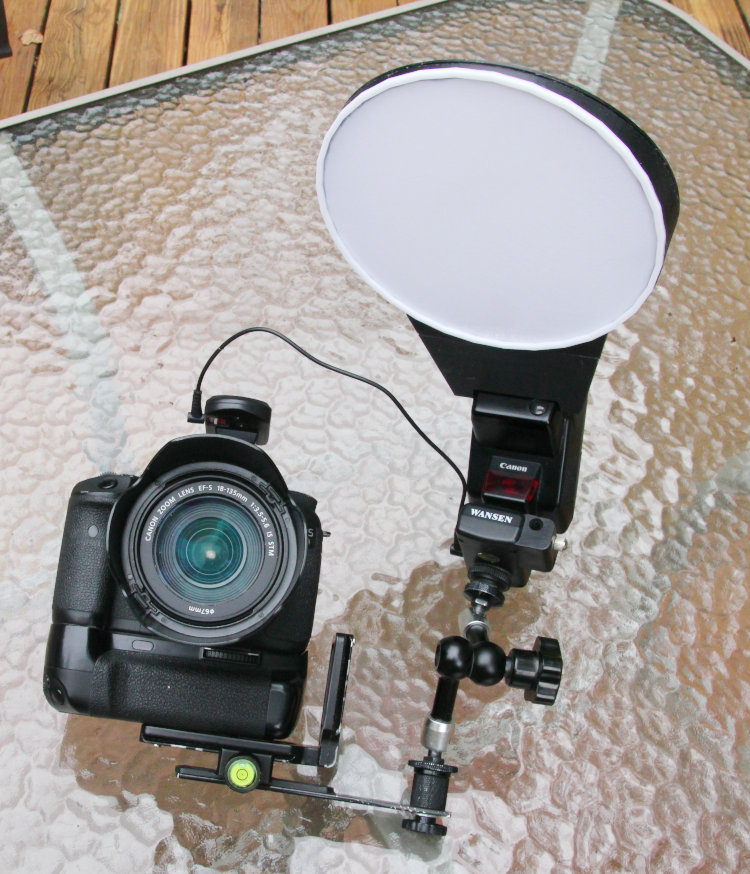
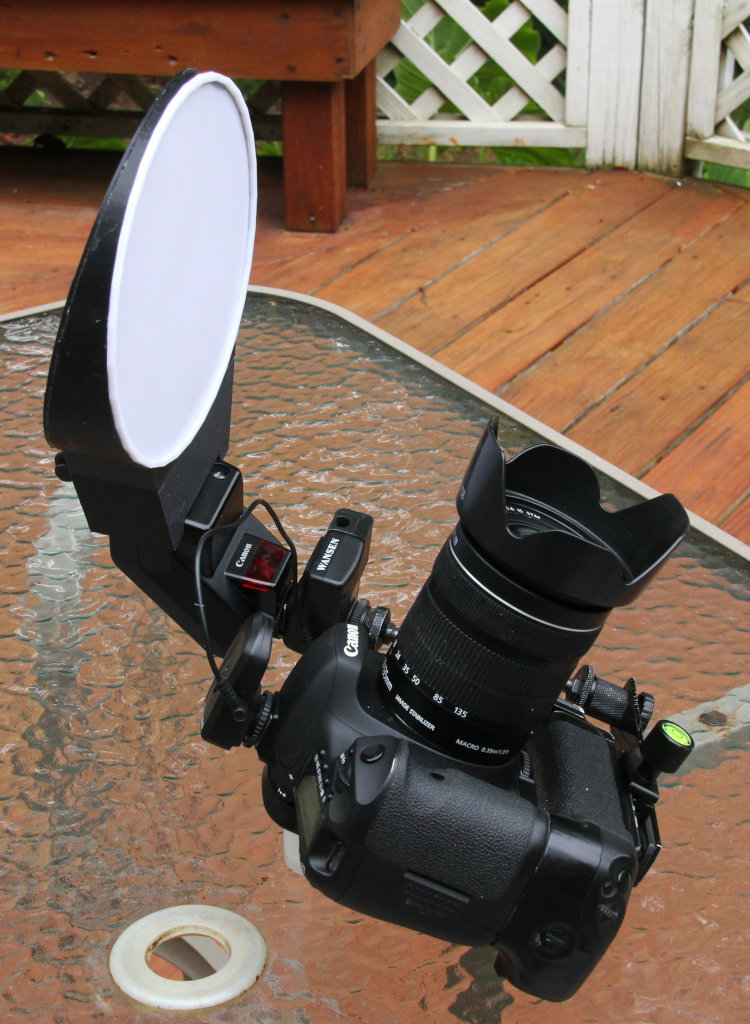
Once again, the flash and softbox sit on an adjustable arm to allow more specific aiming and positioning, which permits better light angles that can be chosen for the subject matter. There are two significant upgrades to this, however. The first is a rubber gasket (actually TPU, another 3D-printable material) within the tunnel that fits over the flash head that allows a snug fit that’s unlikely to come loose in the field. The other is the hinge:
This was actually added after initially printing the parts, but before I assembled them. It permits switching to direct flash instantly without fumbling with removing the entire softbox attachment, which of course would then have to be carried around in one hand; I’ve found that I needed this more and more, especially when something like a beaver makes an appearance when I’m out chasing lizards or something. Removing the softbox was never silent, and always stood the chance that I’d fumble and drop it, which was too likely to split the diffuser panel – it is, after all, only a single layer of white PLA about 0.35mm in thickness, and I’ve done it several times now. I mean, I just print another, it’s only attached with contact cement, but avoiding this is better overall.
Now, how well does it work? Let’s look at the test comparisons.
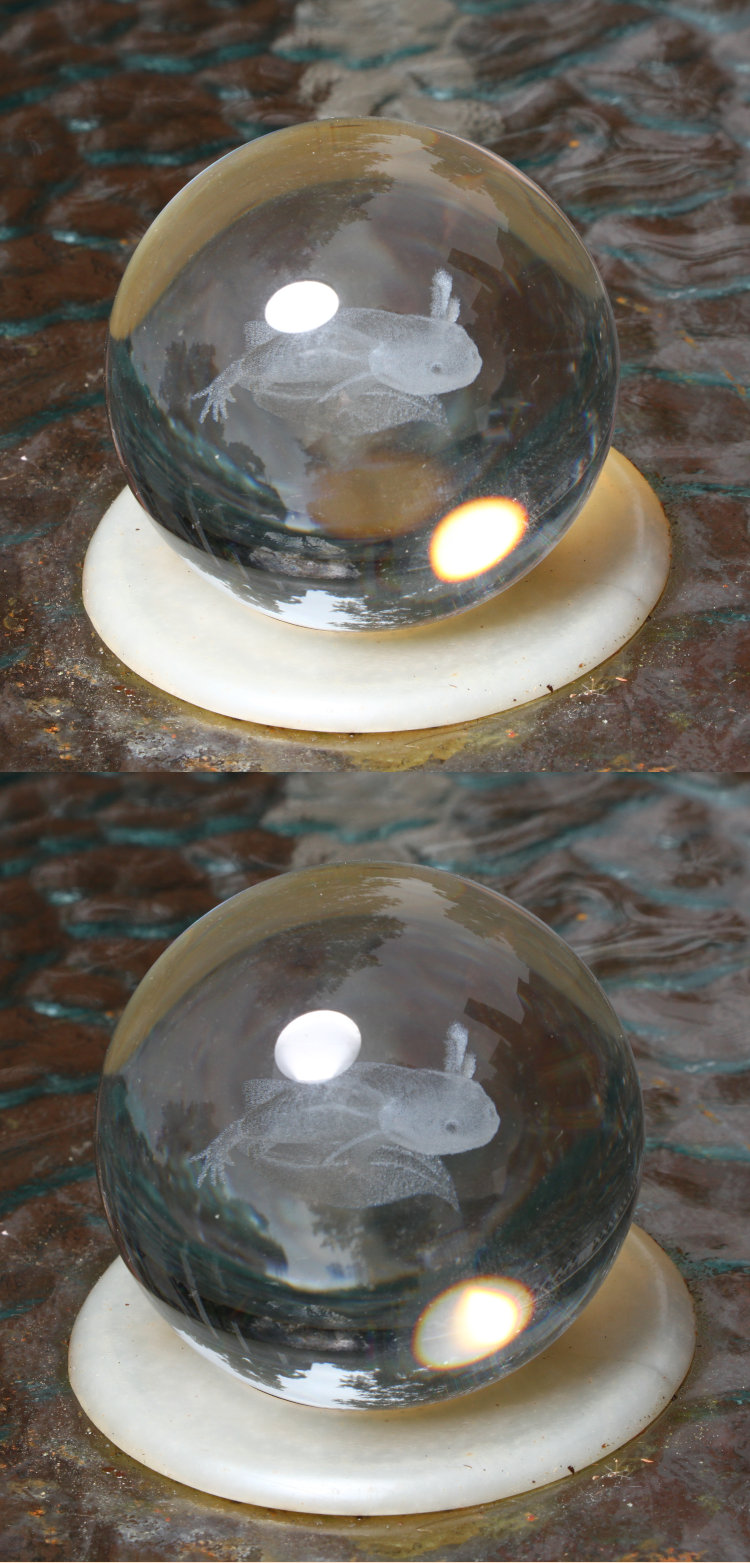
Shot back to back with the same settings, you can see the difference between the new (top) and old (bottom) light outputs – the top one is much more even and seems to be at least 1/3 stop brighter, possibly more. [The subject is my go-to for such tests, a 40mm ‘crystal’ ball that really shows reflections – it represents the worst-case scenario that I’m likely to encounter, essentially a giant water droplet.] Both of these were at my typical macro settings, 1/200 second at f16, ISO 250 – best for stopping action and flash synch, depth of field, and image quality. Now we look at a purposefully underexposed version to see how even that output really seems.
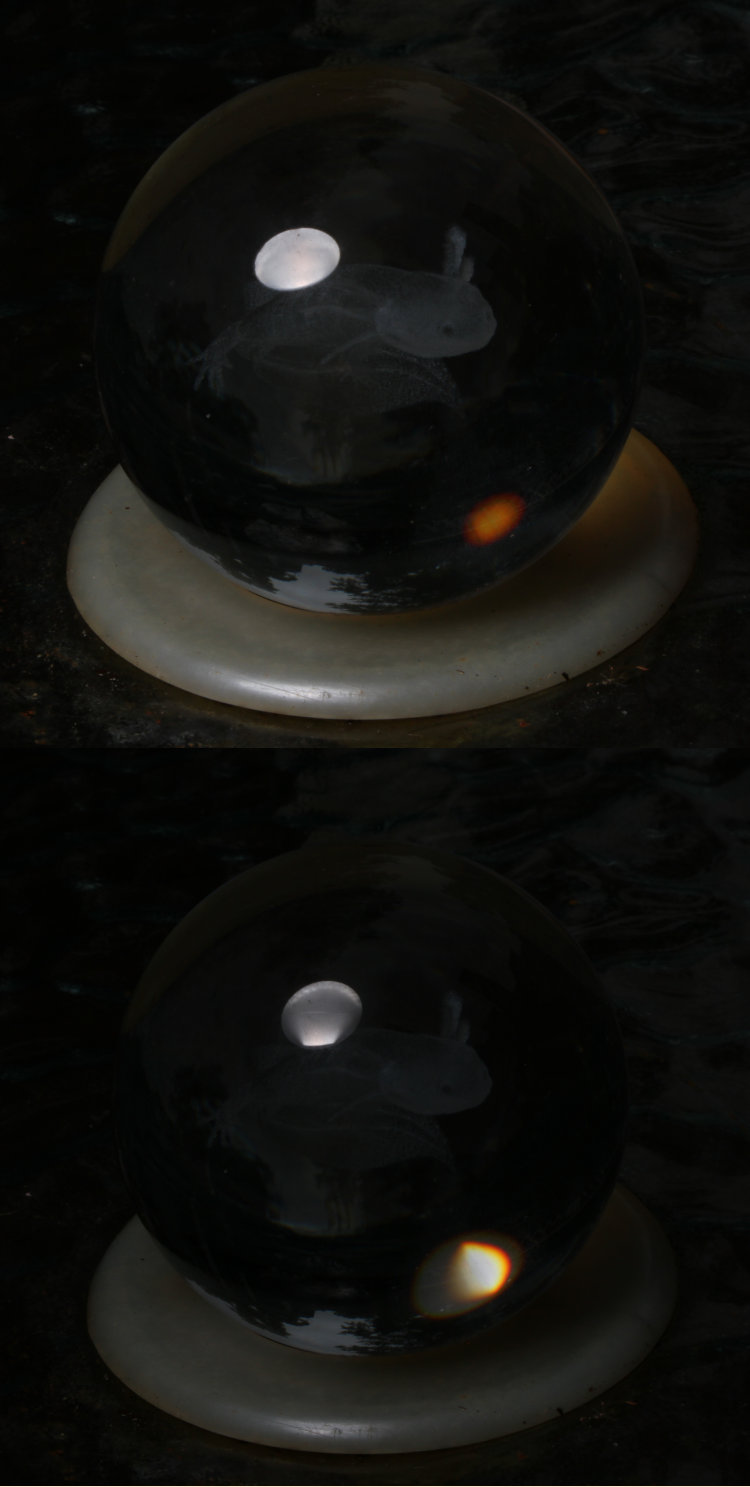
Same again, new on top, only now at F32 and ISO 100, underexposed by over 3 stops. The hotspots are now clearly visible, with the top being more even – still not perfectly balanced, but without the distinct tunnel edges showing up through the diffuser.
Sure, okay, but what about the field results?
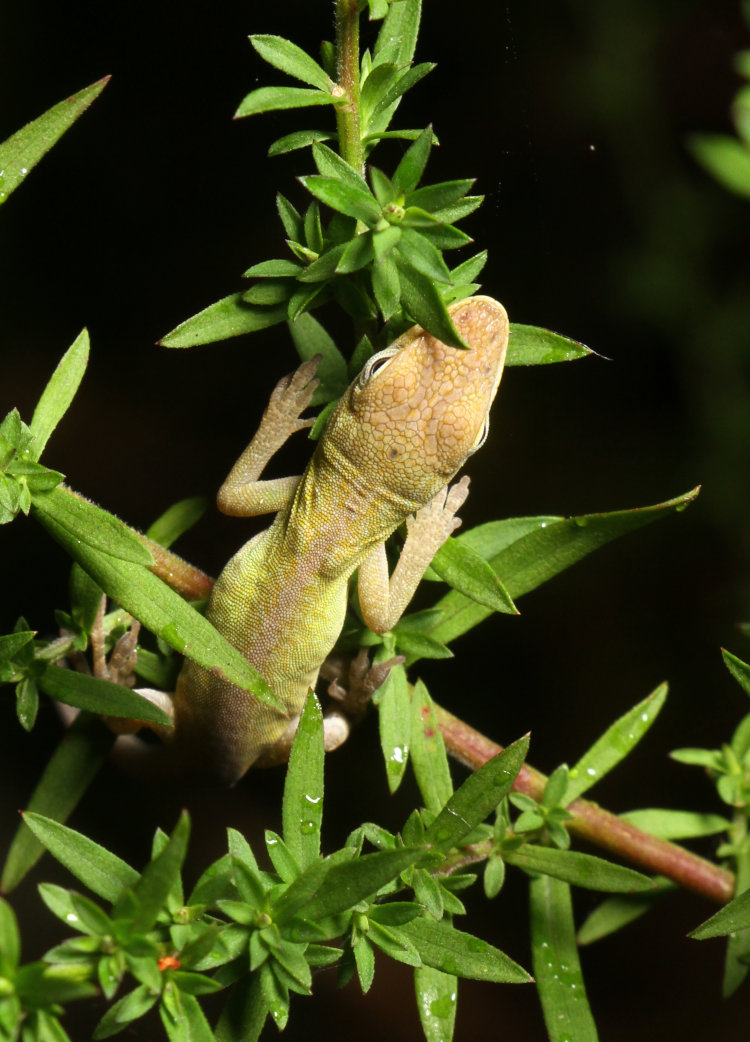
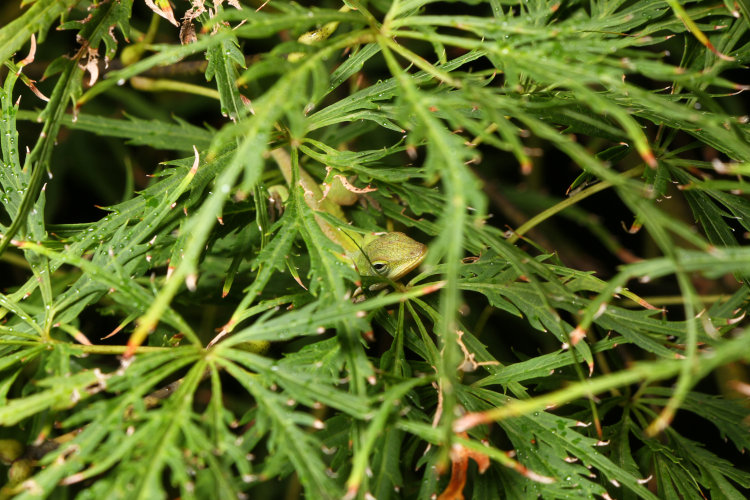
Yeah, okay, another goddamn anole, but they’re effortless macro subjects because they’re always within a handful of meters of my door, so stick it. Notice, though, the very even light without harsh shadows or deep contrast, directional enough for shaping (see the backs of the eyes and the base of the skull, the faint shadows that help define those,) and even the leaf that sits directly above the anole’s nose doesn’t cast a harsh shadow. And while this is cropped, the light remains pretty damn even throughout the frame.
Another example:
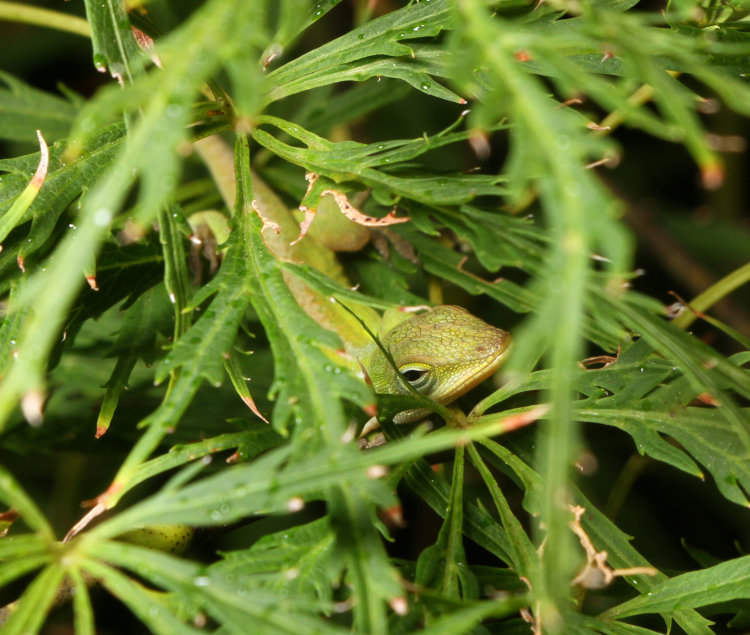
Still late at night, but the lighting is so even that it could just about pass for daylight, and with a subject this obscured by leaves, the shadows could easily have made a mess – this is even better than expected, really. I can live with this.
We go for the full-frame, just so you know that the diffuse effect isn’t too small:
At closeup distances, the entire frame isn’t all that big, less than 20cm across, but that’s a wide field-of-view for macro work, and the light is even throughout, as well as penetrating the layers of leaves because it’s coming from a larger area – that’s the entire point of a larger diffuser panel. I’m considering this a valid design.
This will be uploaded for others to print, but it may be for a fee – trivial, many times less than what any ‘legitimate’ manufacturer would be charging, but if I can get paid a little for my time, sure. The stickler is, this is designed around the flash that I’m presently using, an old Canon 300EZ; lightweight yet still decent light output and reasonably fast recharging times (four AA batteries instead of the two typical for small flash units.) The fit is snug and perfect, but it’s not going to translate to other flash units in any way, and so far, I’m not sure of how to accomplish this effectively – I’m even going to have to reprint at least the tunnel if/when I go back to my preferred unit, the Sunpak Auto 322 (presently in need of repair – I think the capacitor failed.) So how to make this so it can be used on a variety of flashes? I mean, I can make adapters, but I only have a couple of flashes available to even measure. I can give instructions on making an appropriate adapter or just TPU gasket, but too many people can’t use either Blender (a design program) or TPU, which is admittedly tricky. Still hashing this out…
Meanwhile, for amusement: Right after getting the illustrative pics seen here, I started for Walkabout Studios with the camera and flash unit in my hand, and the fucking flash and softbox slid out of the hot shoe and crashed to the floor, breaking the hinges on the softbox free (they were only glued on – the finished design will have them incorporated) and splitting that damn diffuser panel – and I’d just printed the new one last night! This is actually one of those design flaws, just not mine: flash units only occasionally lock onto hotshoes as firmly as they should, and the 300EZ is not among them. Smooth plastic locking rings onto smooth metal hotshoe flanges simply won’t produce a firm grip. Now, the repairs can be done easily enough, and as I said, the finished design will be sturdier in that regard, but I’m now motivated to find a method to lock onto the hotshoe much better. Right before I’d started taking the pics, I’d tightened down the goddamn locking ring, so there’s no chance that it was loose – it’s just a shitass design that’s been around for the better part of a century, badly in need of improvement but still here due to universal usage. Anyone that creates a new one instantly makes their equipment incompatible with everything currently on the market – inertia and universal adoption is the foil of innovation. We’ll see what happens, but for me, I’m thinking of a rubber or nylon gasket between flash and shoe, able to be compressed and prevent slipping.
That said, watch for more new softbox results soon.