


Zoo, aquarium, and animal park photography can be exceptionally frustrating if you’re trying to make your images look like they weren’t shot at such place, meaning, keeping all evidence of enclosures and fencing and all that out of the pic. While I never recommend trying to misrepresent your photos and claim that they were shot “in the wild,” there can still be times when you want nice images of exotic or rare species without the distractions and implications of the enclosures. Here are a few tips in that regard.
Wear black. For the simple reason that this is less likely to show up as a reflection in any glass that you’re attempting to shoot through. Additionally, a small, lightweight black cloth can help by being thrown over or held in front of anything else that might be generating reflections.
Have a friend. To hold said black cloths, or an external flash, or even to attract the attention of any critter who is disinclined to look up for the portrait. They, of course, should be wearing black too (the friend, not the critter – you might have a hard time with the latter.)
Other soft cloths. Specifically to wipe away the smudges and grunge from the side of the glass you can reach – don’t use your black cloth for this.
Rubber lenshoods, preferably the collapsible kind. These can be held right against glass or fencing to cut those stray reflections from the near side, which might even include your own flash.

Off-camera flash sync cord. Another place where your friend can come in handy. This is to allow you to position the flash to illuminate your subject best. Lacking the friend, you can often get by with a flexible bracket that allows you to position the flash as you see fit. Bear in mind that you may be trying to see under overhangs, but also that you want to avoid flash reflections and glare from the back side of any enclosure, which direct flash is very prone too.
The zoom lens is your friend. For flexibility in framing, of course, but also to help fuzz out the fencing that is visible, that you might even be shooting through. Having a variety of lenses is best, and know that the longer the focal length (or the greater the magnification,) the more you can blur out foreground and background elements with a short depth-of-field.
Now some general shooting tips.
Above all, follow the rules. Don’t use a flash where it’s prohibited, don’t go climbing on things that aren’t intended for such, don’t try to coax an animal with food or any other objects. Not just to avoid getting kicked out, much less injuring yourself or an animal, but to set a good example. People may be seeing us as experienced and/or knowledgeable (dog knows why,) and are generally inclined to mimic what they see others doing. It’s better that we show that something is not worth doing “just to get the shot,” rather than behaving like an ass.
Be respectful of other people. They’re all there to see the same things you are, so don’t hog the best perspective, and don’t take up space with a tripod where it might trip or block people. Let the kids hurtle around as they are wont to do – if you want silence and privacy and all that, there’s a great big world out there where your stalking and patience skills can be put to use.
Personally, I sometimes set up my tripod purposefully lower so that anyone that wants to take a peek can do so much easier, and have even detached my camera body to let someone else attach theirs to use my long lens. I also, when it seems warranted, offer insight into a species that I’m fairly knowledgeable about (I don’t interrupt people, but if they seem genuinely interested, I’ll offer a comment or two.) People that are also aware enough and apologize for their kids or even blocking a subject for too long are always treated graciously – again, set an example.
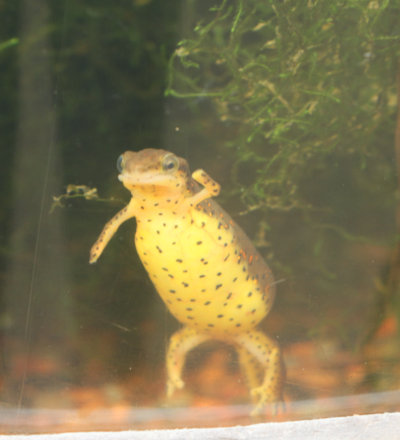
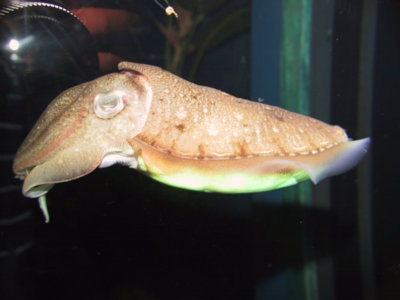
Get right against the glass or fence whenever you can. This will minimize distortion, block reflections from dirty glass (you usually can’t clean the back side,) and fuzz out as much as possible through the shorter depth-of-field. This will also make it harder for your own flash to bounce back to you.
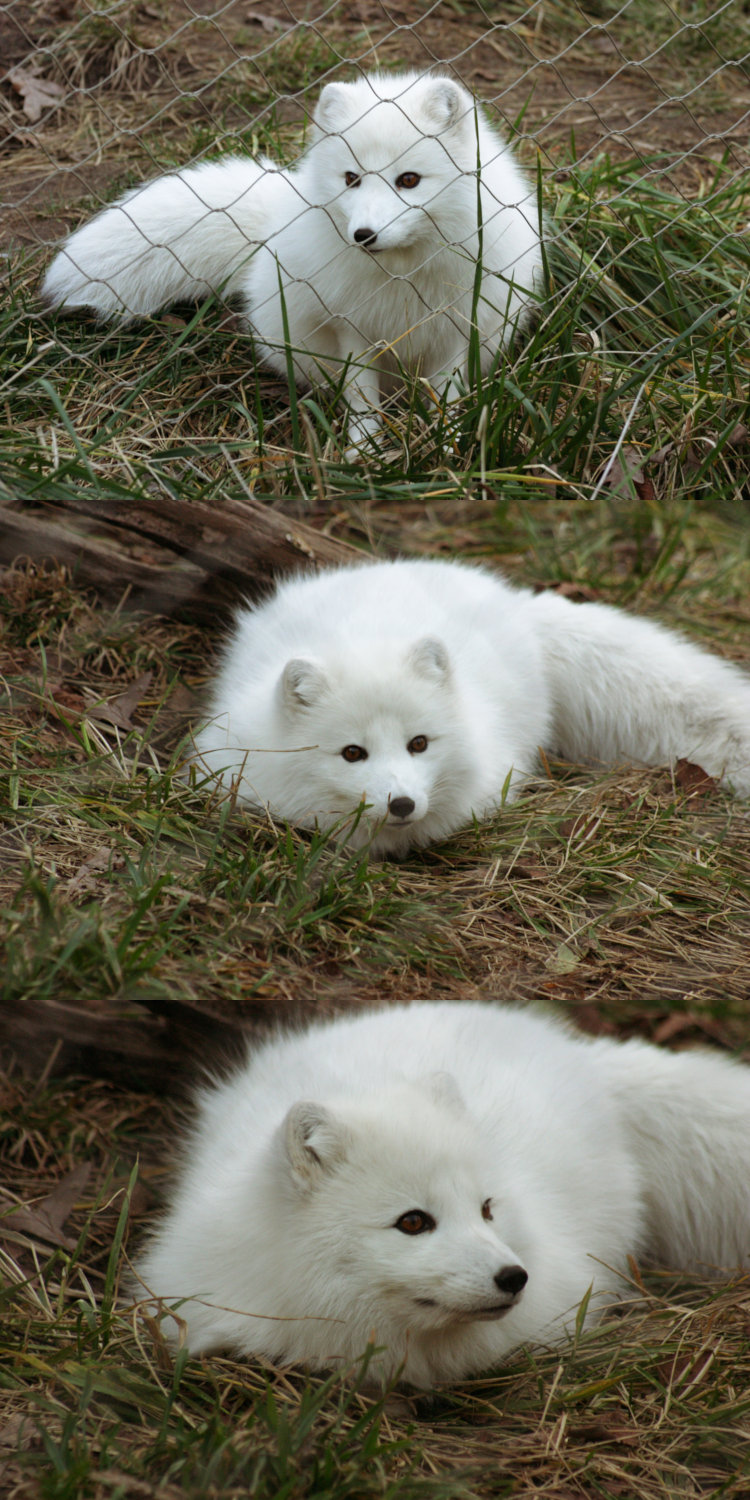
Shoot through the fencing openings. Well, duh, but what I mean here is, when you have to shoot through fencing, center your camera in the opening – the fence peeking in at the edges may be defocused enough not to attract attention, or more easily cropped out later. The longer the focal length, the more defocused this will be, and well as simply missing the fence altogether from the narrower field of view. If you have the choice, black fencing is better than the typical zinc-grey, though you usually don’t have the choice. But also look around carefully to find gaps you might exploit, for instance along the post or around a gate.
Use depth-of-field to your advantage. As noted above, DOF drops with magnification, but also, it drops with difference between focal distance and foreground/background. In other words, to fuzz out the background, wait until your subject is closer to you than to the background, so your focus goes shorter. However, when trying to get an intervening fence out of focus, the subject being farther away works better. Naturally, a larger aperture (smaller f-number) helps significantly in shortening DOF.
Know that some background patterns, specifically brick walls and lighter-colored fencing, will remain recognizable no matter how short your depth is. Also, any highly contrasting items will show up as well – so, aim away from posts, bowls, and other such elements.
Experiment with that flash angle. You may not realize how badly it will reflect from other surfaces, or fail to properly illuminate your subject, until you see the results, so this is one of the few decent uses for chimping (looking at the LCD preview of the image afterwards.) Also, some species have iridescence that only shows up at specific light angles.
Creative angles. Most notably, a downward angle on your subject can eliminate the ugly background from the enclosure walls/sides, or you might even disguise such by shooting through gaps in foreground clutter. Tracking a moving subject until it gets against a complementary, or properly contrasting, background can improve things dramatically – you might even stack a few of the same species together and give an idea of a herd/flock/troop/parliament with only two or three individuals.
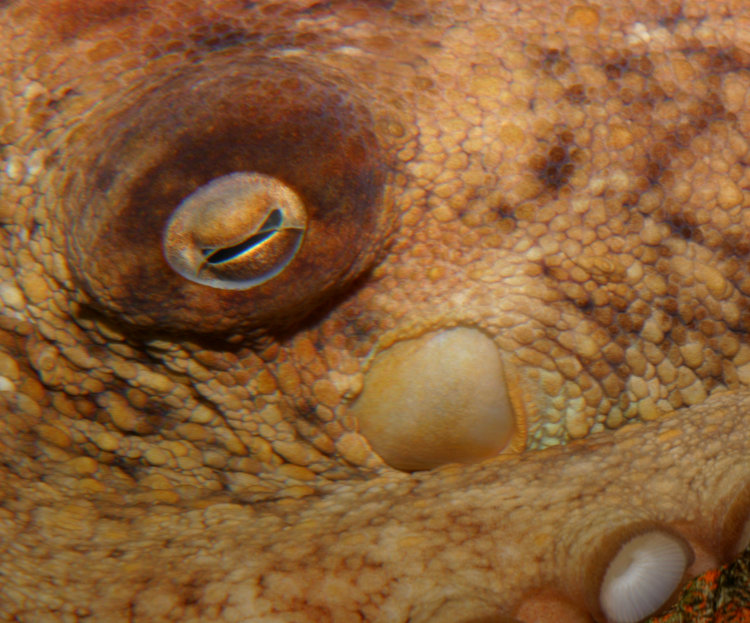
Watch for the abstracts. Two species together but facing in opposite directions, extreme closeups of eyes (especially through foliage – so dramatic,) the intricate details of feathers or hides – all much easier to achieve with captives, and easier to disguise or avoid the backgrounds too. Be creative and have fun.
Get there early. For two primary reasons. The first is, most animals are more active in the early hours, especially when the days get hot, so you’re more likely to capture something interesting. The second is, you’re more likely to beat the crowds. After a while, you won’t even be able to get close to the popular subjects. Have patience, though – crowds often happen in cycles, and with the right timing, you can rotate around opposite their presence.
However,
Light angle can make a huge difference. This is where knowledge of the layout of outdoor enclosures can be handy, because certain times of the day may produce deep shadows right where the critters congregate, while others may suddenly give you that excellent portrait lighting. If you’re only after a couple of subjects, you can sometimes plan accordingly, though if you’re after a broad variety, you might be there all day and cycling around to use the light to advantage. When you get that lovely catchlight in the eye of the binturong, however, you’ll know your efforts were worth it.
Know your species. Overall, spring is the best time, because mating usually occurs then and the animals try to look their best, so breeding plumage is at peak. But also, the new warmth has more species active before the heat of the day, or the summer, hits. That said, species that change coats have different appearances in different seasons, and for a few of them, deep winter is best. Meanwhile, fall can be useful in the background foliage, or with species becoming more active after the heat of summer and before they tuck in for the colder months. No one day or season will work for every critter in any given park, so cycle your visits as needed.
People watching can be fun too. Capturing the various interactions, or attempts thereof, from the visitors can make a nice tableau, though of limited use unless you obtain permission. Often enough, it’s just entertaining to see the reactions and hear the comments, from both the kids and the adults – there are definitely times when I wished I’d had a recorder running. At the same time, some species do develop specific reactions to visitors, which you can capture if you’re ready for them. Be on your toes.
That should be enough of a start, anyway. When you go, go prepared, and make the most of your visits. And use them as learning opportunities for future visits as well.
Good luck!
