So now, let’s talk about another aspect of controlling your photography – well, actually, I’ll “talk,” you’ll “listen.” That’s how a blog works, unless of course you actually decide to comment (you are more than welcome to, you know.)
Anyway, the impression of many people is that nature photography means taking things as they are, capturing only what exists, rather than, for instance, staging an image. But there are many techniques available to control your image, without actually involving staged circumstances, and one of them is lighting.

Natural light can be very useful, and it is perhaps the best thing to use to have your backgrounds showing up cleanly, but it’s arbitrary and capricious – haze and overcast change the colors of your image, as will ambient light reflected from nearby foliage or surfaces, and light levels don’t always allow you to capture the action (or even hold the camera still enough.) Too little light, and your shutter speed has to drag out to let enough in for a proper exposure, and there’s too much chance you will twitch the camera or your subject will move – these are the number one causes of blur and softness in photos. And the contrast may not work to your liking. My treefrog subject here is docile enough to let me both use the tripod, and play around a bit with options.

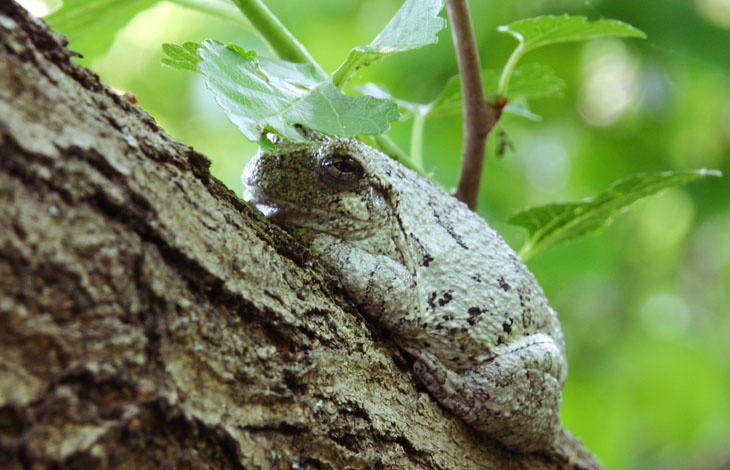
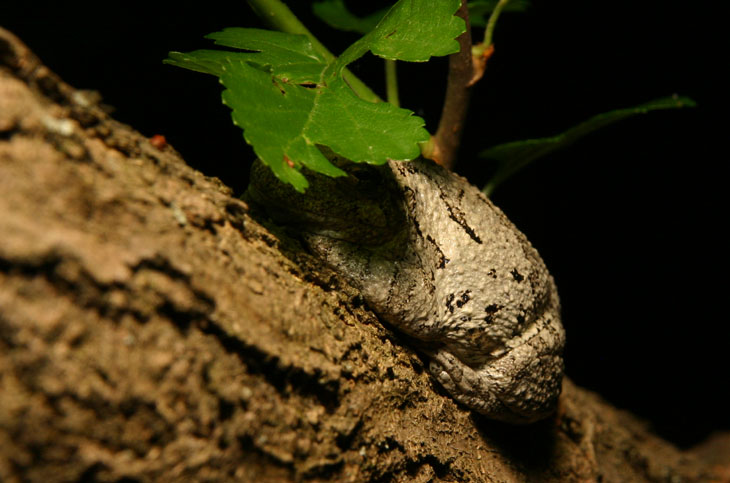
So the first option is to use a flash or strobe, getting adequate light onto your subject, color-balanced, and perhaps even from the direction that you want. But it is often harsh and very high contrast, which photography only increases – both film and digital almost always appear higher in contrast than our eyes see. This makes colors “pop,” but it also increases shadows and may drastically change your image. These images were taken only seconds apart, but as you can see, either night fell with extraordinary speed, or something funny happened with the light.
What was funny is that, even though both images used an aperture of f16 to maintain a certain depth in detail, one was done with natural light using a very slow shutter speed, and the other with a flash (and softbox) at 1/200 second shutter speed. The top one allowed the low light in the background to come through, the bottom one relied entirely on the flash – the background light was too sparse to even show up in the exposure. Yet, the detail from the frog isn’t necessarily better, most especially because the shadows that were introduced hide the eyes and make things a bit harsher. Enter the sneaky little trick of most serious photographers: the fill lighting.
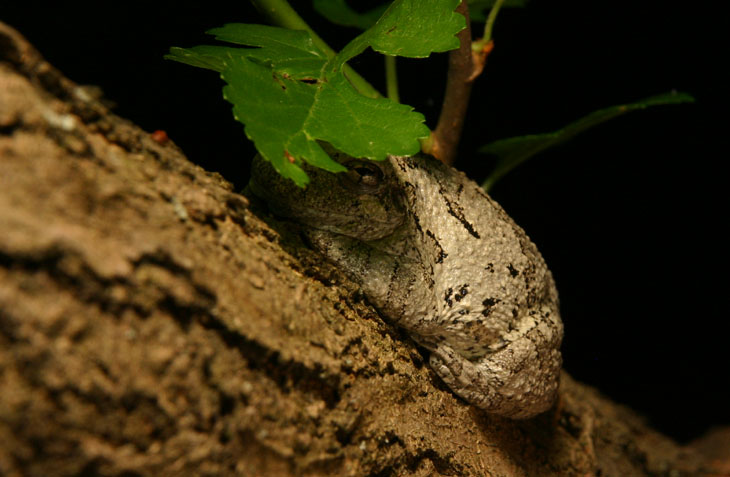
Even see a model shoot, where photographers’ assistants are running around with large reflective panels or adjusting multiple light sources? These are used to balance the light levels in the shadows, so the shadows don’t become too dark and detract from the image, like my example above. It’s call fill lighting, and it’s always dimmer than the main lighting and usually from an opposing direction, giving soft illumination where the main lighting does not reach, yet not detracting from the impression of a single, perhaps natural, light source.

Now we can compare the difference. Look at the eyes, and the shadows on the bark – even at the highlighted sections of the frog’s shoulder. Far less harshness, less idea of a flash being used (also helped by the diffuser on the softbox,) and the eye becomes visible, which is good because we always look to the eyes. A little fill can help quite a bit, but there’s still the idea of the frog hiding under the leaf, and the eye becomes much more effective being almost hidden rather than completely invisible.
Fill lighting can also be accomplished using natural light, such as bright sunlight, as your main light source, and the camera strobe for the fill. A camera strobe is never a match for the light the sun puts out, but it can be sufficient to soften the shadows and throw a little light into hidden areas, like the first photo here. If you find yourself even doing casual portraiture in brighter sunlight, try firing off the flash – you may like the results a lot more, and get rid of some of the contrast and dark shadows.
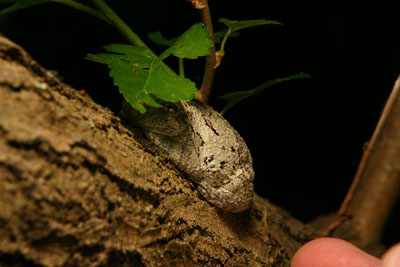
 Ideally, fill lighting should be accomplished by measuring light levels and using a variable light source, whether it’s an adjustable strobe or having your assistant angle the reflector differently. But such luxuries are rarely available to the nature photographer (the subject may not hang around for much in the way of shenanigans,) and there’s only so much equipment you may want to carry anyway – I know I have my limits. But in a pinch, you can make do with materials at hand. White surfaces will bounce a certain amount of light, aluminum foil and similar materials a bit more. Finding myself in need of the reflection and not having anything other than the camera and softboxed strobe, I cheated. One of those little pieces of plastic in my wallet turned out to be useful for something after all, when the white back, held just out of view, could be used to bounce some of the strobe’s light back into the underside of the frog. Here, you can see my fingertips intruding into the frame.
You may like any one of these images better than the others, and that’s fine – opinions vary, and your own artistic expression is part of your style. But if you’re planning on selling images, bear in mind that editors have their own goals for illustration, their own stories to accompany. The “daylight” shot is nice, but a bit low contrast and green, and treefrogs are primarily active at night, so the “night” shots have their own uses. Get a variety of images, and yes, more angles than I’ve shown here (which I did indeed get myself, I just stuck to a particular point for this post.)


