


Once again, we’re going to delve into this deal where I tell you to work on mastering something that I haven’t mastered myself – do as I say, not as I do and all that. Except, I don’t really believe that anyone masters anything in photography; there are simply different levels of skill, so let’s use the word ‘improve’ instead, and we can all stand to improve, so my ass is nicely covered now. But yeah, don’t aim to emulate me – aim to surpass me. Fair enough?
What I’m talking about is a trait that macro photography falls into far too often, which is simply illustration. Illustration is all well and good, because we’re often fascinated by seeing the little details on critters and plants and so on that we don’t normally see in our big hulking everyday world. But illustration has a relatively narrow range of uses, and there’s no reason to view macro photography any different from scenic or fine art or even portraiture, and these can even be combined; we can produce illustrative images that are still fartistic, even able to be sold as art prints.
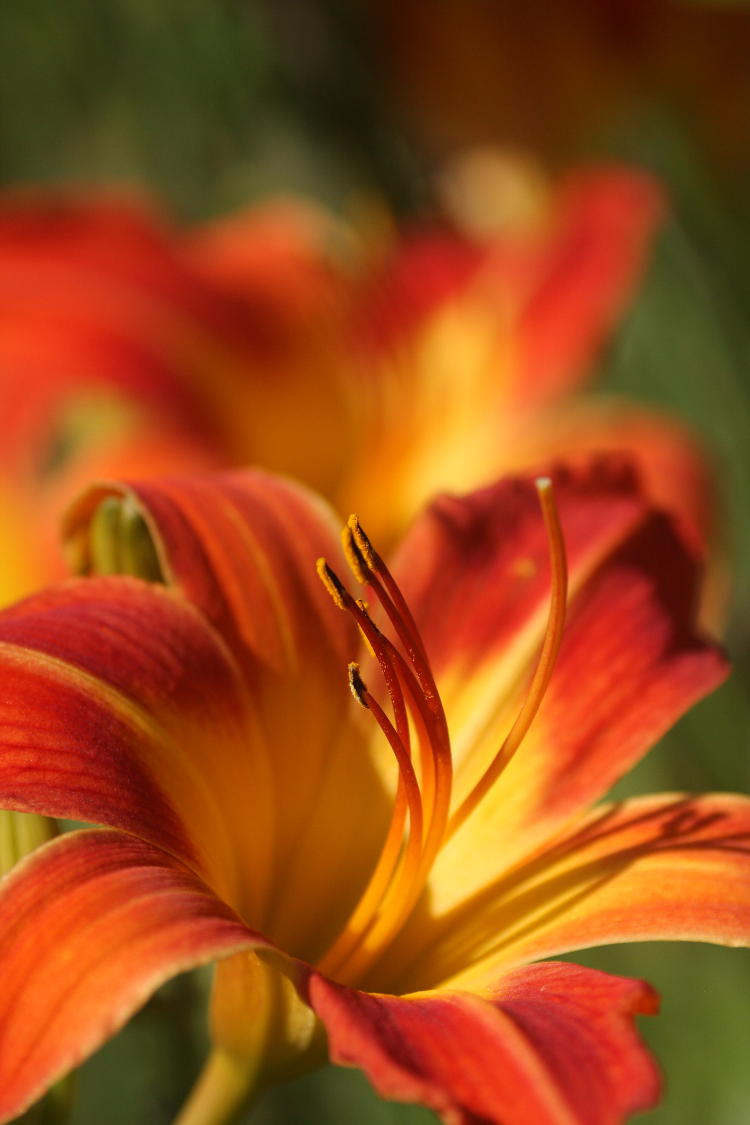
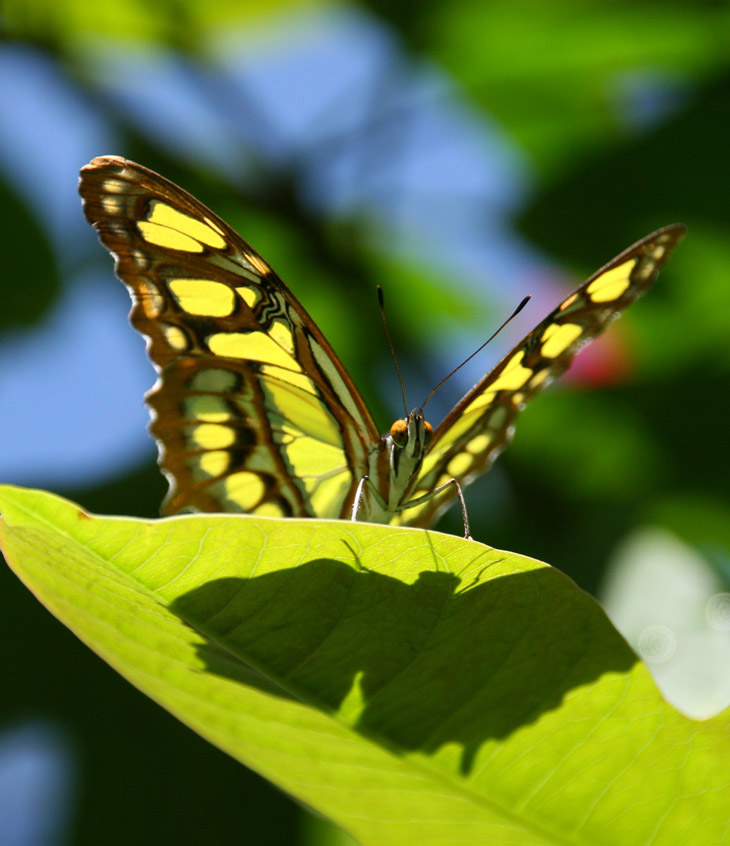
The first part is even a useful aspect of illustration: choose a background which works best for the subject. In many cases, a small change of position may place a color that contrasts better behind the key facet of any subject, making the details stand out better. Natural elements in the background can serve to frame or highlight the subject. And the same rule still holds true through all aspects of photography: be aware of what’s back there and if it’s distracting or not. Remember that, even though we’re typically working with a greatly reduced depth-of-field because of the magnification, this does not mean that the background is always blurred into insignificance. Distracting colors and harsh contrast are still going to show up, even if wildly defocused, and patterns such as fences, brick walls, and distinct edges will still be visible – depending on our aperture settings, a whole lot more visible than what we’re seeing in the viewfinder as we focus, since the aperture typically does not stop down until the shutter is tripped. Thus, what didn’t show too clearly as we framed the shot suddenly becomes a more noticeable part of the image, so this is where the depth-of-field preview function, if your camera has it, comes into play.
The smaller apertures and commensurately reduced light often requires us to use supplemental lighting rather than natural, yet the light from a flash/strobe drops off quickly and can render the background into darkness easily, making most of macro works look like it was taken at night regardless of when it was actually taken. There are multiple ways to help prevent this, and having a second, brighter light just to illuminate the background is one of them. This starts to sound like studio work and a lot to lug around, but portrait photographers do it all the time; we tend to think nature photography is ‘field’ work, and while we might have a lot of lenses, lights and stands are not part of the idea. But you use what it takes to get the images that work.
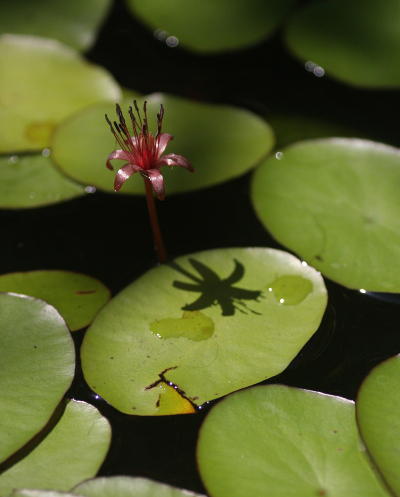
Another option is to get low enough to use the bright sky as a background element, and this can also produce some dramatic angles at the same time. Or you can ensure that your background is close enough to be illuminated by the same main lighting unit, which can sometimes be achieved easily, or sometimes might require doing captive work in a tabletop ‘studio’ setting, which can solve a lot of other problems as well. This raises the question of how much ‘staging’ is acceptable for our work, and I’m not going to answer that one for you – it’s a personal decision, and might even depend on end uses. I’ve covered the topic before a few different times anyway, so I’ll link to them below.
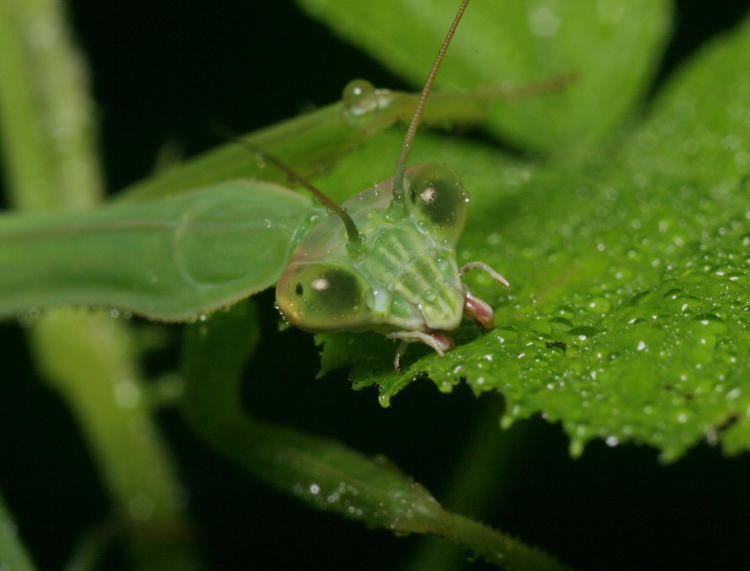
There are another two aspects to consider: habits, and ‘personality.’ Habits are self-explanatory, for the most part; capturing some behavior, or even some transitional trait, just adds to the interest and uses that the images can be put to. Personality is a little different, since most of our subjects don’t really have any personality to speak of, but humans are a species that can infer it from simple details, such as head or eye position, and capturing an image that seems to indicate some particular emotion, attitude, reaction, or whatever, can make it a lot more appealing. This means being alert to the possibilities, and being willing to get the right angle to emphasize such ideas. Seriously, even an insect looking up tells us something, or as I said, seems to. But we’re not going to get this impression by shooting down from above.
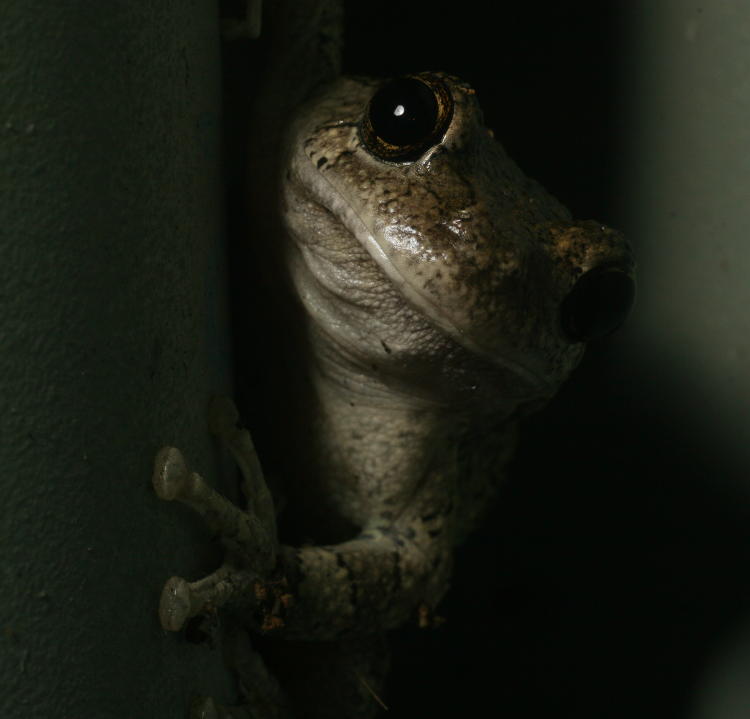
In a lot of cases, this takes either waiting for the subject to achieve some particular pose, or maneuvering around until a perspective that produces a wanted expression is obtained – which a lot of subjects won’t be too cooperative about. I’ll admit that most of my ‘expressive’ images are more happenstance than planned, capturing a fleeting moment, but many still required both a decent angle and the dedication to be shooting enough images and watching for opportunities. Don’t abandon a subject too quickly, and especially watch the eyes; they give us the most recognizable ’emotions,’ and may also twitch only momentarily to catch the sunlight and get that extra sparkle.
By itself, macro work is a tool for fartsy images, because there remain some great subjects and effects only available at high magnification – dew and raindrops, for instance, and the sparkles off of them or the panoramas visible through them. The delicate and sometimes intricate shapes and details of flowering plants, or even just the transition of colors among individual autumn leaves. The latticework of spiderwebs that becomes visible with the right light. The iridescence that may be found in feathers, or insect wing sheathes. Even the camouflage patterns or mosaic textures of reptile skins can be fascinating; all it takes is being open to the possibilities, and maintaining a watchful eye.
Some related posts:
The first post about staging images, and the second.
Using a macro tank for aquatic subjects.
A few examples, part one.
And part two (or is it part one?)