Yet this is a strange way to illustrate it, I admit.
I have mentioned, countless, interminable times, that I am involved in several computer projects, and certainly in the wrong manner if you ask most of those who charge for their expertise in planning and time management, because it’s several projects at once, and when one stalls or I’ve gotten too frustrated with it, I switch to another. This works for me, however, and in doing this, I brought one to completion: I have the film scanner going again.
“Film?!” you demand querulously, offended to your very techno core. “Who the hell uses film anymore except hipsters?” And it’s true that I have been shooting solely on digital for the past couple of years, but a) I intend to do a little film shooting and developing fairly soon, despite my dearth of long hair or a man-bun, and b) I have a file drawer and two ring-binders loaded with film that I shot in the past, that I have no intention of discarding. So, you know, it’s nice to have access to these other than viewing them on a portable light table.
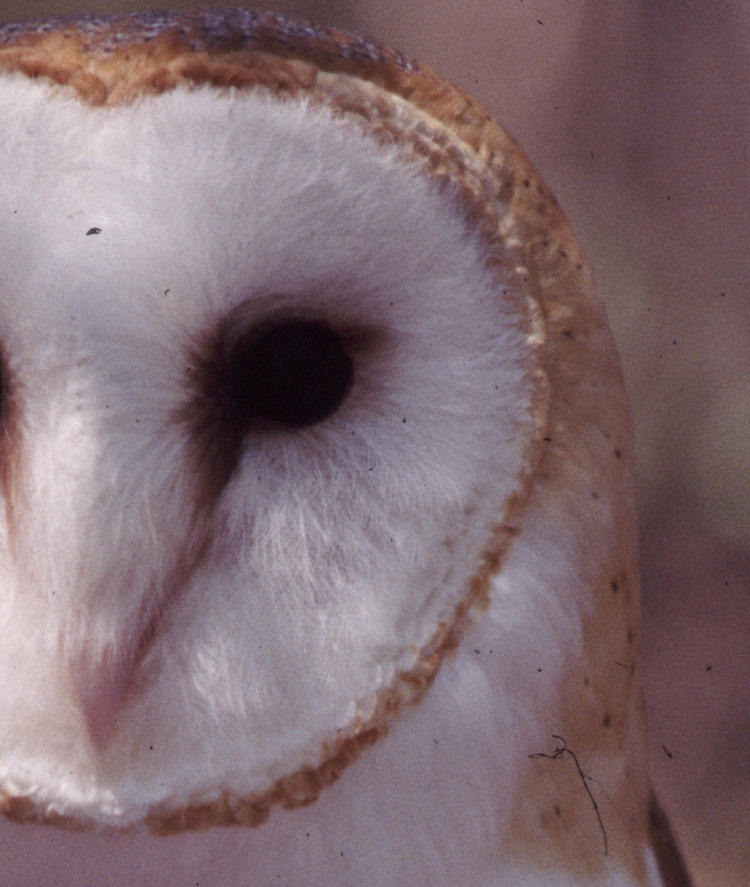
As proof, I provide my test scan:

This is a barn owl (Tito alba,) and as you can tell from the jesses (those little collars around its legs,) this is a captive, photographed during an educational event that I either attended or helped organize – I think the latter. It’s a species I’ve never photographed, or even seen, in the wild, though I’ve been hoping, but given how owls are nocturnal, the opportunities, even if the species is in the area (which does not appear to be the case,) are limited. I could have driven the number of commas in that sentence up to eight if I’d tried…
I didn’t have a particular purpose in having this scan on my harddrive, it was just handy when the scanner started playing nice. One of the issues with this is the two film scanners that I have are both fairly old, running on 32-bit Windows systems, so not ready to play with the later versions in the slightest, much less Linux. There’s one bit of Linux software that will indeed recognize the scanners, but it’s mildly expensive, and in this case I got things happening without resorting to that – not to mention that user reviews of that software are not enthusiastic.
But this reminded me of one of the hassles of film scanning, and that’s dust. The acetate base of film is highly conducive to static electricity, which causes dust to adhere to it quickly and readily, and in addition, slide mounts are often cardboard and produce their own dust in quantity. Despite best efforts in removing this before scanning, some will still adhere (or quickly reattach) and this shows up in the resulting image file, necessitating a certain amount of touchup with an editing program to have a clean image. I’m fairly adept at this now, having done it for years, but that doesn’t mean it’s not time-consuming. The various dust removal programs and plugins that I’ve tried have been both next to worthless and often soften the details of the image itself, so they’re out.
You may have seen the dust in the image above, and that’s because I simply slapped the slide in for the test without preparation – subsequent scans (which you’ll see shortly) are a hell of a lot better. But for giggles, I’ll show you what it looks like if you don’t blow off and brush off the slide before scanning. This is full resolution:

Bear in mind, if the film is prepped adequately before the scan, most of this isn’t present, but for instance old negatives will degrade over time and lose the emulsion in tiny patches, which won’t simply blow or brush away. There are various tricks to take care of these, which I may tackle soon in a post or a page on the main site, but for now, you can find such tips online if you’re in search of them.
Anyway, another aspect is back online, so I’m pleased. Getting some use out of the winter, at least.


