


… but I can cope with this kind of noise.
A few nights back, not too long after some long overdue rains, The Girlfriend and I went over to the pond to see what sunset was doing, and as the sky darkened… well, the video explains it better.
This was peak activity, but unfortunately the batteries in my video light were almost kaput, so more of the lighting is provided by the headlamp and The Girlfriend’s Sprog’s flashlight, so light color is widely variable – I apologize. I went out a few days later with the video light intact and found almost no activity.
The noise of the calls was overwhelming while we were at video distance – the Copes grey treefrog (Hyla chrysoscelis) could actually hurt your ears. As clear as many of the clips appear, almost none of these were in plain sight, but required sliding among, around, and under intervening branches, often at awkward angles, so the camera could only be handheld, but the new rig helped stabilize things quite a bit.
The only player in the video not to appear, in clips or stills, is the eastern narrowmouth toad (Gastrophryne carolinensis,) which looks like this (pic from a few years back):
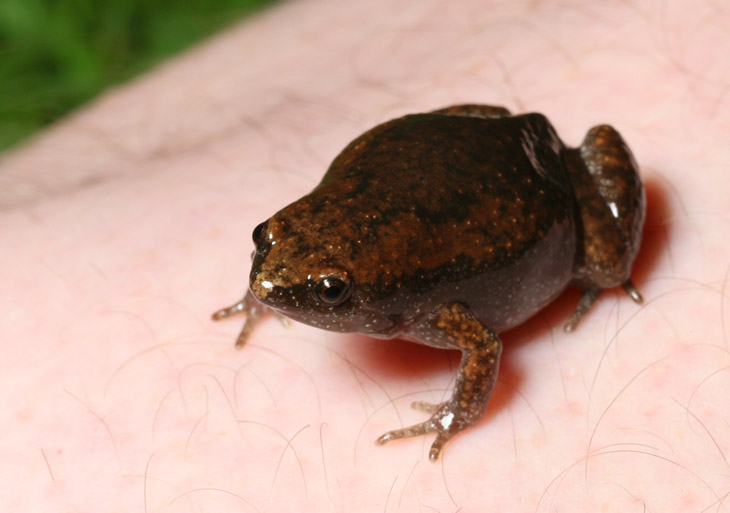
And if you want to hear the call more distinctly, that can be found here. Subjects like this were a large part of my expanding into video in the first place.
By the way, before the grass clippings almost obscured the water’s surface, I did a few shots of the puddle residents, including some very small tadpoles.
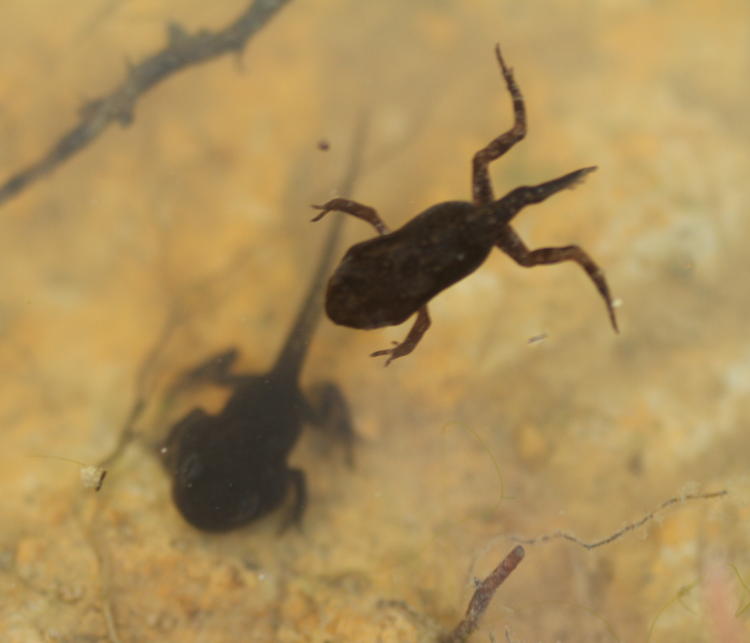
I couldn’t tell you what these are, since I wasn’t there when the eggs were present, only that they’d sit comfortably on your thumbnail. I wonder if those ‘at home’ DNA tests would help?
So let me show you the current video rig, but bear in mind, this is typically a mere moment in time; probably before too long, this will change again as I refine its uses.
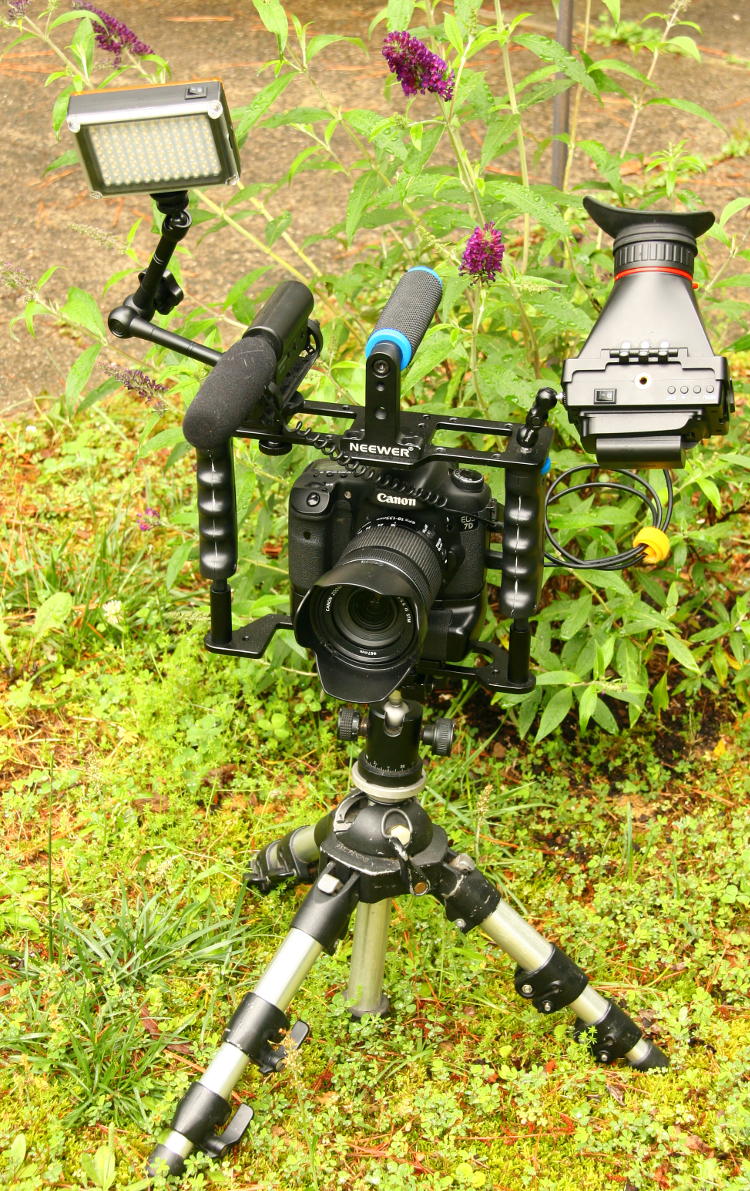
A few words about what you’re seeing here. First off, the whole box contraption is a video ‘cage’ that I picked up used; it also came with the shoulder mount, which has yet to see use and may not very often, since my video subjects often require very specific angles and positions, and ‘from the shoulder’ is not usually among the choices, but I may use it for bird video at some point. It has been modified, since I always use camera bodies with the extended battery grips on the bottom, and the clearance with the top bar was barely adequate, so that’s been raised 20mm. Also, the side grips were notoriously bad about creaking with any motion, but I discovered a way to fix that and will likely document that later on. If you want to know before then, feel free to ask – I just don’t want to do another post right at the moment.
Top left (pic-wise) is the video light, also used, runs on 4 AA batteries or a USB battery pack, more than adequately bright for macro work – when it has fresh batteries, anyway. Some generic Chinese model, but it works damn well, so I’m cool with it. It’s on a ‘Magic Arm’ articulated extension, all joints lock down with that knob in the middle, and yes, these also work damn well.
Just to the side of that is a video mic, a Takstar SGC-598. Listen, I’m nothing if not frugal and critical of my purchases, and while the ‘toppa-da-line’ mic choices may come highly recommended, they’re also expensive as hell, and right now macro video is not bringing in the money to justify that expense. But in side-by-side comparisons, the Takstar rated almost indistinguishable from a Rode model, for less than a quarter the price, and I picked it up used for even less. An off-camera mic is highly recommended, because the on-camera versions aren’t very good dynamically, and pick up all the little noises from the body itself, including focusing, lens adjustments, and even shifting your grip.
In the center (with the blue bits) is another grip for the cage, very useful for low-level shots and just carrying the rig around.
Top right is the off-camera monitor. Earlier I’d made one that worked fine, but it had two significant liabilities: it didn’t have terribly high resolution, and was no better in bright light than the LCD on the back of the camera body. Then I ran across someone selling a used HDMI model with the flip-up eyepiece so it can be used either way, and treated myself. A little expensive, not much, but well worth the money once I started using it. Biggest liability is, it takes several seconds to pick up the signal from the body and turn on.
It’s supported, by the way, with a mini double-ballhead arm, a few bucks online, and yes, they tighten down very well. though you can’t see the knob in the center from this perspective. I always miss something when doing ‘product’ shots…
Underneath it all is my ‘new’ macro tripod, actually my 20-year-old full-size Bogen 3401 that I’d replaced a few years back with a more capable tripod. Late last year, I got a brainstorm and ended up cutting down each leg segment a precise amount with a pipe cutter, creating this low-level, extremely stable version. The legs still spread to almost flat, and the center column has been modified to be able to shorten to a stub for ground level work; the hex-wrench to loosen these bolts rides in the rubber cap at the base of the column (hidden in the grass here.) One of these days I’ll do a post on all the gear modifications that I’ve performed to make my pursuits easier. Now if I could only modify the video editing software to cut down the extravagant time that takes…