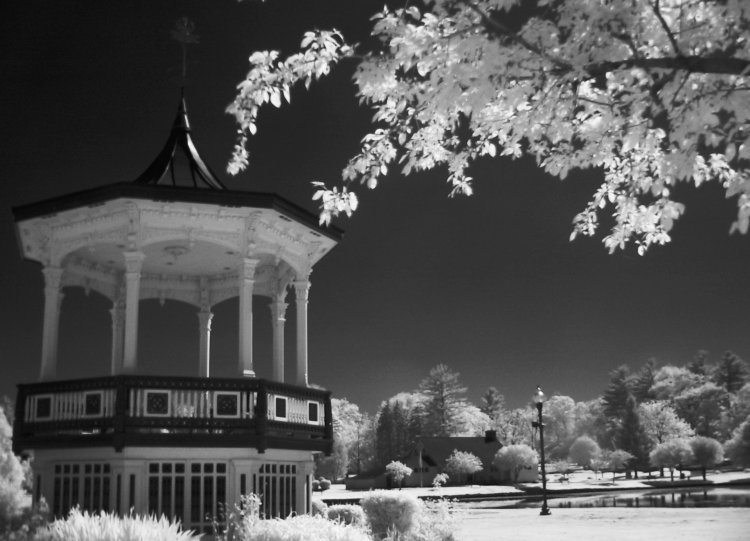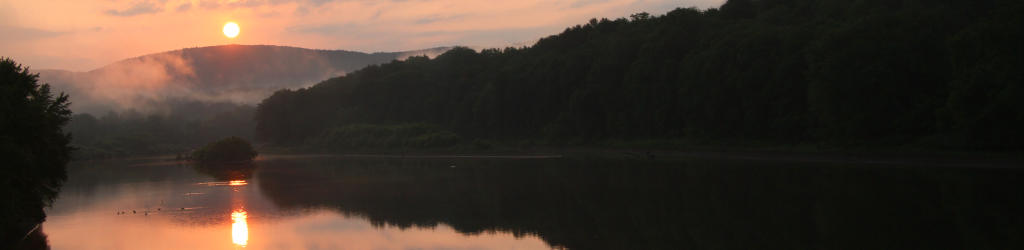
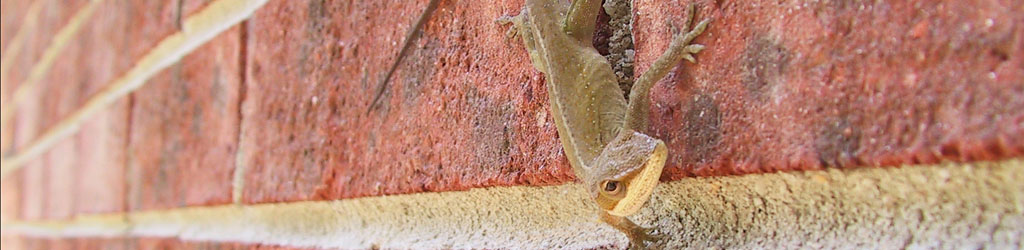
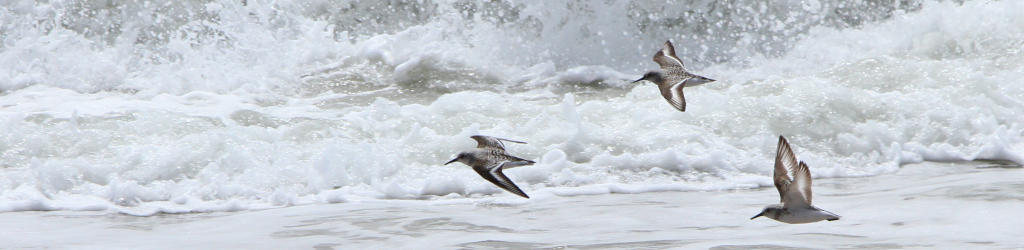
First off, I apologize for missing another Tip Jar. I got both under the gun on a deadline for last Monday, and under the weather with a chronic gut. I was attempting to have this up a day or so late, but realized it would be better if I delayed it further to flesh it out with more example images. So let’s delve into infra-red photography.
To start off with, infra-red refers to a very large bracket of light wavelengths, essentially meaning, “below red,” and more specifically applying to wavelengths in the rough range of 780 nanometers to 1 millimeter, or 1,000,000 nanometers – a hell of a large range. All of this is beyond what out eyes can see, and when we see footage of someone glowing from their body heat, caught on the infra-red cameras of, say, a police helicopter, that’s the far infra-red (hereafter, “IR”) – what we can capture with relatively normal equipment is roughly in the range of 780 to 1100 or so nanometers (nm,) the near IR, and does not involve body heat or anything like that – this will all be reflected sunlight, but still, sunlight that we can’t see ourselves.
Digital sensors, however, can capture into this range, as can specialty films. The key to a decent IR image is filtering out the visible sunlight to let the much weaker and less abundant IR come through, which requires a special IR filter – or sometimes not. We’ll look at these first.
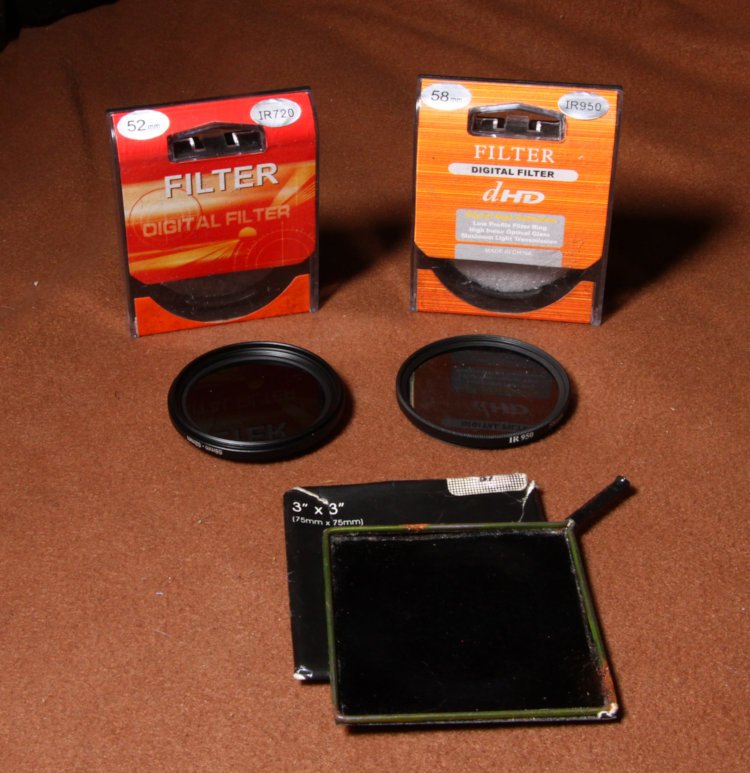
It’s important to note that there is a distinction in IR filters. Most (all?) digital cameras today have a filter that blocks infrared, meaning all wavelengths above 780nm – what is needed is an IR pass filter, often identified by the wavelengths it lets through. These are easy to distinguish, since IR blocking filters look like clear glass, usually with a faint color cast, while IR pass filters look black, period – they’re not letting through any wavelengths that we can see (or not much of them.) In the image, we have filters for wavelengths above 720nm, 950nm, and my old beat-up Lee 87C polyester filter in a homemade frame, permitting about 780nm. They all have different effects, as we’ll see.
NOTE 1: While researching this post, I found that the market for IR filters has changed drastically in the 11 or so years since I purchased all of these, probably due to the surge in IR security cameras, and they’ve gotten expensive anymore. The Lee pictured is discontinued, and comparable ones from Kodak and Wratten don’t seem to be below $50 – I probably paid somewhere in the realm of $8-15 for each of these. One not pictured, but used for some of the demos, is a simple, stupid trick: unexposed, developed slide film blocks IR, but in variable wavelengths, I believe. Not as good as, for instance, the 720 or 780 wavelength filters, but passable. I cut the unexposed leader from one of my processed rolls of medium format Provia 100F and fit that into a UV filter holder.
Now here’s part two. Since digital sensors can capture IR, they would overexpose surfaces that reflected IR strongly, which is how I stumbled onto doing this in the first place. But manufacturers since about 2005 have included an IR blocking filter over the sensors now, so virtually no modern digital camera can do this without modification. My old Canon Pro 90 IS can, though, as well as many older, basic digitals (look for something with less that 5 megapixels,) and you can still pursue this with infrared film.
NOTE 2: Many/most Canon EOS film cameras use an IR light to count sprocket holes when winding, which made reloading partially-shot rolls a breeze, and precise. It doesn’t register on any routine films, but it will fog the lower edge of IR films. This is not a big deal as long as you account for this and frame accordingly, but it’s better to use virtually any other camera.
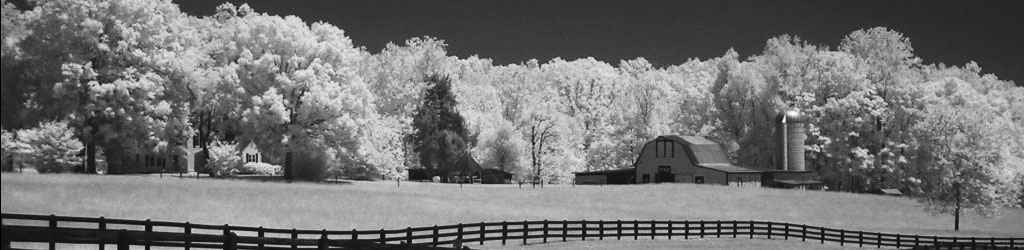
Infra-red light is much weaker/thinner than visible light, so exposure times will go long, typically in the 1-8 second range – a tripod is necessary, and you’ll want to be shooting in nothing but bright, direct sunlight because things start to get murky even in haze. Different things reflect IR differently: foliage does so strongly, with evergreen trees being weaker, while the sky produces very little. Bark usually reflects almost none – depends on the species. Water reflects it well, but that means it only shows what’s bouncing off of it, and when it’s sky, well, it gets dark. Butterflies reflect well, lizards don’t, and skin tones, believe it or not, fall pretty much in the middle range, so people look largely like people. Let’s see some examples.
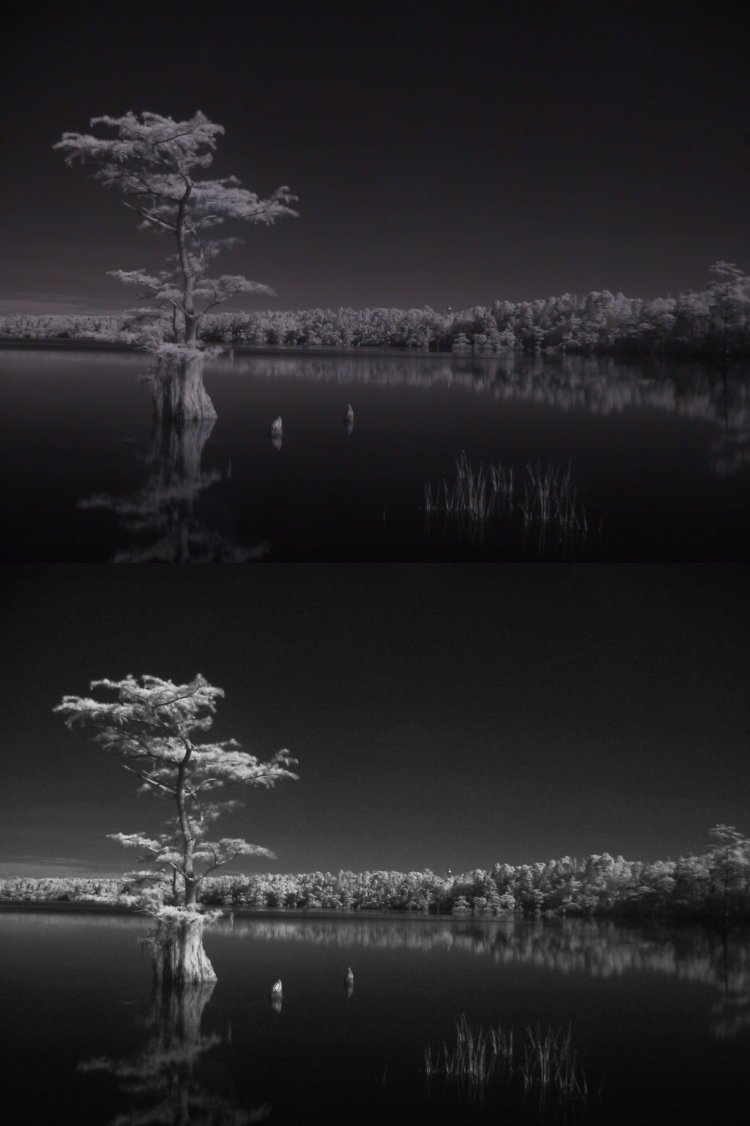
The top version is what the Canon Pro 90 produced with the Lee 780nm filter, faint purplish color cast and slightly weak contrast. The bottom version (which is on one of my business cards) has been reduced to greyscale and the curves adjusted for best effect. This was a perfectly clear morning and the sky was bright blue in visible light. The Pro 90, by the way, automatically adjusts for the filtered light and can even autofocus in IR, or most wavelengths anyway.
So let’s compare them all side-by-side:
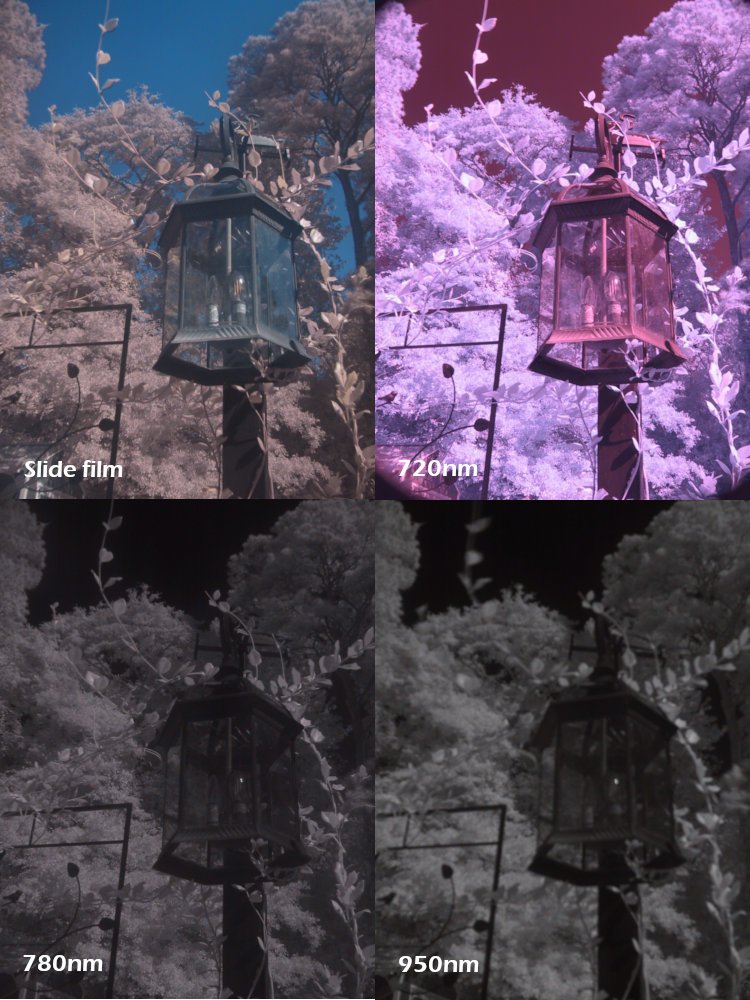
We can see the slide film actually produces some blue in the sky, which seems a little odd since blue is at the opposite end of the spectrum – but then again, so are violet and magenta, coming through on the 720nm filter. Since we said infra-red starts at 780nm, both of these are letting through a bit of visible light, though it’s not a dividing line and we’re after the effect, not precision. You’ll also notice that the slide film is a bit softer than the dedicated 720nm filter, which itself shows some darkening (vignetting) in the corners; this is because I was shipped the wrong filter size for the camera, using a step-down ring to make it fit. I could eliminate this by zooming in slightly, or simply not worry about it, given the nature of the images anyway.
There’s little visible difference between the 780nm (Lee polyester) and 950nm filters, with one notable distinction: the 950 let’s through so little light that the exposure time jumped from 1 to 6 seconds and the Canon Pro 90 could no longer autofocus. While I locked the focus setting from the 780 to use for the 950, this wasn’t accurate, rendering this particular filter next to worthless for me.
Below, the 720 and 780nm versions were converted to greyscale, contrast increased until it filled the full dynamic range, and mid-tones tweaked slightly for best effect:
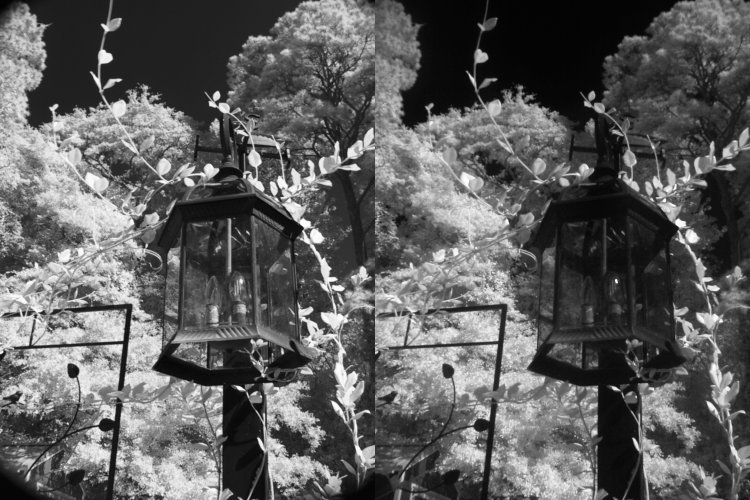
This produced some subtle differences, mostly in the rendering of darker portions, but the 780 version had almost nothing above the midpoint in brightness originally, requiring much more expansion than the 720. However, had the brighter leaves been more dominant in the frame, we’d have seen how much they exceeded the dynamic range in the 720 version, bleaching out to featureless white. While, in this case, I was trusting the exposure meter of the Pro 90, bracketing isn’t a bad idea.
I played around a little (a long time back) with IR film, too, where bracketing is almost certainly called for if you want the best results.
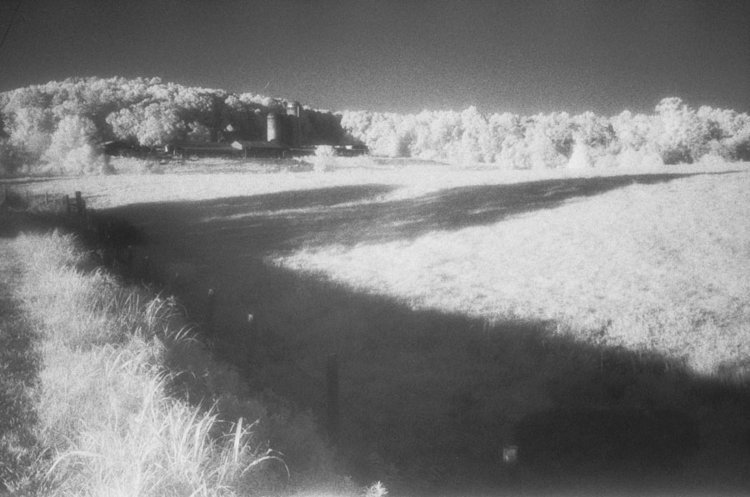
 While this was with the 780nm filter, you can see that the dynamic range is closer to the results with the 720 in digital, just lacking color – easy to tweak into a full range by deepening the lower ends (or using contrast filters in the darkroom.) This was done with an old Olympus OM-10, though any film camera can handle it – but, there’s a specific thing that needs to be done. IR wavelengths, being longer than visible light, get bent more within the lens, which we got the hint of with the difference in the 780 and 950 test above. So we look at this illustration of an older lens with its depth-of-field marks. See how the right side pointer for the f4 depth is painted in red? That’s specifically for infra-red work; what you would need to do is, obtain sharp focus as normal, without the IR filter (since you’d see nothing,) then shift the focus the necessary amount to consider that red mark as ‘center’ – in this case, shifting the 5 meter mark on the focus ring until it sits at the red mark the same way it sits at the center mark now. This accounts for the shift that infra-red light goes through. Using a smaller aperture is also not a bad idea, since you’ll be using a tripod for the longer shutter speeds anyway.
More digital fun.

How do some colors render in IR? This can be a fun experiment.
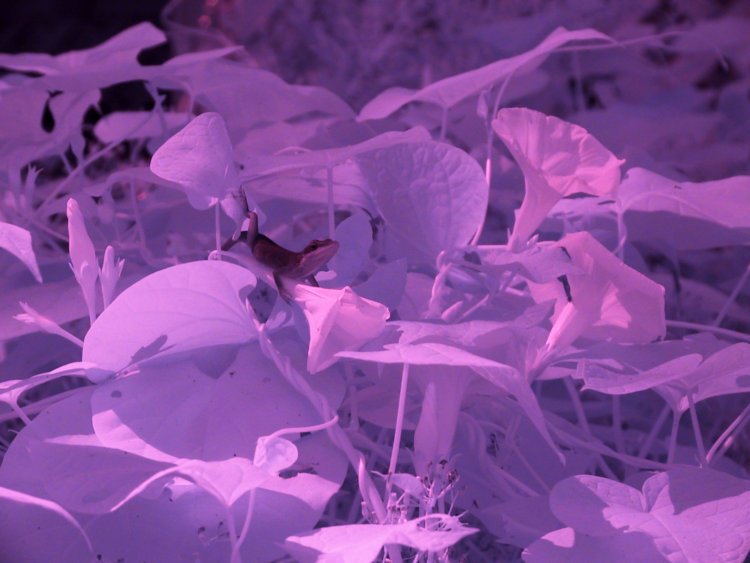
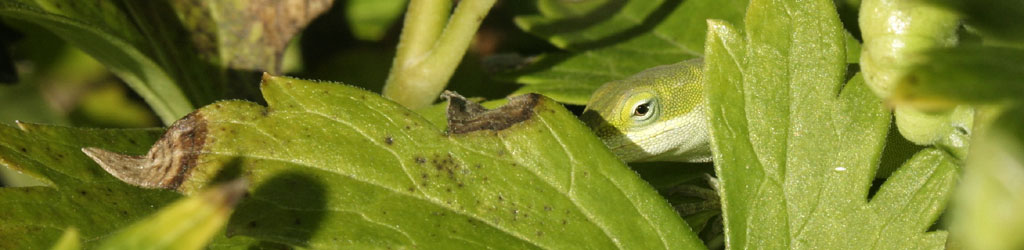
Hah! Had you seen that anole in the previous image? After an initial shot showed the effect, I worked hard to stage this one so the anole was as subtle as possible while still being in plain sight, but it reveals that their skin reflects very little IR light, which makes sense since they’re exothermic and obtain some of their body warmth from, specifically, IR radiation. Meanwhile, the flowers themselves do actually register a little differently from the leaves, but the colors and striations are completely gone. This might be a different matter in ultra-violet light though, but that’s a lot harder to photograph…
Now, while it’s not hard to find older digital cameras that lack the IR filter of the later ones, it often takes some testing or research. But you can also purchase digital cameras modified specifically for IR work – or even do your own modification, though this is quite tricky; it’s on the docket for the old DReb of mine, still sitting in a drawer here, but – I’d still have to use lenses that possessed those IR marks, since such DSLRs were focused strictly through the viewfinder. I mean, will it autofocus? That remains to be seen, but I couldn’t check it ahead of time, only chimp at it afterwards. Also note that, if you purchase a camera or body so modified, you’re typically locked into the IR (pass) filter they install within, right where the IR (block) filter used to be. If you’re only toying with the idea, find an old digital and use a filter, like these, first – you may save yourself a significant expense and/or amount of tinkering.
All that said, it’s a fun branch of photography, one that I still play with from time to time, and produces distinctive effects, so if you have the opportunity, try it out! Just be sure to allow plenty of experimental time.