It’s been a long time since my last ‘On composition’ post, even though I’ve done several that fall into the composition category. And as all avid readers of this blog will know (a ha ha ha ha ha ha ha!) I’ve probably covered all of this before in separate posts, but it’s better to have it here where it can be found easily, I think. I probably should have covered it long ago, but here we are.
The very first thing I’m going to say about sunrises and sunsets is that you’re at the mercy of the weather. Seems like this goes without saying, but there’s an additional aspect that anyone should know about, and it’s how the conditions can change very quickly. You might have a lovely day with just the right kind of clouds, all day long, but right before sunset everything changes for the worse. Or vice versa, and you get surprised by something excellent after a day of yuck. Weather has a tendency to be transitioning as the temperatures change, more often at sunset, so don’t let yourself get too discouraged when your plans don’t come to fruition. And by the way, I am perhaps more aware of this than many, because I have students that want to find out how to shoot sunsets and this is something that is extremely difficult to plan, even a couple of hours in advance, but especially a couple of days.
This is not to say that planning is meaningless – just the opposite. You definitely want to plan out a sunrise or sunset shoot, mostly to be on site with something scenic, and to no small extent because the colors can change so rapidly that noticing a great sunset and then trying to find a nice locale probably won’t produce what you’re hoping for. So, be at an ideal setting before it starts to happen, but be ready for things not to work out too.
So let’s go through the main factors.
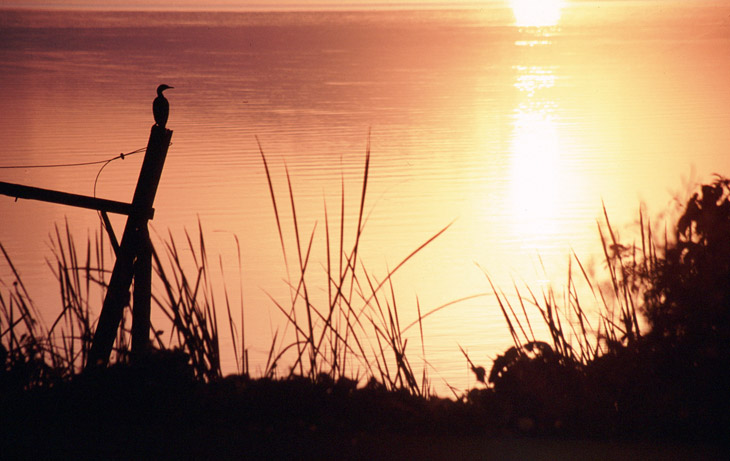
Location: There are a lot of places that can look great at sunrise and sunset, so I can offer only a rough guide. Water is a very useful element, because it can reflect the sky colors, including those out of the frame, but we also just like seeing placid lakes at sunrise – it’s probably evolution or something, you know, back when we were fish and depositing eggs. But it almost always helps to have a nice sweeping vista, and of course something interesting in the foreground or setting. The lower the effective horizon (as in, the fewer close trees and all that,) the more you have to work with, and the longer the sun will be visible. Just bear in mind that capturing the sky colors may mean the foreground goes a bit dark, perhaps even all the way to full silhouette. Scout things out ahead of time, and if you’re being really particular, you may want to know precisely where the sun will touch the horizon, and this will usually take some astronomical software (such as Stellarium) set for your precise location. However, if you’re close, often it’s not hard to place the sun right in position within your frame with just a small amount of dodging around.
Also, bear in mind that you may be trying to get there before first light, so, in the dark. Or returning. Plan accordingly.
What’s going to work: Obviously, overcast days aren’t what we’re looking for, but clear days often don’t produce much either; you need something to alter the light more, and something for this altered light to shine on. Scattered clouds help a lot, and building thunderheads can occasionally produce something really dramatic. The best, in my experience, is when you have changing weather conditions right at rise or set, and especially a clearing storm at sunset – these seem to produce the more appealing conditions. Still, there are a lot of conditions that can work, and even some that work for just a few minutes, but do so spectacularly for that brief period.
Timing: It’s not hard to find out when astronomical sunrise or sunset will be, but make sure whatever source you use is accurate for your location. However, this time is only going to give you a guideline; first light is about 45 minutes before astronomical sunrise, and last light is about 45 minutes after sunset, and both of these periods can produce something captivating. So ideally, being on location for sunrise about 45 minutes in advance is being the most prepared. And don’t be too quick to leave, especially for sunset – a lot of the best colors come after the sun has disappeared from view.
Focal length: This will be dictated largely by the location, but here are a couple of pertinent details. The shorter the focal length, the more distant the sun will seem, and sometimes this can make it appear too remote; it’s a good way to emphasize something in the foreground more, though. Also, it’s easy to get too much of the sky and reduce the color impact by showing areas that aren’t as affected by the sunrise. Usually, however, a moderately wide angle lens (shorter focal length, like 18-25mm) produces the best landscape framing.
Auto-exposure: While camera mode, such as aperture-priority or shutter-priority, doesn’t make a whole lot of difference (save for those situations where they’re crucial, like a purposefully fast shutter speed because birds are flying past or whatever,) you won’t be able to trust the exposure settings of the camera. The sky will be much brighter than the foreground, especially when the sun is below the horizon, and depending on how much of each is within your frame and what exposure mode you’re using, the exposure can change significantly with just a slight tilt of the camera. The key here is exposure bracketing: go ahead and use the exposure meter as a baseline, but adjust exposure compensation radically, both over- and under-exposed, by up to two full stops or so – if you’re bracketing by 1/3 stops, that’s seven separate exposures.
Do not trust the LCD preview on the camera back while doing this – they’re notorious for giving the wrong impression of the exposure. Just shoot a lot, and decide which ones work when you’re looking at the images later on a properly-adjusted monitor.
White Balance: An awful lot of people just leave this on Auto White Balance (AWB,) but this is a mistake at sunrise and sunset. The sky may skew the overall color register in any direction, and AWB settings will be fooled and try to get these back to neutral rather than leaving them as they are. The setting you want is full sunlight, which pretty much means no adjustment to the image.

Also, the atmospheric effects that make the light a warm yellow, orange, or even red is a great mood-setter, and this is an excellent time to be shooting portraits, both because of the color (which can make skin tones more pleasant,) and because the light is usually lower in contrast so harsh shadows are at a minimum. And the subtle but useful aspect, looking into the light is positive and optimistic, which is harder to do when the sun is directly overhead and blinding, but very easy at these times. This period is called the golden hour (even though, like happy hour, it’s often not an hour long – let’s not be too literal now,) and it’s a great time to be tackling a lot more subjects than simply the sky.
Saturation and contrast: This is a season-to-taste kind of thing, but generally neutral to higher saturation will produce more stunning images. As for contrast, that’s very tricky, because a lot of it depends on the setting and subject matter. But I have three main custom settings on the camera: one with increased saturation and contrast, one that’s neutral, and one with reduced saturation and contrast. And none of these are by a lot, either – there’s such a thing as going too far, and you can always tweak the settings afterward in a photo editing program. I use the increased sat/cont mode for when the light is low contrast, and the decreased sat/cont mode for when the light is bright and sharp; this helps keep the color and exposure registers within the narrow range of digital images. Since I have these modes and can switch them in less than 2 seconds (know your camera,) I can adjust as needed, and bracket the saturation and contrast settings as well as the exposure. Yeah, that can actually boost the number of frames to 21 or so for just one particular scene – I usually don’t shoot quite that many – but if it captures the perfect combination in the image, then you’ve accomplished what you need to.
Take lots of frames: While we’re there, we often don’t notice the changes, but during sunrise and sunset the colors can go through radical shifts in a very short period of time. All of a sudden the thin high-altitude clouds may be touched by pink, or the sunbeams may appear and disappear. It’s digital – you can always discard what didn’t work, which is much better than missing what would’ve.
Keep your eyes open!: Well, of course, but what I mean is, watch for something happening in your scene, like a bird entering the frame or someone crossing into the foreground. Little added touches can often mean the difference between a good shot and a great one, and sometimes you have only a moment to think about framing. If you see the pelican approaching, you have a little time to plan exactly when to trip the shutter.
Sunrise or sunset?: Most times, this is going to depend on where you have the best view, but here’s a couple of points to consider. The first is, the wind is usually the calmest during sunrise, and the birds the most active, and the locations the most deserted. And dew – let’s not forget that. Moreover, and this can be a biggie, the planes haven’t taken off yet and started filling the sky with contrails, while sunset often seems to be among the busiest times for air activity. This depends on the season, natch, because there’s plenty of morning air travel, just more often during the summer months it starts later than we’d be out shooting sunrise.
However, sunrise is colder, and much harder to judge what the sky will look like, and a lot of parks won’t have access until well afterward. And if you’re working with someone, it’s a lot easier to get them out for sunset than sunrise. Just things to consider.

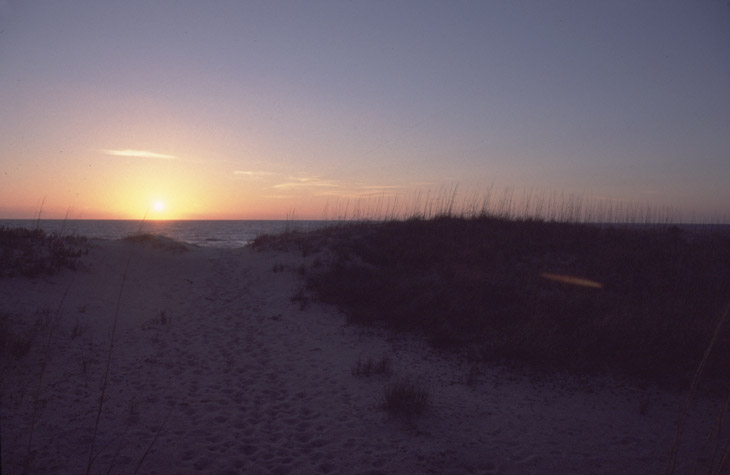
Beware the flare: When the sunlight is actually hitting the glass surface of the lens, this is very likely to create flare and ghosts within the image, even when the sun isn’t directly in the frame (but almost guaranteed when it is.) Every lens has a different effect, so it’s hard to tell you what’s going to happen, but often there’s a bright spot that will be exactly opposite the center of the frame from the sun, and then often some curves or rainbows here or there. They won’t always be visible in the viewfinder, either, because the aperture will dictate how they appear and that doesn’t normally close until you trip the shutter. Just be aware that it will happen, and recognize that the resulting blotch in your photo may be distracting and even lie directly atop a key part of your subject. Shifting a little between frames can help.
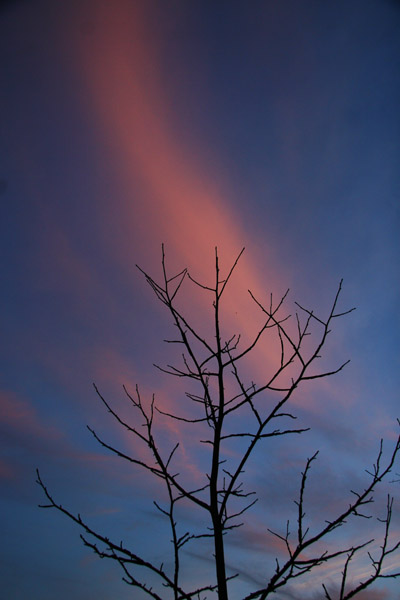
 Turn around!: Quite often, you can get some great colors in the sky while facing away from the sun, and of course while the sun is still above the horizon, it will be shining on whatever lies that way with that nice golden light. Also, even as it’s over the horizon, it may be catching high altitude clouds and still producing something cool up there when you think the light show is over. Just remember to periodically check all around you, and don’t miss the opportunities that may be available.
Be creative: Even when the sky isn’t doing something spectacular, sometimes there are little patches of color that can be exploited by using a longer focal length and letting them fill the frame, giving the impression of a great sunset even when, overall, it was just okay. Also, the sky colors can add a lot to just about any subject, and produce more impact from simple silhouettes. And if you’re near water, don’t neglect the reflections. Remember that moving water will be producing abstract reflections that will be frozen at a particular instant by the camera and might produce something quite surreal – or, you can drag the shutter and get a multi-colored blur. Ever shot the reflection of the sky in someone’s sunglasses, or on the glass façade of a building? Even just doing a sequence of shots at the same exposure every thirty seconds can demonstrate how much the sky changes when they’re animated together. Play around!
Additional lighting: So I mentioned above that, when facing into the sun and sky, anything in the foreground might become a silhouette? And if you adjust exposure so it’s not, you’ll likely wash out the nice colors from the sky. But maybe you want some detail from the foreground anyway. The solution is to throw some light on it from your side – usually with a flash, but occasionally a reflector can be used if the sun is still bright enough (when it’s right near the horizon, the sun is often too weak to reflect much.) Using a flash or studio light, however, gets tricky. All forms of TTL flash metering stand a good chance of producing the wrong light, fooled by the background, and it’s very easy to get too much flash power and look unnatural. It’s better to have a unit that allows manual output, and bracket those settings heavily to find one that doesn’t look odd – it’s okay to be dim, we expect it when looking into the light. Worse, however, is that the sky light may be yellow or orange or red and the flash light will be white; again, unnatural-looking. So a colored gel to throw over the flash head is a better idea, yellow or orange being the best.
And finally, don’t neglect the other aspects of composition: While we’re captivated by bright colors, having these splashed across the sky usually doesn’t make a complete image; they should most often be considered a benefit, added emphasis for a particular subject or scene. You still want to put together a shot that will work without the colors whenever you can. Use you foreground elements wisely, look for something captivating or at least geometrically pleasing. However, the addition of the light and color can really boost an otherwise okay subject. Just put some effort into it, and don’t count on the sunset colors by themselves.
Hope this all helps. Best of luck!


