I have been meaning to do this for a while now, and have no real excuse for how long it took to get to it. It took no time at all once I sat down to work on it.
This is a combination of two projects, really. The first is the macro softbox, which is still in routine use because it works extremely well. The second is the focusing light, which needed a little work – partially to stabilize the light beam more than that gooseneck USB extension was allowing (despite my initial confidence in it, it tended to wobble a bit and realign the light,) but also to make the system more efficient.
 Studio strobes often have what’s called a modeling light – a single light bulb in addition to the xenon flash tube, which can be turned on and off at will. The idea is, the bulb shines light from the same direction as the flash tube, so you know what kind of shadows the strobe will throw when it goes off (there are also constant light sources, not quite as bright as most strobes, much hotter, but especially, hard to use for people because it makes them squint and causes their pupils to contract.) Anyway, I wanted to carry the idea of the modeling light into my macro work; since I often had to have the focusing light anyway, it might as well be coming from the same direction as the strobe when it went off, right?
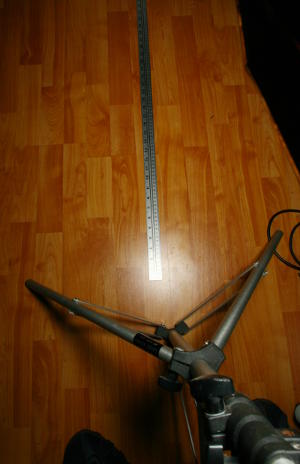
The first part was, determining the ‘sweet spot’ of the strobe and softbox. I had always assumed that the focus of the strongest light was not quite perpendicular to the face of the diffusing panel, due to the position of the reflector behind it and the incoming light from the strobe itself, but I was never sure how far off this angle might be. So I attached the strobe and softbox to a light stand, with the panel aimed straight down, and set a measuring stick on the floor underneath with the zero end directly under the center of the diffuser, but about a meter below. I then triggered the strobe a couple of times while shooting the results with a wide angle lens, to see just how far up the measuring stick the brightest portion of the light fell. Curiously, I was all wrong (hard to believe I know): the brightest spot was directly in front of the diffuser, perpendicular to its face. Okay then.
After that, I cut a hole in the reflector back of the softbox, just big enough for the LED light’s beam, and rigged a small adapter to hold the light at the right angle, since the back of the diffuser was sloped to reflect the output from the strobe. I set aside the gooseneck USB extension and simply used a standard USB extension cord since the light was now affixed to the softbox itself. The other change was having a battery pack with a switch, making it much easier to turn the light on or off as needed.
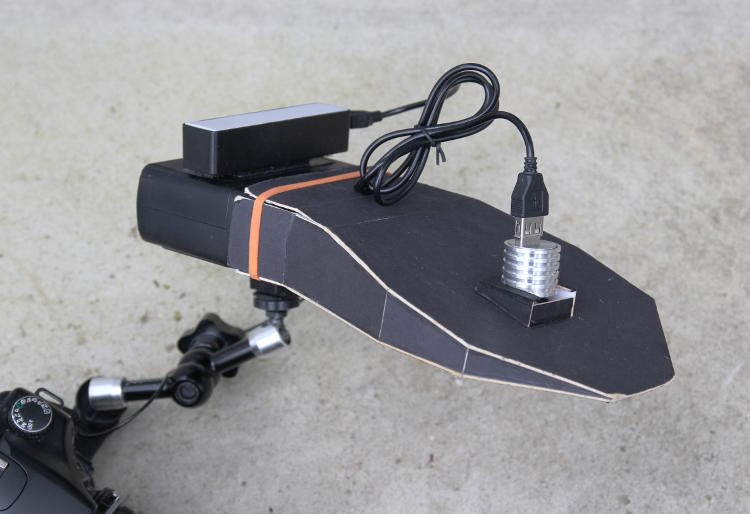
 The battery pack, by the way, is now attached directly to the strobe unit with Velcro, especially since I’ve switched to a smaller, lighter flash bracket that doesn’t provide as much room to carry it.
Now, when the focusing light is on, I know that the softbox is aimed precisely where I need it to be, as well as seeing how the shadows will be falling across my subject; there is an added element as well, since a lot of my subjects are near or within foliage, and the focusing light coming directly through the softbox tells me if it will be blocked by branches or leaves.
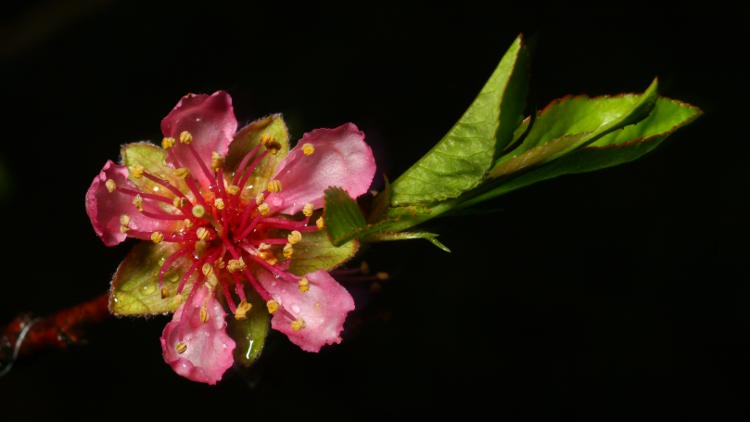
So how’s it work? Just the way it was intended, and with remarkably predictable results; what I see in the viewfinder is largely how it will appear in the final image. The final results are slightly better, due to the fact that the focusing light is small and like a spotlight, but the strobe is diffused by that panel into a much broader area, so shadows are lessened and coverage improved. The almond blossom from the previous post is one of the initial experiments, but there’s really nothing that shows in the final image – it’s all about how well it works to nail focus and predict the shadows, and for that, it does a great job.
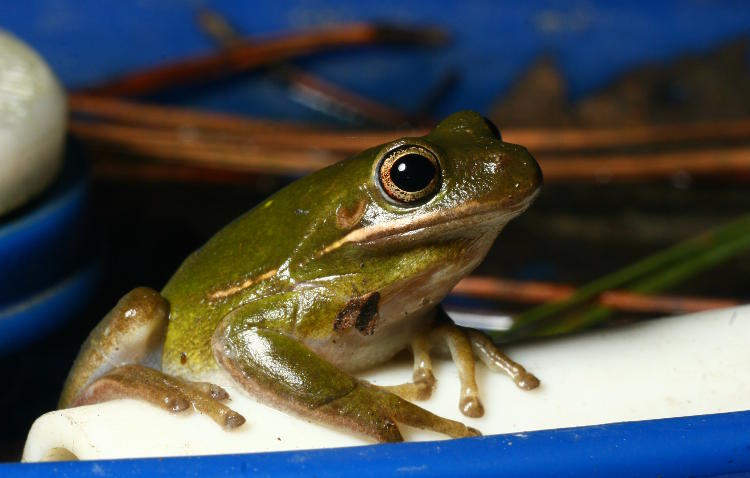
Yesterday had been quite warm and this was still carrying over into last night as the rains rolled in, so in my search for experimental subjects, I once again found three green treefrogs (Hyla cinerea) to work with. There’s a chance of snow again tonight, so they’re probably getting a bit exasperated by now.
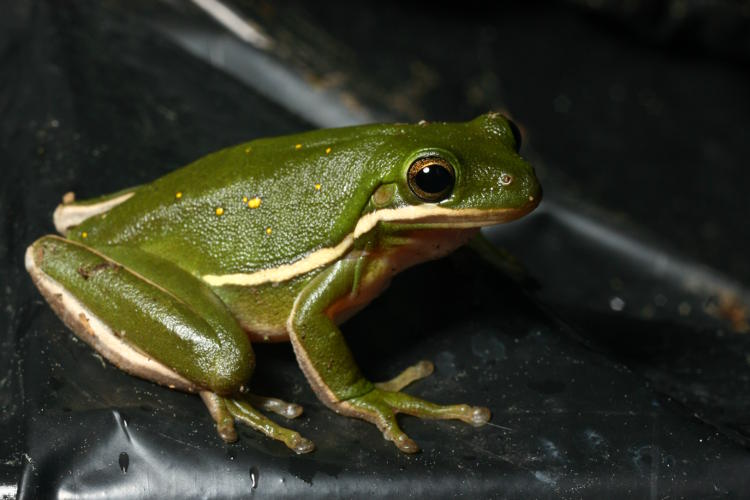
Each one gave me slightly different conditions to work with, so I was able to do a couple different tests in the brief time I spent out there last night. This one was pretty straightforward, and not posing too enigmatically. The next one was more photogenic.
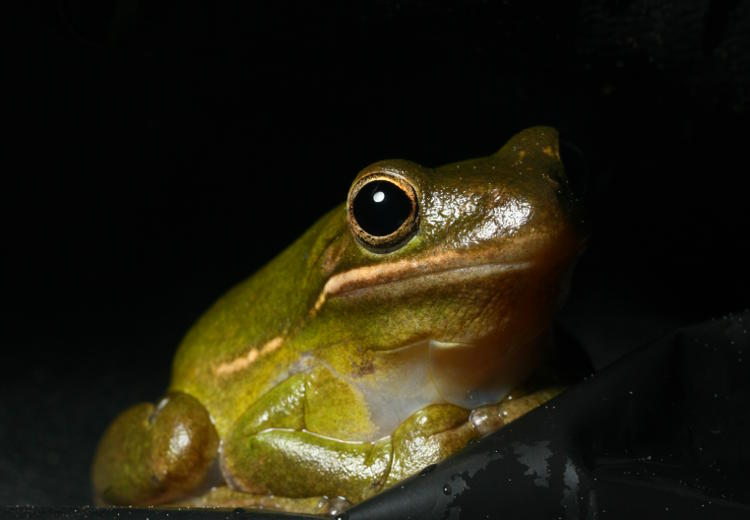
Both of these were sitting on a vinyl cover, but this one was slightly under an overhang, so the modeling light gave a good indication of when the light from the strobe was going to be blocked. While the fade into darkness isn’t ideal in an illustrative, identification style photo, I like the effect from a portraiture/fartistic approach. You can’t even see that overhang, can you? Believe me, it was practically right over the frog’s head.
For both of these, I should have switched the macro light from the left side of the camera to the right for better facial lighting, though in this case it likely wouldn’t have worked, given the constraints. And again, this was a quick test of the focusing light more than anything.
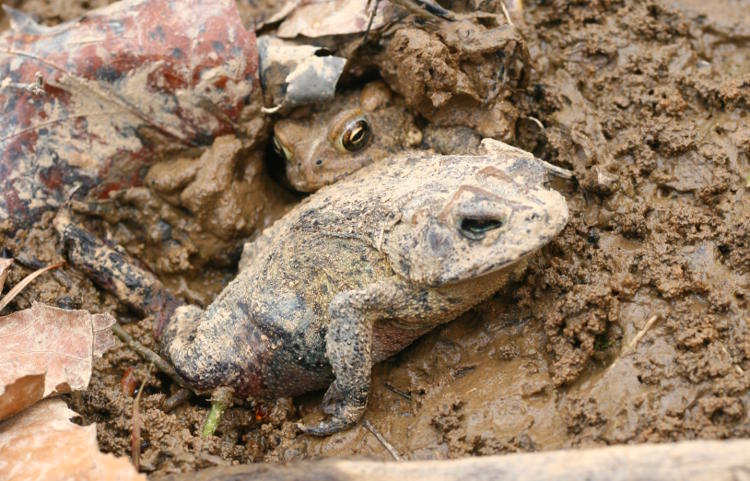
The next one was even more of a challenge, and vindication of the project.
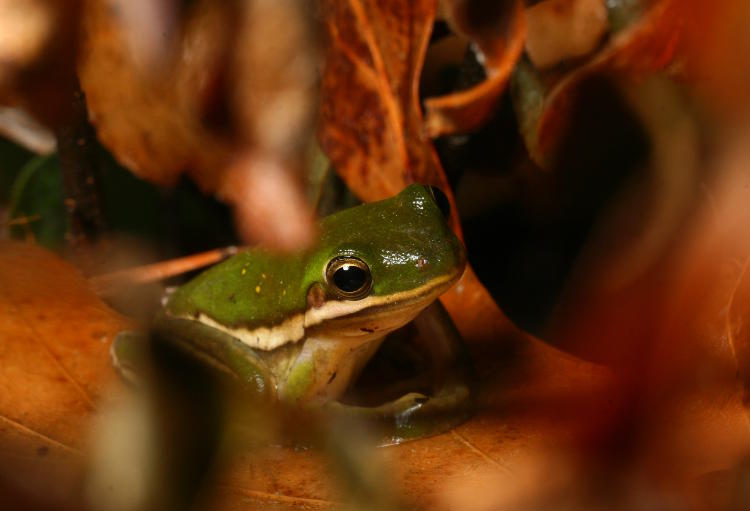
This is the same shrub where I photographed the first emergent a couple of weeks ago, but this frog has a deeper color and different spot pattern. This one was also fairly deep among the fallen leaves suspended in the branches, so getting a better portrait angle was the challenge. Luckily it held still as I maneuvered around to poke the lens through the leaves, and the macro light suspended on the arm alongside the camera told me when I would effectively illuminate the amphibian; I have several frames, all successful, so there you go. I should have done this long ago.
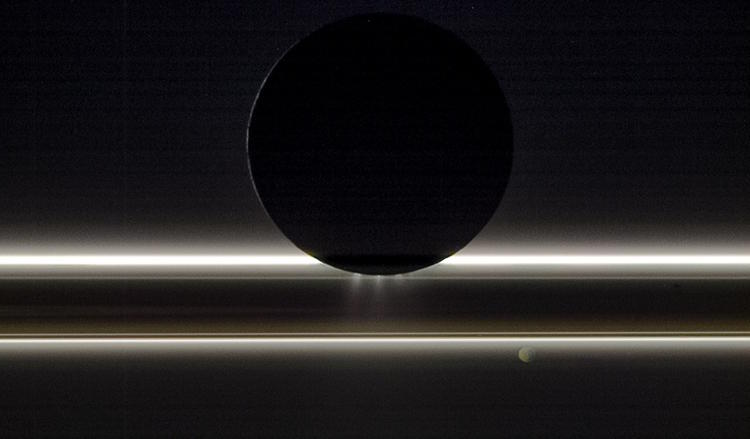
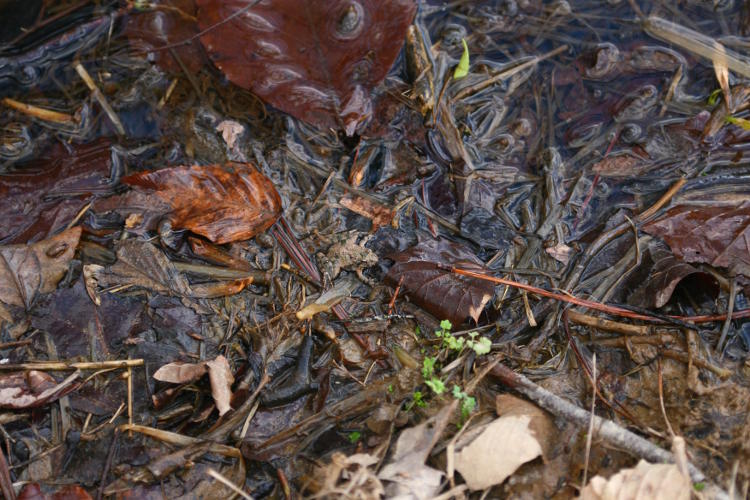
And there was one more challenge, though the new lighting method was only going to be of trivial use there. During the afternoon I had noticed activity in the backyard pond, and twice saw a small frog surface, but it was incredibly spooky and the slightest motion that I made to line up the camera sent it back into the depths of the water again. At night, however, frogs are confused by bright lights, and as long as nothing passes in front of the light source, or gets illuminated by it (such as a headlamp shining onto the camera itself as you lean close,) frogs will usually sit still. This one submerged as I drew close, but then immediately resurfaced a short distance away and floated there patiently, and I was able to get in very close. However, the light angle wasn’t ideal for penetrating the water, and this image was a little dark – it’s been brightened slightly in post.
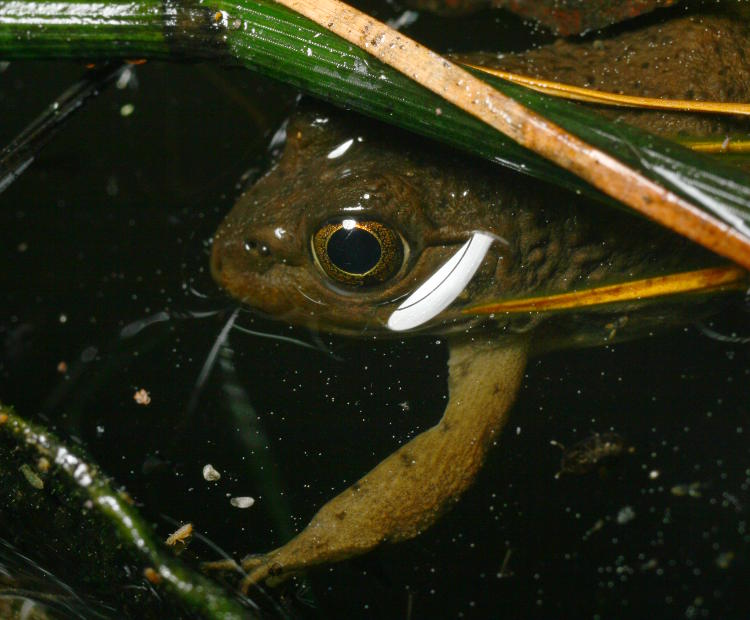
Yes, the reflection of the softbox is a bit distracting, and there’s little that can be done about that – the water is going to curve in odd ways along the frog’s body, and no light source is going to escape the effect. The best that could be achieved is weaker, indirect light, like from an overcast sky or tree canopy, so daylight conditions, and then of course the frog wouldn’t be holding still. The best thing to do is to switch positions and see what reduces the reflections the most.
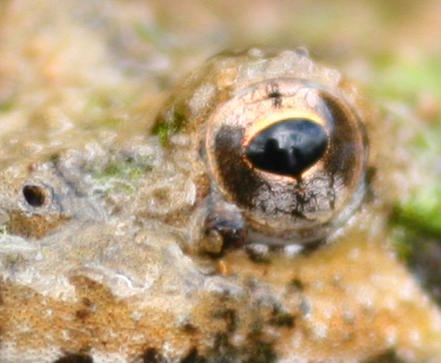
 But that image above, and the tight crop to the right, illustrated something else for me. I was vaguely concerned that the hole I cut in the back of the softbox would show in the resulting images, given the right conditions, and I’d have a distracting darker ‘pupil’ in any distinct reflections, which happen often enough among my various subjects. The even round spot is fine, more or less normal looking, and much better than the window-pane rectangle from an earlier lighting rig, but a dark spot in the middle is hardly natural-looking. So it’s pleasing to see no sign of it at all. I was fairly certain that the strength of the strobe would overpower the LED light itself in the photos.
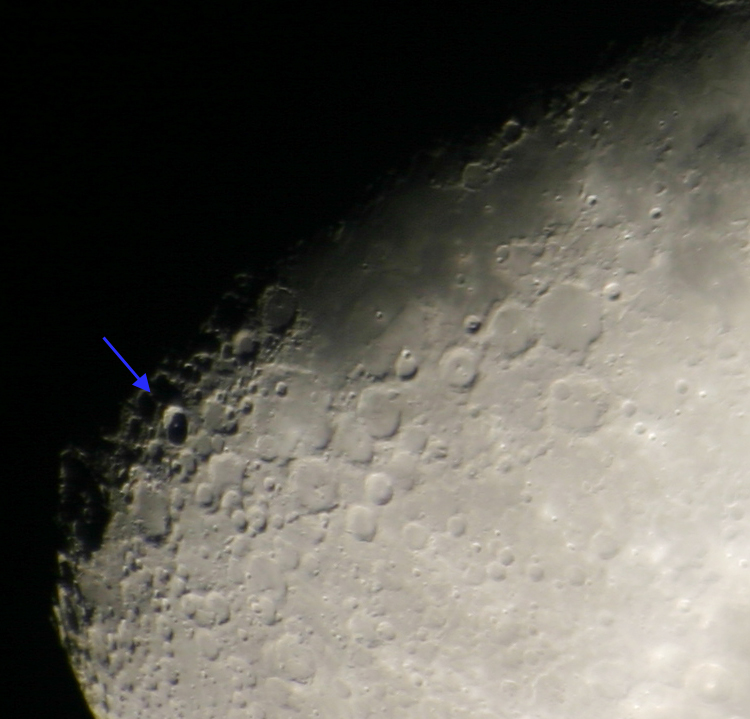
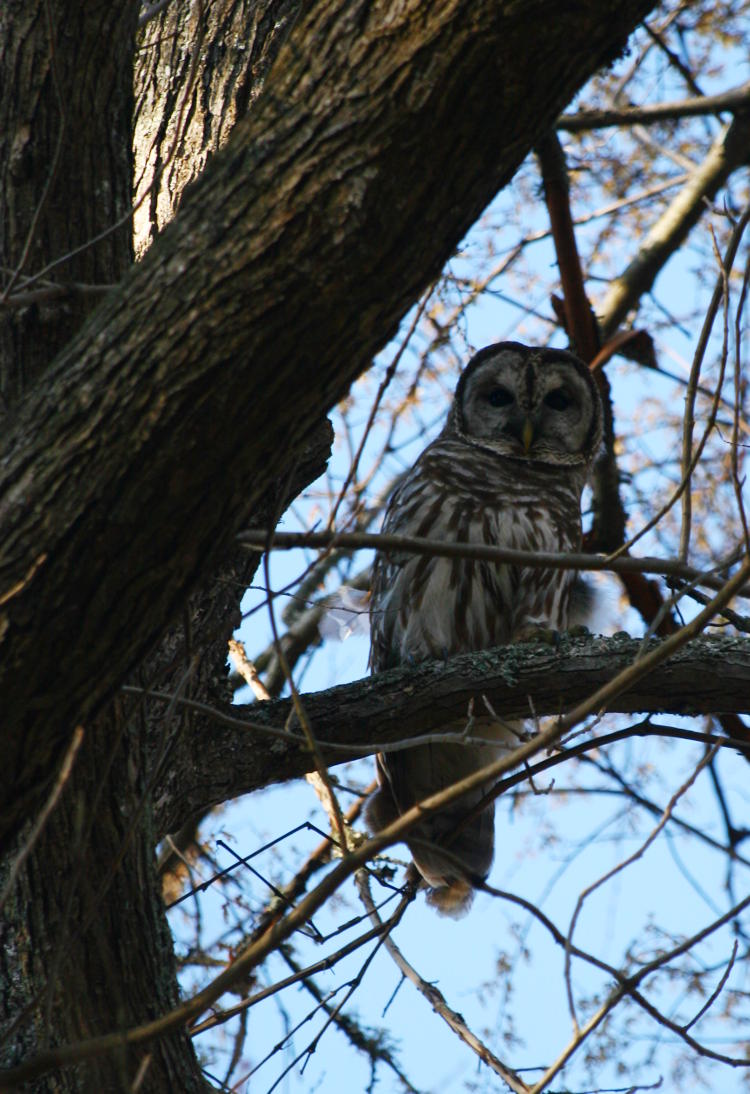
By the way, do you see two eyes looking down to the left? Well, you do now…
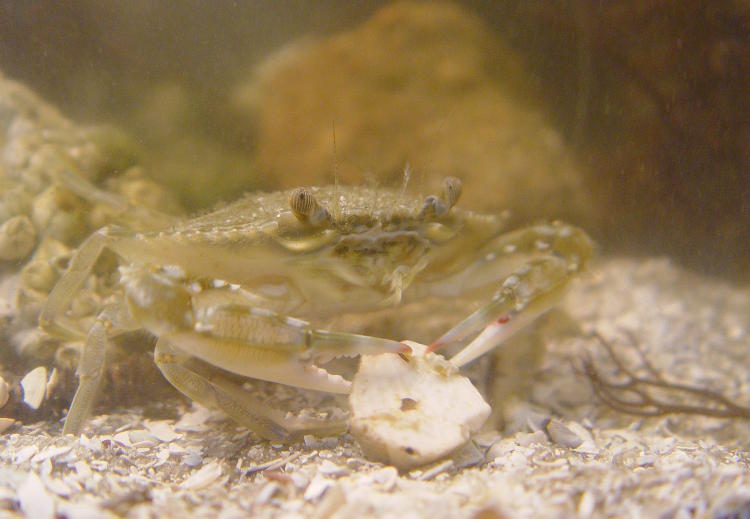
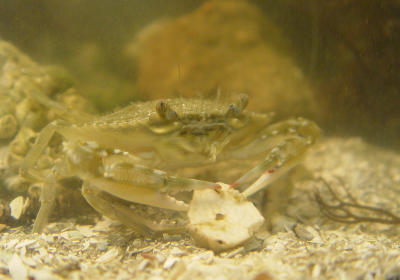 This was before I got into serious macro work, and so my light sources were a bit eclectic. While I had two flash units at hand, a lot of my aquarium photography was done under the main light source for the tank, which was a halogen reading lamp on a swing arm. This prevented any bright reflections that a flash unit might have thrown from the glass of the tank, and provided a reasonably normal angle of light, but it was much dimmer than a strobe. And not white-balanced, so it cast an overall color shift that was worsened by the sediment in the water. The image to the left is the original, uncorrected color, while I tweaked the one above to be more of a neutral, ‘true’ white.
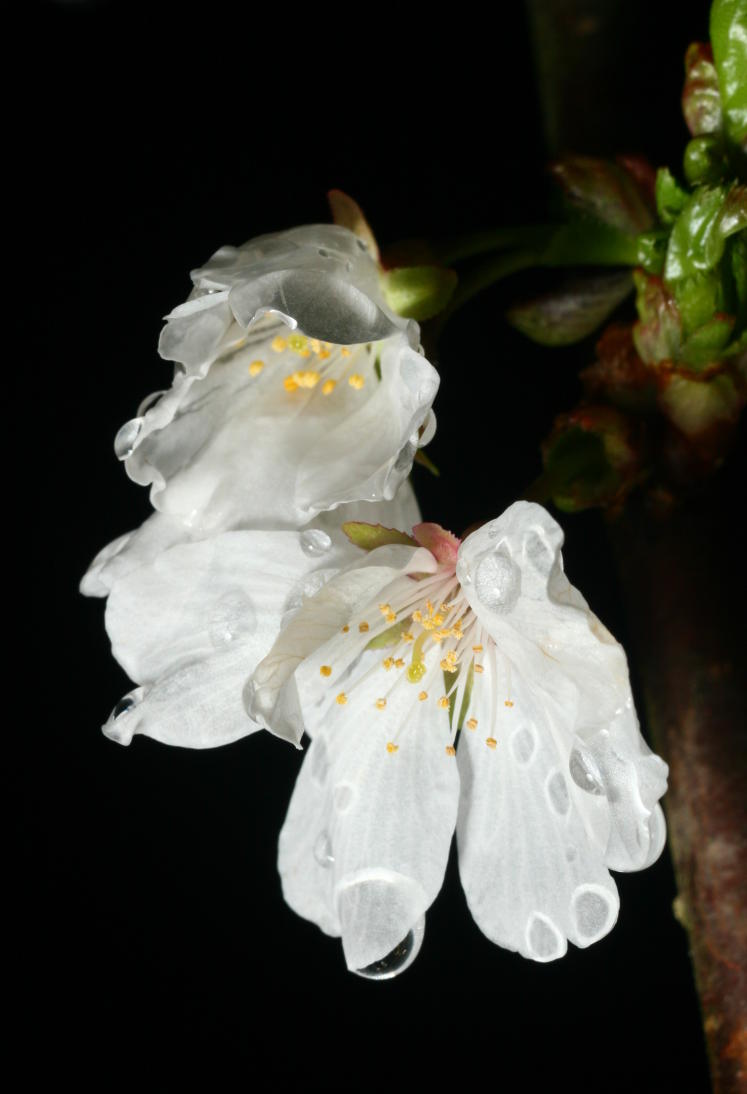
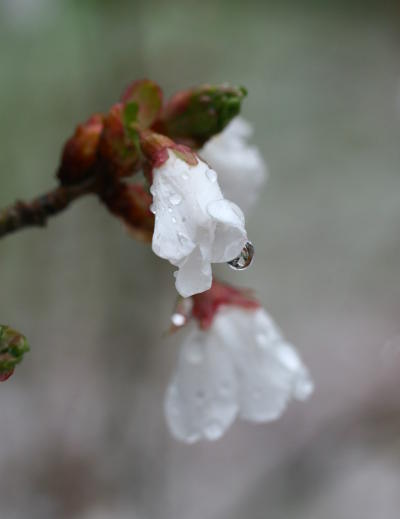 The air was cold enough, especially at altitude, to produce snowflakes, but at ground level the temperature largely remained warm enough to prevent it from sticking. The Girlfriend’s weeping cherry tree, enthusiastically pushing out blossoms for the past two weeks or so, refused to cradle any flakes artistically and instead melted them on contact, though the pale background indicates it was accumulating on the grasses. I had time only for a brief photo session, trying to find something that spoke of the conditions and not doing terribly well – the birdhouse up there did better than anything. I also didn’t affix the flash, wanting the natural light conditions, but it was dim enough that decent shutter speeds (at an ISO that wouldn’t look shitty, from the Canon 30D) just weren’t happening. One subject merited a return in the evening when I had a few more minutes, so this time I did it right and used the macro flash rig.
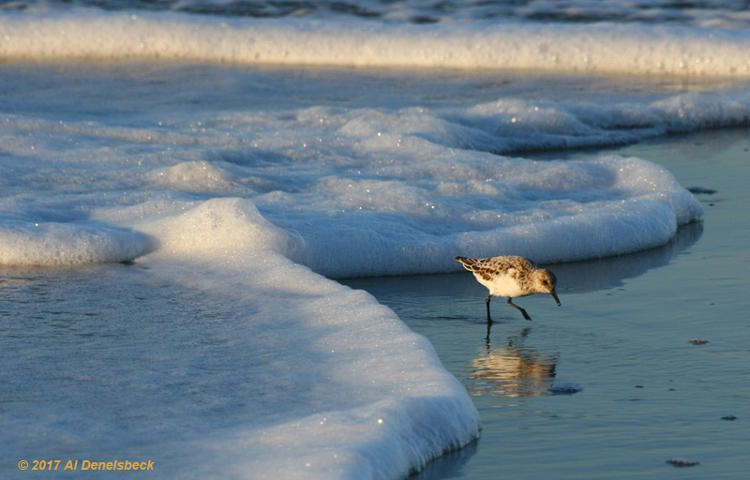
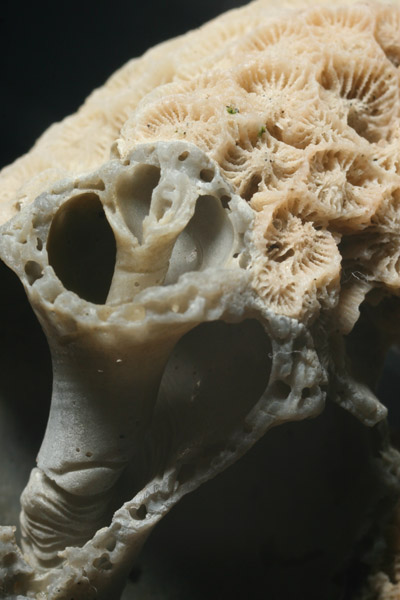 To see February on its poorly-spelled way, we have a shot from the dead season earlier in the month when virtually nothing existed to photograph, and I pulled out this little find from the Wilmington trip last year. Wandering the beach, I had found a snail shell, weathered heavily by tidal action and boring worms, that had served as an anchor for a small coral colony, and recently came across it again when sorting odds and ends. It’s faintly curious because the coral out-masses the shell by at least 2 to 1, probably more, and makes it distinctly off-balance, but coral attaches to fixed surfaces. As you can see, the coral is opposite the shell opening, covering every smooth surface, so I surmise that the shell itself was attached to something on the side you see here; part of the shell edge that continues out of the frame to the right seems to have an unweathered, freshly broken appearance, so I suspect that’s where it all had been anchored at one time.
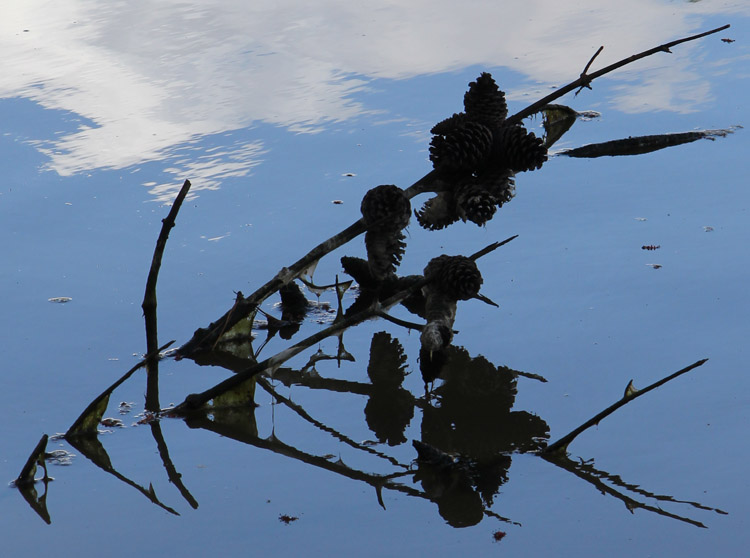


 It is perfectly expected to be mired in the lingering pall of winter at this point, the time when I am struggling to find something, anything, to photograph, and we had a


 You can see the semi-cloudy sky, and the silhouette of my head slightly to the left, while Mr Bugg is standing upright a bit more distant to the right. This is full resolution, by the way, and to get this I was flat on my belly on the ground, elbows starting to sink into the soft peat at the river edge. Believe it or not, it’s slightly easier to get the portrait images rather than profile, because you’re cutting off the frog’s intended direction of retreat and they have to reposition themselves to hop in another direction – for some reason they seem reluctant to do this, at least if you move slowly enough.
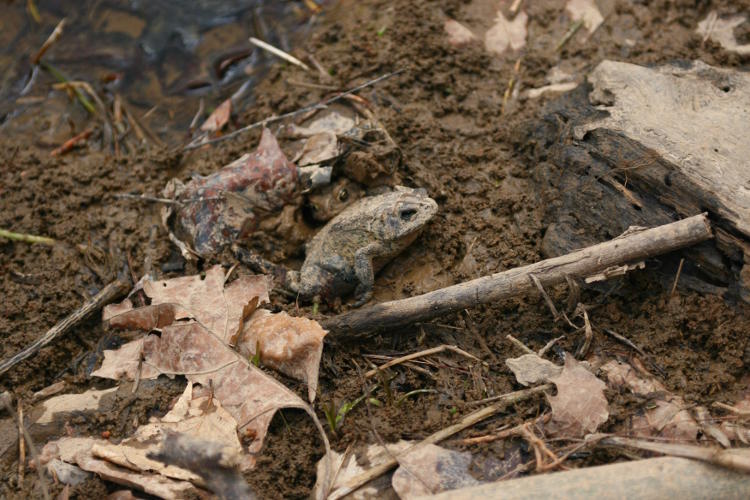
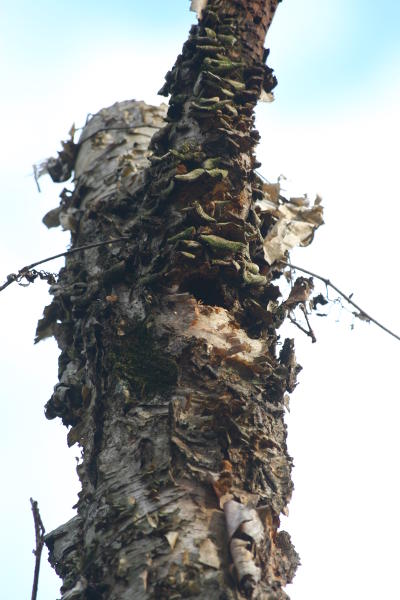 There’s also less vindication of nature photography skills from this one, and commensurately less to show for it. We’d already passed this stump when I heard the soft tapping, presumably of a distant woodpecker, but as I turned back to examine the trees across the river I thought my triangulation seemed a little off. Another couple of steps confirmed it, and with the 100-300 lens I spotted the nest opening at the base of the branch, on a stump on this side of the river; someone was busy within shaping their nest hollow. Flushed with my success from capturing the