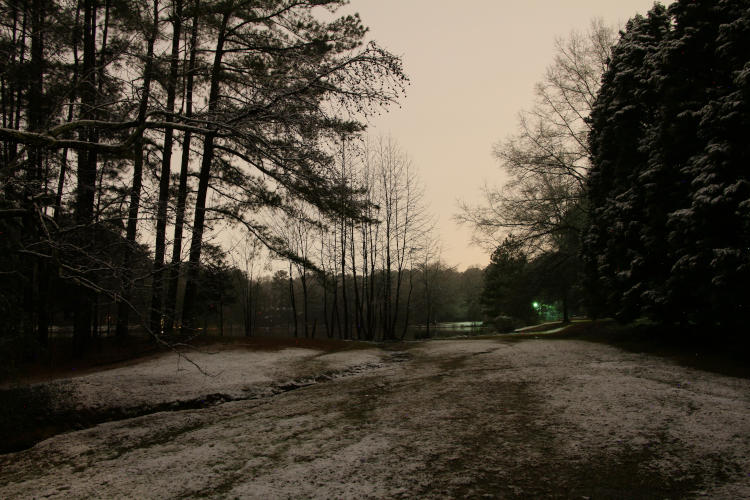
There are a lot of things that you could blame this short gallery on: the weather, the underperforming birds, my lack of ambition, my lack of skill… but we’re going with February, of course. I mean, I’d hate to put all the blame on the birds.
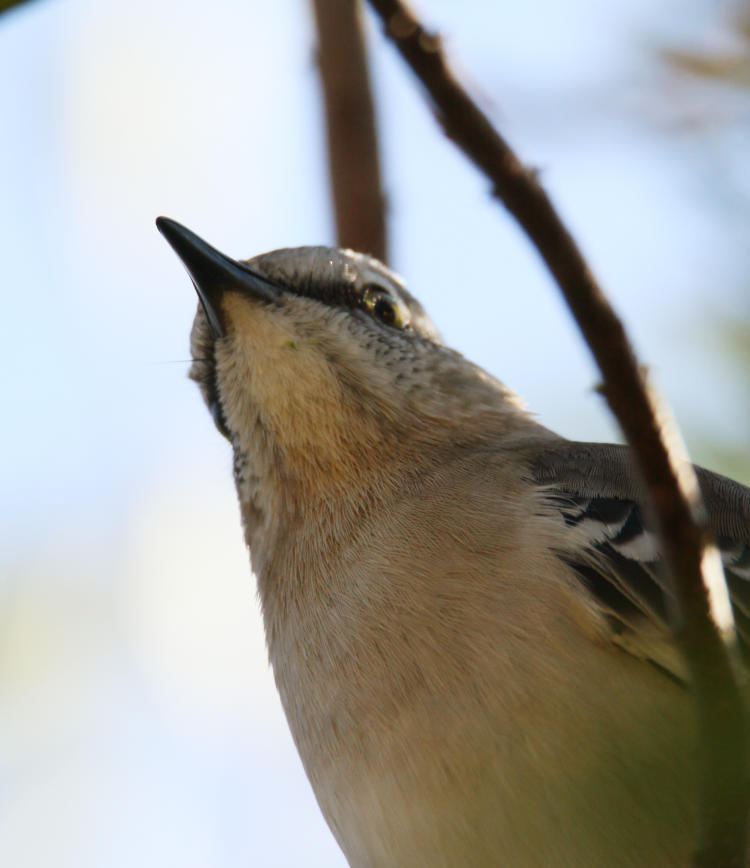
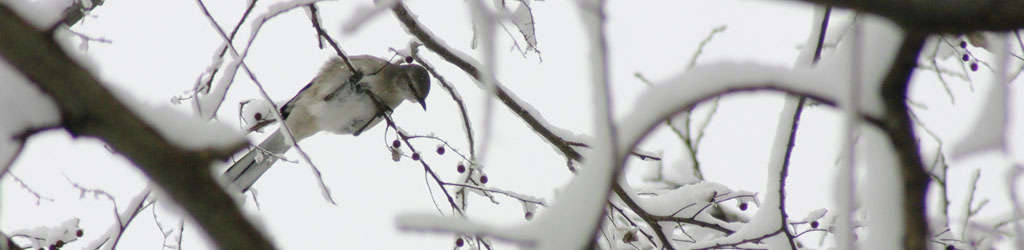
Yesterday during our routine break between rains, the temperature actually rose above 15°C and The Girlfriend and I took a tour around the neighborhood pond. There yet remains little to see, so this is a rehash of the same ol’ subjects, but there was a smidgen of activity nonetheless. Above, a northern mockingbird (Mimus polyglottos) was foraging for berries in a tree alongside the water and wasn’t terribly concerned with my presence, allowing me to affix the long lens before then trying to hide amongst the leaves. On the second pass I was a little luckier, but it still refused to gulp berries where I could photograph it.
One of the resident ducks was more specific in its reaction.
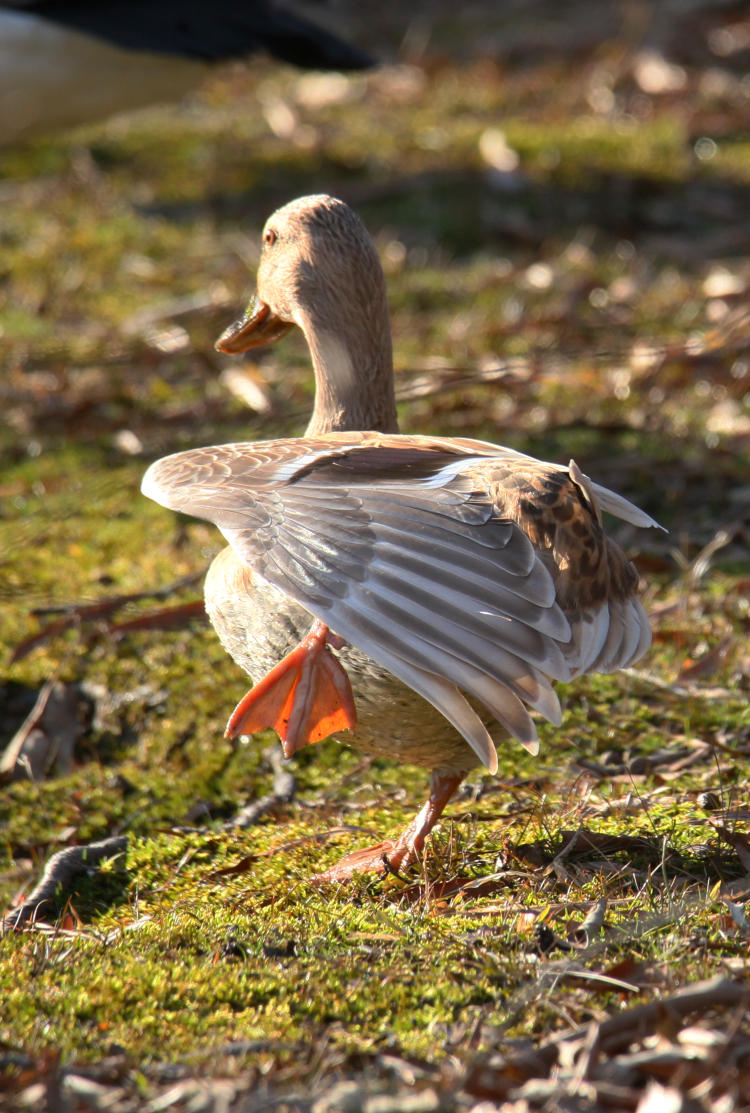
One of the female mallards sported very pale coloration, and noticed me as I was lining up for the shot. Ostensibly she was ‘just stretching,’ but you and I both know that was the alibi if the teacher was watching, and this is how a duck flips you off. I wasn’t being creepy (I mean, The Girlfriend was right there,) but you know, some women are just paranoid.
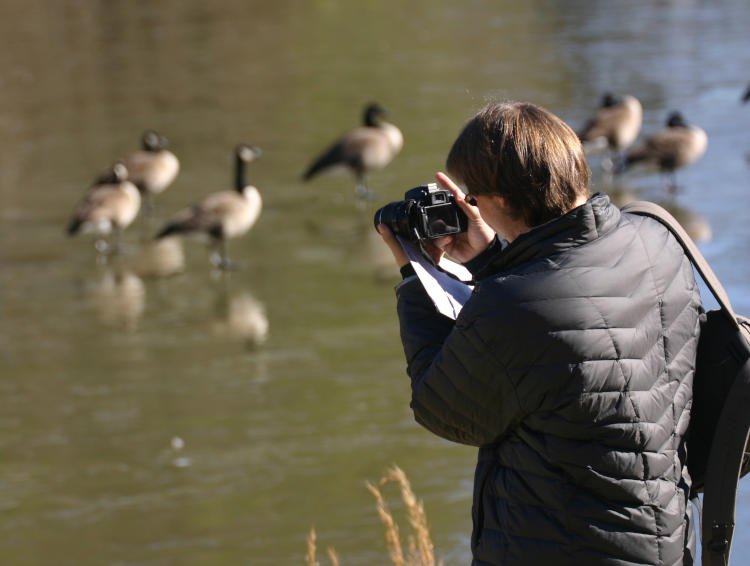
There are, naturally, a few gaggles of Canada geese (Branta canadensis) hanging about, and true to form, lots of territorial squabbling. One in particular was desperately in need of some lithium or chocolate or something.

Small shifts in position on the large expanse of water would periodically send a more possessive goose into a rage, eliciting a flurry of splashing and pursuit and, really, a godawful amount of honking, also contributed by those on the sidelines who had nothing to do with the disputes but felt their input was needed anyway like, well, every sporting event in history. Hey there, see? They could just fill the stadiums with geese and get the same effect, though granted, with probably fewer beer bellies painted in team colors. Probably.

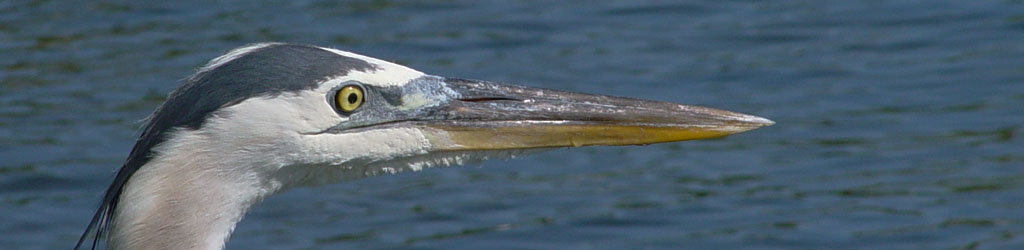
I mentioned before about stalking a spooky great blue heron, the only example found at the pond for the last six months, but yesterday showed a duo that were hanging out together, in the treetops rather than down at the pond’s edge foraging, and I’m now suspecting a mated (or soon to be) pair. They changed position a few times as we ambled around, not quite providing clean shots, but I snagged a few overhead and a few when one perched in a bare tree.
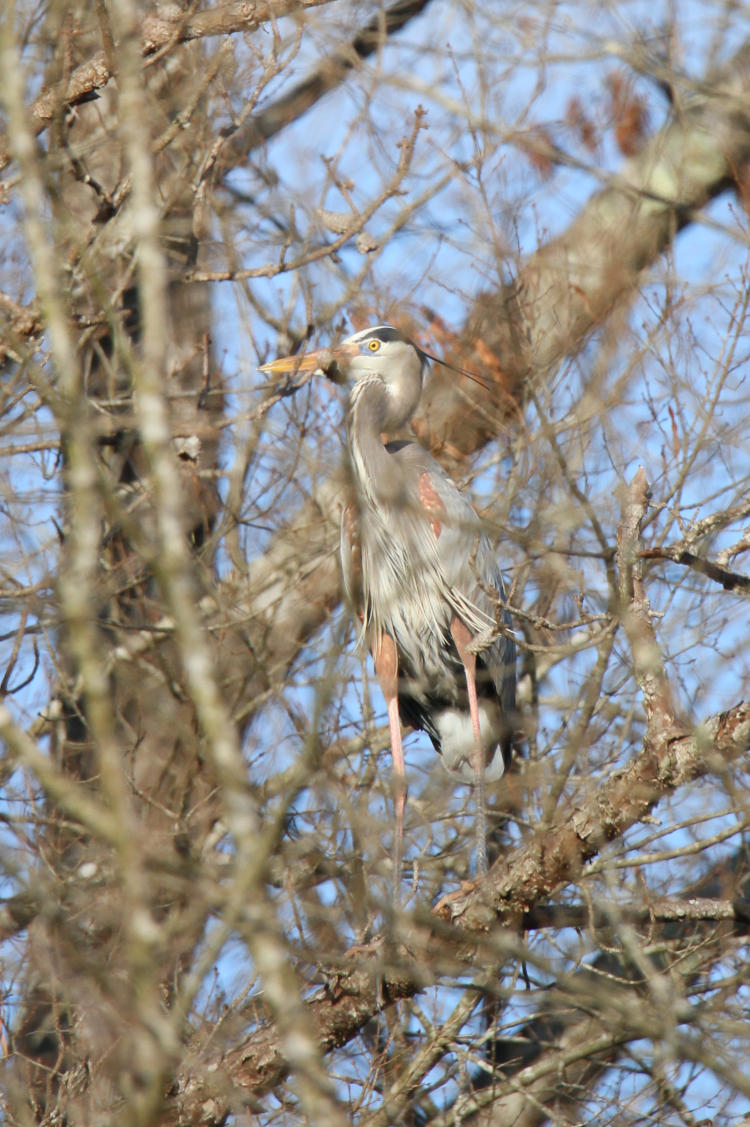
This was shot across the pond without any ability to clear the foreground or background, so I’m pleased the eye came up that damn sharp. Composition-wise, not so much of course, but it would have been far worse with foliage. I’ll have to keep checking and see if they remain, and if they actually build a nest nearby – I don’t think I’ve ever seen evidence of one there yet.
Which reminds me: I’m now starting to make routine checks, because I’d really like to try and get the green heron nest this year, if they do indeed return to the same spot as they have for the past three or so. Since I’ve only found the remains of the old nests once the leaves have dropped off in late fall, I feel they know what they’re doing and having any view at all might be quite challenging, but it’s on the list of things to attempt, anyway.
I was a little surprised to see my next subject, expecting them to have migrated from the area, but I’ll take it.

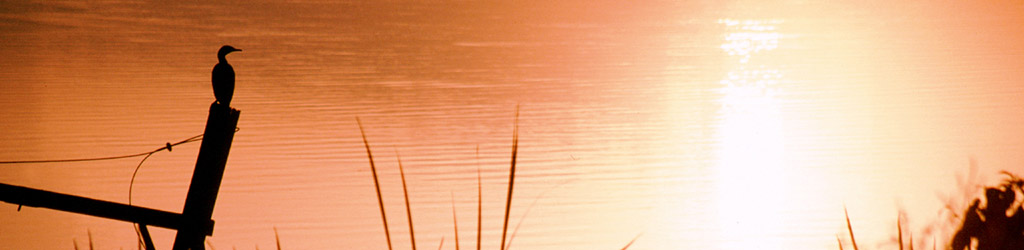
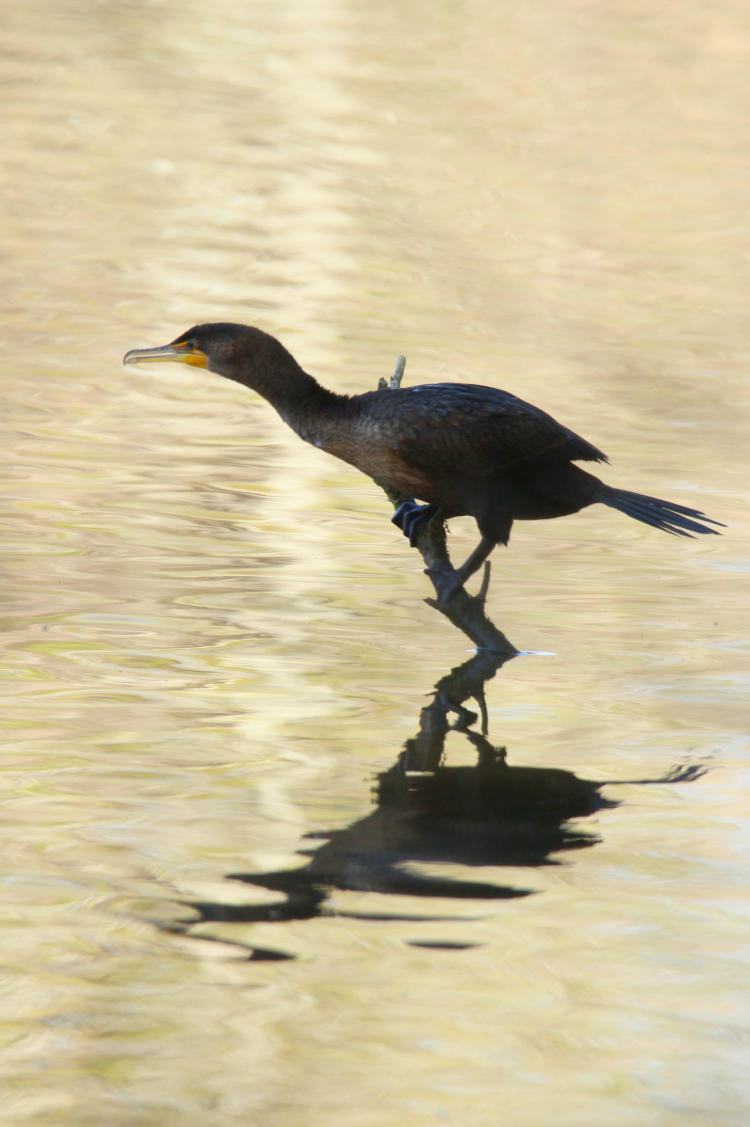
This female double-crested cormorant (Phalacrocorax auritus) was posed nicely on a snag over the water, but the camera was being balky for a moment, possibly a bad battery, and the cormorant slipped under the water as I fiddled. Eventually it surfaced much farther off, and I waited for it to turn the right way to at least catch the green eye in the sunlight.
On the next circuit, it was back in position on the snag but a little more wary, and I crept in trying for a clear shot between all of the intervening branches of the pondside bushes. This is one of the reasons that I’m not enamored of autofocus, because I chase a lot of subjects in these conditions and the AF often decides I must be after the foreground branches – usually right as my intended subject provides the best post. It happened again this time too, but I still got a usable frame.
As she slipped into the water, I was expecting her to do the same thing and surface some distance off, but she almost immediately emerged with a fish in her beak. I had to dodge around the branches for a clear shot, and by the time I got a decent gap she was almost finished with her meal.
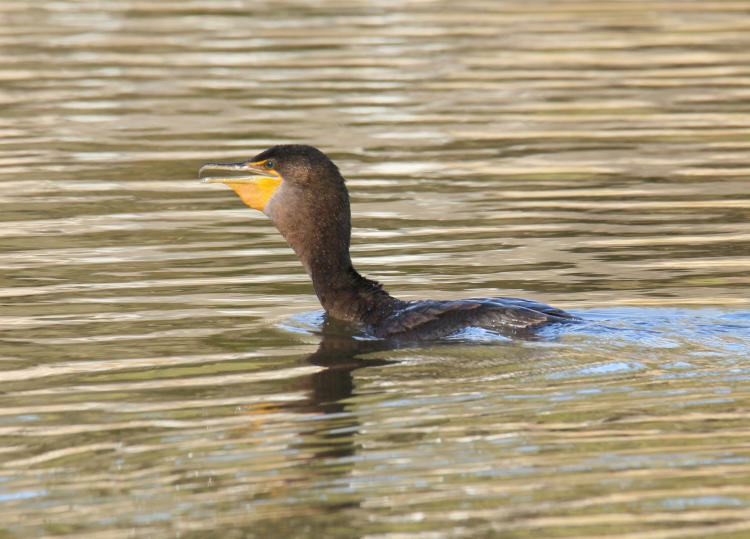
Mind you, this doesn’t take a long time at all, requiring only the right positioning of the fish before swallowing it whole, so it’s not like I was bumbling about. But I was still impressed that she got a fish in the mere seconds she’d been in the water, especially when her entry had been so casual, without apparent deliberation or examination. Then, just as casually, she did it again, arising with another fish in mere seconds.

With a clearer view this time, it was obvious that her ‘capture’ was not only dead, it was dismembered, which may not exactly apply to fish because they don’t have a lot of members to dis (a tail, I guess,) but you get the idea. Eviscerated. Poorly fileted. An overall lack of cohesiveness. This was curious to me in that I was almost positive cormorants were interested only in fresh captures, and did not scavenge or save meals for later, but now I’ve seen otherwise, so…? I am vaguely in suspicion that she stole this from a snapping turtle, but it remains possible that they keep larger meals handy nearby for when they get peckish (a ha ha ha!) which helps explain her preference for that perch. So far, none of my info sources addresses this, but I’ll keep looking.
But at least I found a few things to photograph, even if they weren’t new or particularly noteworthy, though I’m still in my wintry low expectations and you should be too. So there.